Deliciously flaky and incredibly easy, learning HOW TO MAKE PIE CRUST is as easy as, well, a pie! A great skill to know for making quick and beautiful dishes whether it’s sweet or savory. Start mastering the art of making pie crust with this very simple recipe.
Growing up, I’ve seen a lot of beautiful pastries both on TV and in pastry shops. The patterns and designs are as alluring as the aroma itself. The one pastry that stands out among the rest is the PIE!
I totally adore everything about pies. You might ask “even the crust?” Yes! ESPECIALLY the crust! So here’s a simple recipe to make pie crusts at home that will make you think twice about buying store-bought ones. Trust me, they’re as simple as making the whole pie itself!
Pie Crust vs Tart Crust
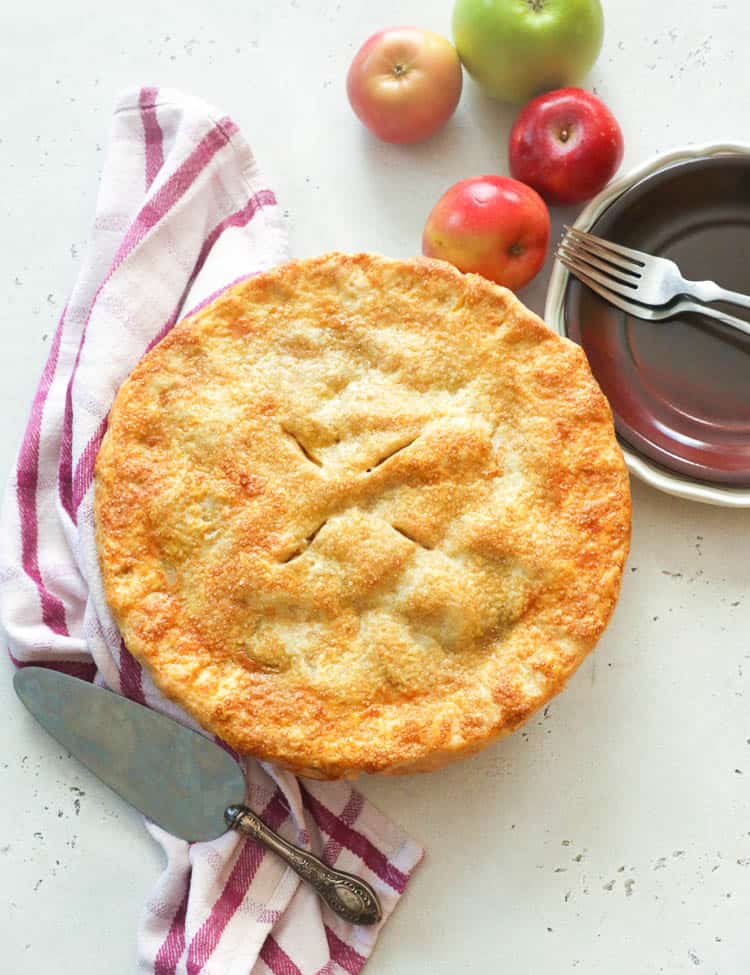
Is there really a difference between pie crusts and tart crusts? Well, Yes there is! In essence, pie crusts are softer and flakier because of the air pockets made by the melting butter when baked. Tarts are basically denser and richer in taste as you would let the steam escape from the crust.
In terms of the whole pastry, pies are (usually) enclosed that will leave you with an evenly cooked filling. Tarts, on the other hand, are left open when baked so that the top part gets toastier. Both are delicious pastries actually, but what I especially like about pies is how I can make creative designs with it.
The pie crust recipe we’re going to talk about today is your simple gateway to creating your own pie art at home.
Pie Crust Recipe
We’ll only need a few ingredients for this homemade pie crust recipe. You can use your hands to mix and make the pie dough to get a better feel of it. So here are the simple ingredients you can buy, or are probably already in your pantry, for the pie crust.
- All-purpose flour
- Sugar
- Butter (unsalted)
- Shortening
- Salt (if using salted butter, you can skip this one)
- Ice water
Pie Crust variation
Sugar-free Pie Crust
Sugar isn’t really needed in making homemade pie crust but you have to agree that it does make it tastier. What sugar does is cut down the gluten formation in the pie dough. Too much sugar will make it a bit unstable and hard to roll out.
Gluten-free Pie Crust
Although it sounds impossible, Gluten-free pie crust can also be made at home. The main ingredient, all-purpose flour, is substituted with gluten-free all-purpose flour. So how does it bind together? An additive called Xanthan Gum is added as a thickener to stabilize the dough.
Vegan Pie Crust
Making vegan pie crust means making it without using dairy-based ingredients. This means you’ll have to substitute butter with a vegetable-based shortening.
Ways to Enjoy a Pie
The beauty of this pie crust recipe is that you can put almost anything in it. Whether you like it savory such as this Tomato Pie or sweet as this Pineapple Pie, it’s always good!
The versatility of this recipe makes it easy to combine different flavors like in this Chocolate Pecan Pie, this Coconut Cream Pie, and this Homemade Chicken Pot Pie. These are just a few of the different delicious dishes you can make with a good pie crust.
Storing and Making Ahead
You can make pie crusts ahead of time. If you plan to make the pie a few hours from now, you can blind bake the crust to form the shell. This technique is often used when making delicate pies that require a little baking.
If you just plan to store pie doughs so you can make pie crusts on a later date, I suggest freezing them. Form the dough into a ball and wrap it with an aluminum foil or biodegradable cling wrap. Place these inside a freezer-safe bag and these should last for about three months.
When ready for baking, thaw out the pie dough in the fridge until soft and malleable around a few hours. Roll it out on a pie dish and bake. You’ll have your pie crust in no time at all.
More Pastry Recipes

How to Make Pie Crust
Making the dough
- Combine the flour, sugar, and salt. Then place in the freezer until ready to use. Place a large bowl in the fridge until ready to use.
- Dice the butter and the shortening, if you can handle it (shortening might be too soft to dice), then return it to the fridge until ready to use.
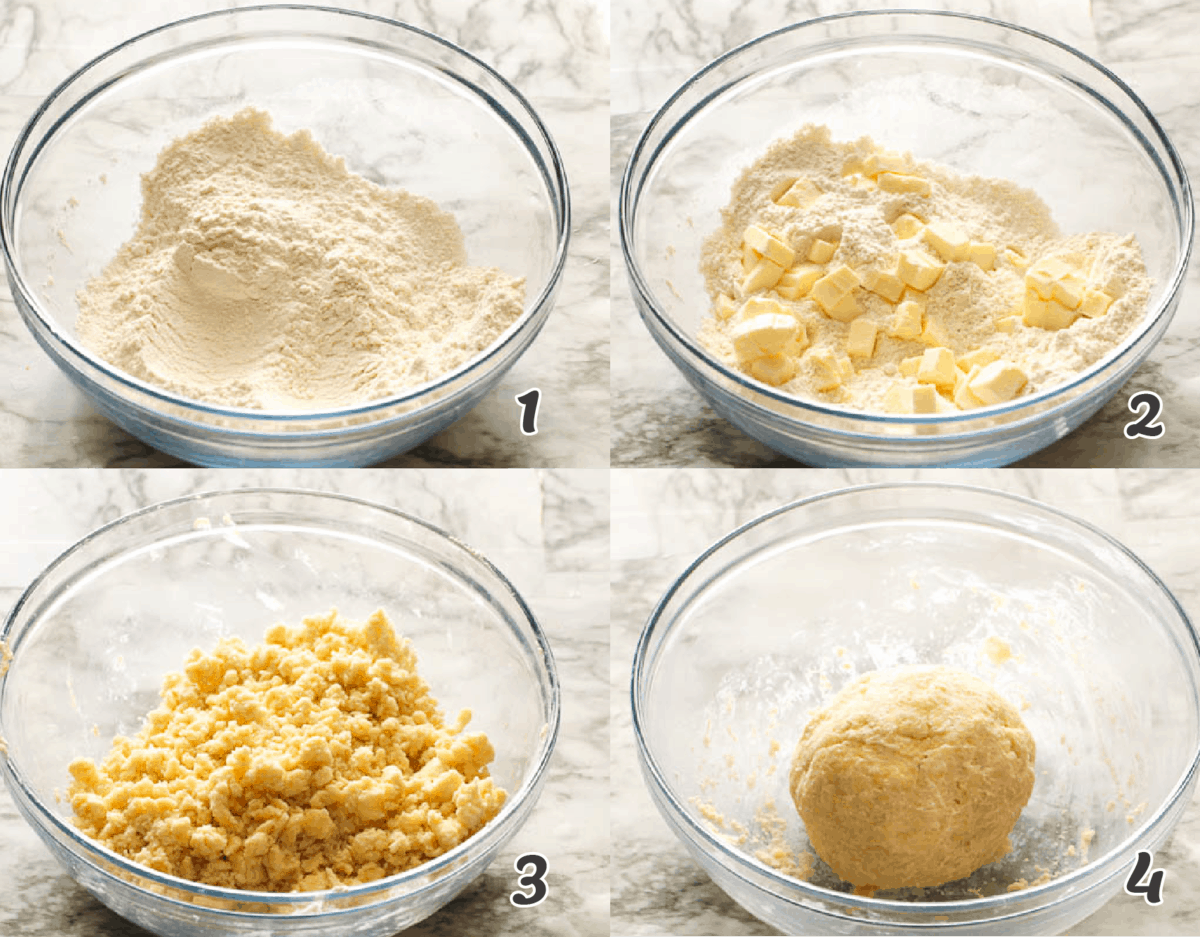
- Remove the large bowl from the fridge, then add the flour and sugar mixture. Quickly cut the butter and shortening into flour mixture with a pastry cutter until the mixture resembles coarse crumbs, about the size of peas. This will ensure that the pie is flaky and not dense.
- If the mixture is too soft or the butter has softened up, return back to the fridge to firm up.
- Slowly stir in 2 tablespoons of water at a time in the flour mixture and continue working the dough until it comes together, adding more water as needed.
Forming the Pie Crust
- Dump the pie dough out on a floured board. Knead the pie dough just lightly enough to ensure it is smooth. Do not over knead the dough.
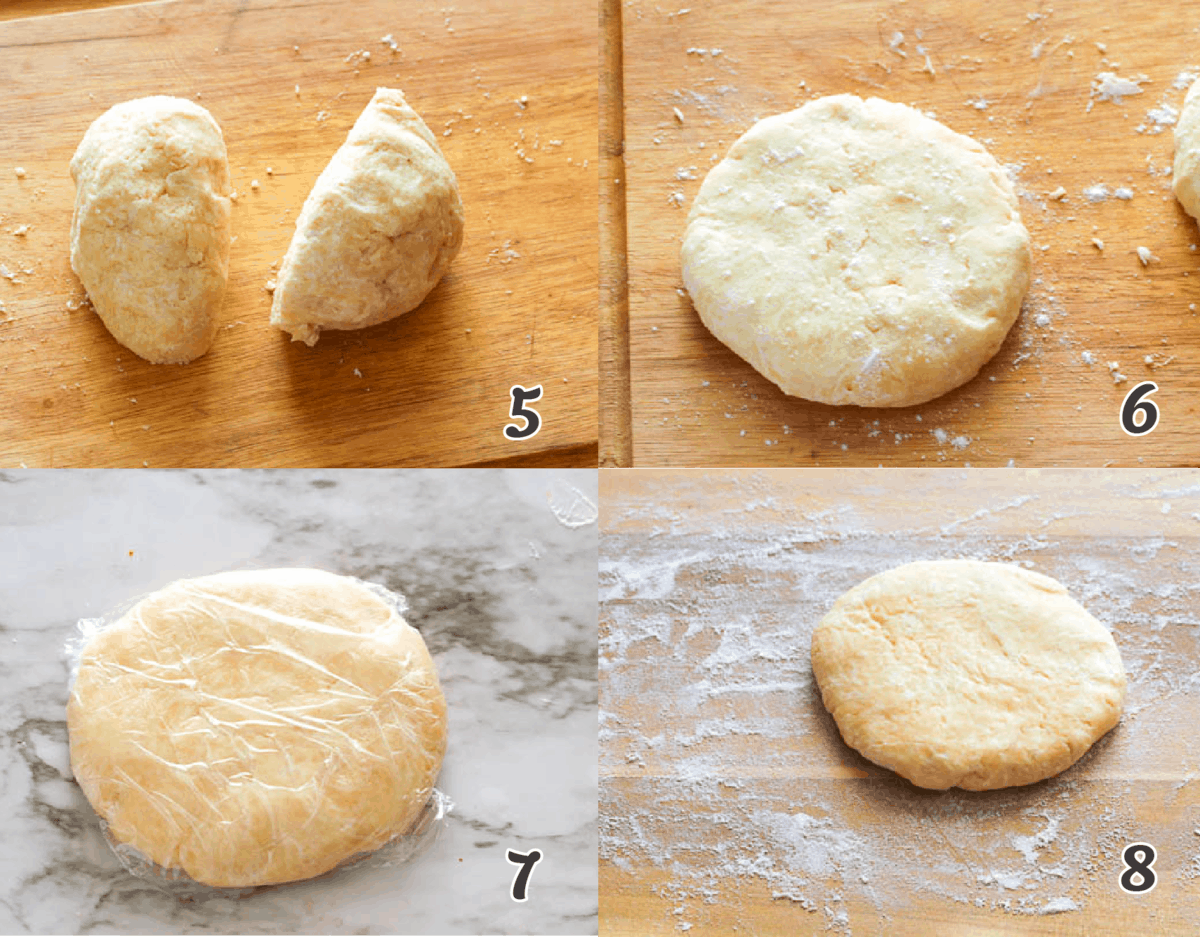
- Divide the dough in half (one slightly large than the other, if making a pie lattice). Place in the palm of your hand and form a thick disc.
- Wrap the dough in saran wrap or plastic and chill in the fridge for about an hour and up to 3 days for best results. It helps it easier to roll out. You can equally freeze and defrost in the fridge the night before using it.
- When ready to use, remove the plastic from the dough and place it on a floured board or work surface.
- If your pie dough breaks and crumbles when you try to roll it out, it’s probably too dry. So sprinkle some cold water over the pie dough with your fingers and work it in gently. Again you do not want to overwork the dough. On the flip side, If your dough gets too soft to handle, return the dough back to the fridge to chill out.
Rolling it out
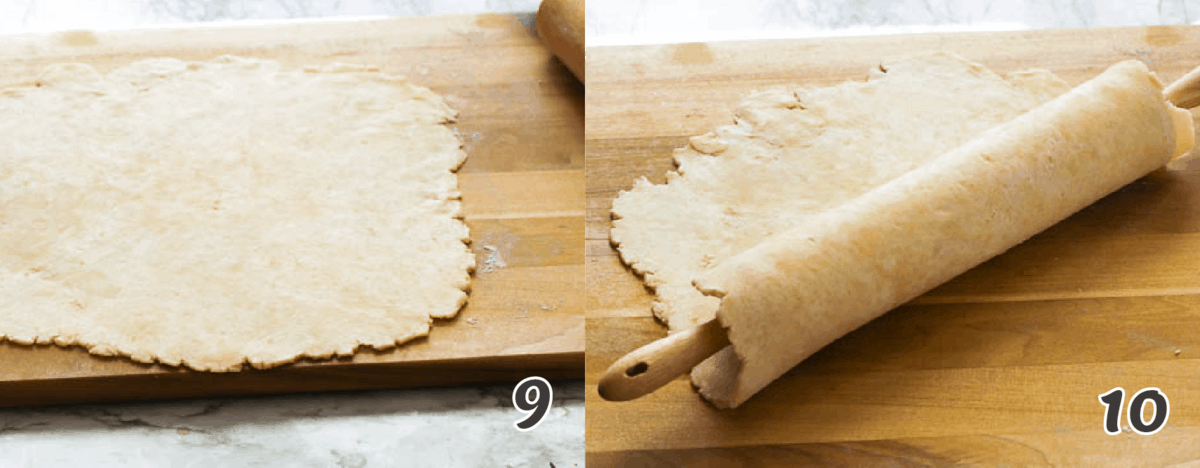
- Use a large rolling pin to roll out the dough, working from the center of the dough about, 12 to 13-inch round.
- Dust the rolling pin, then place your rolling pin on one edge of the pie crust and carefully roll the pie crust over the rolling pin. Transfer it to the pie pan and unroll.
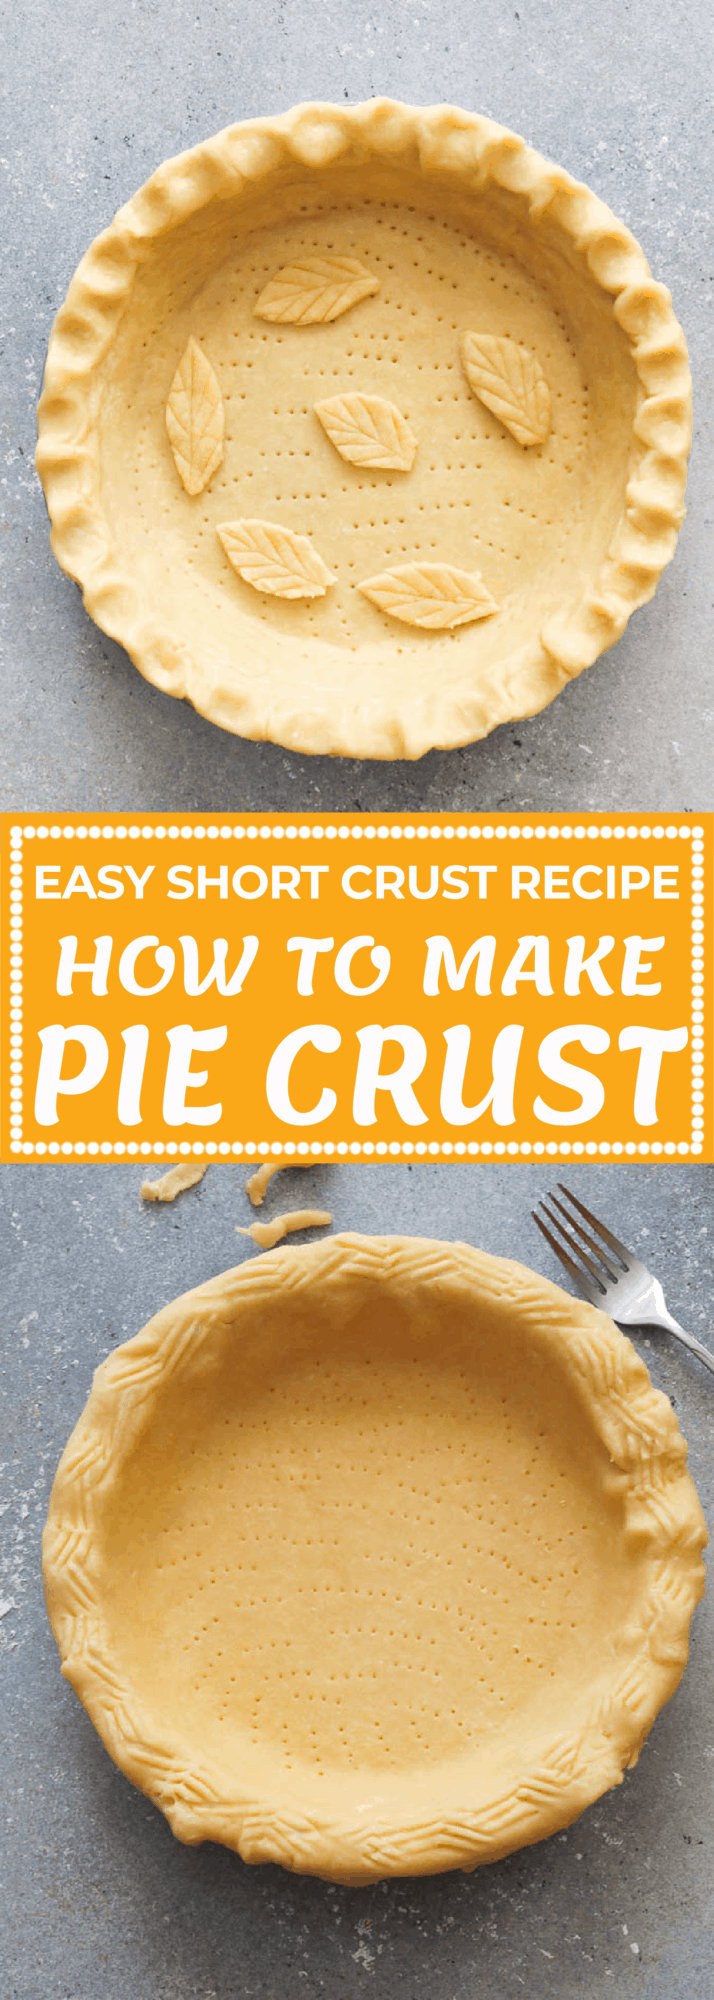
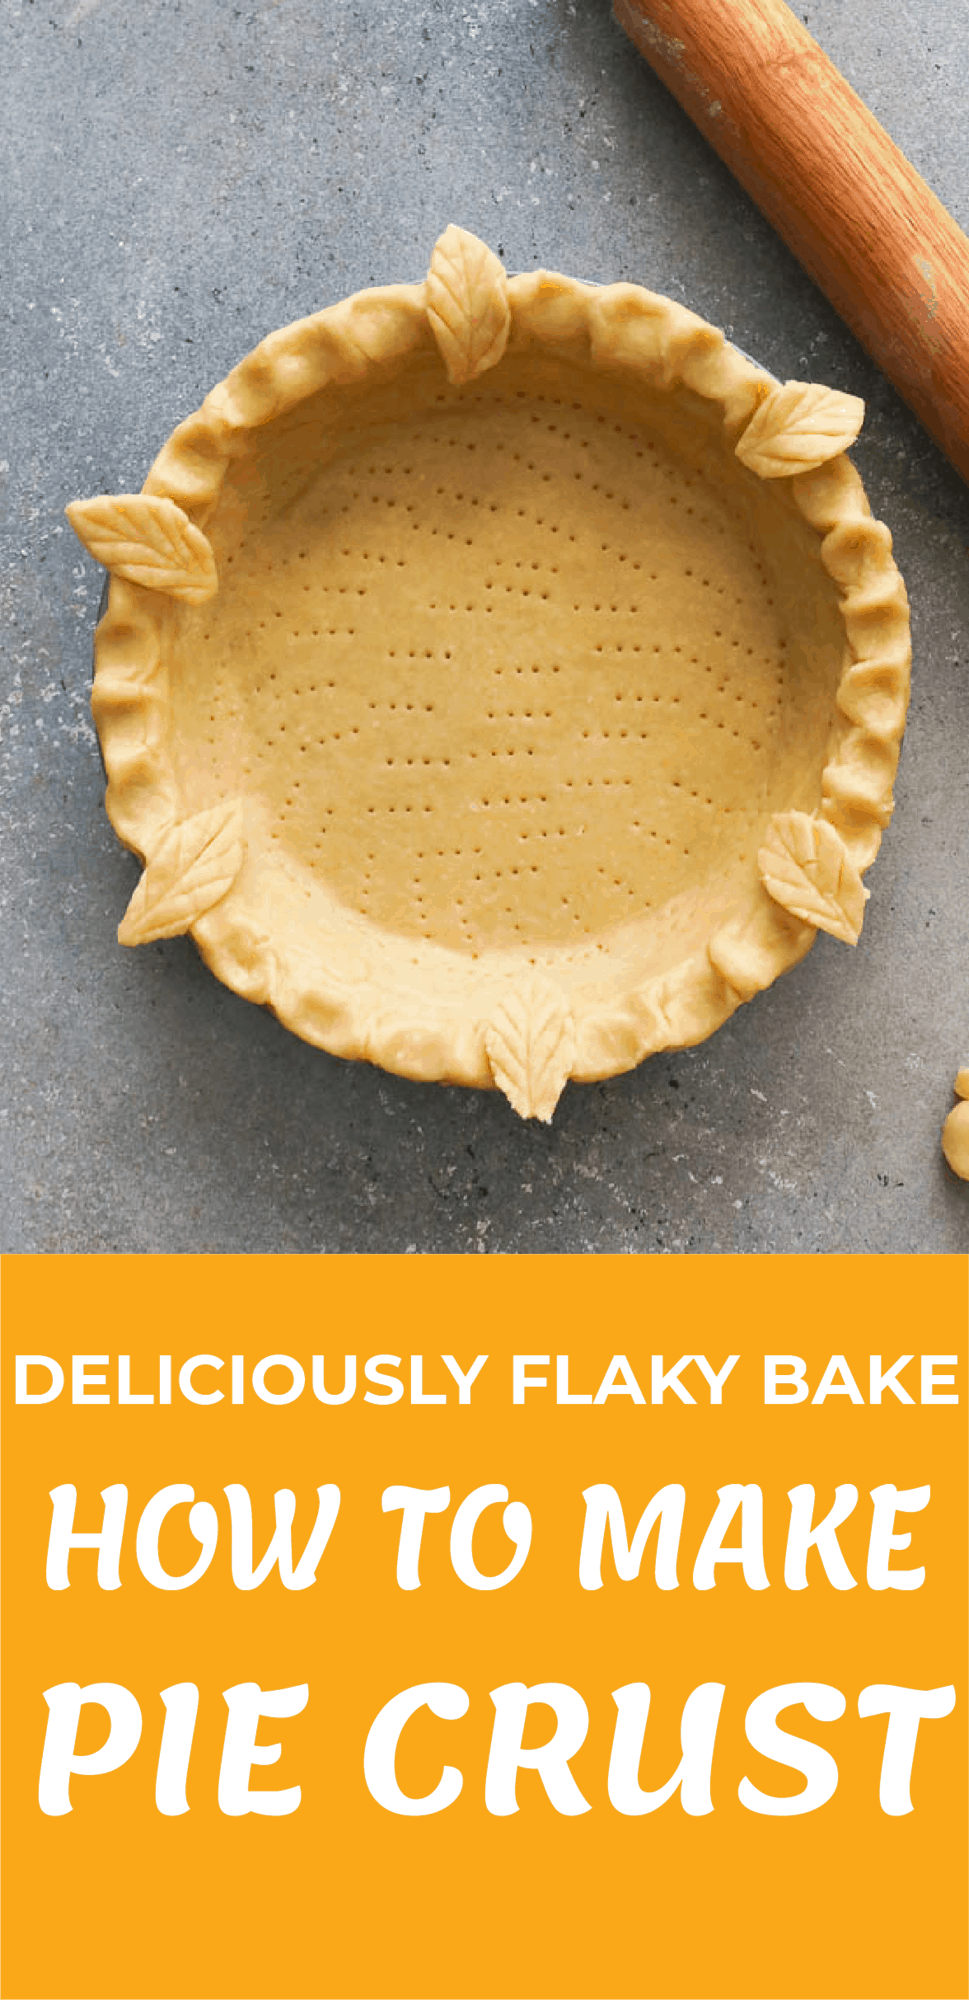
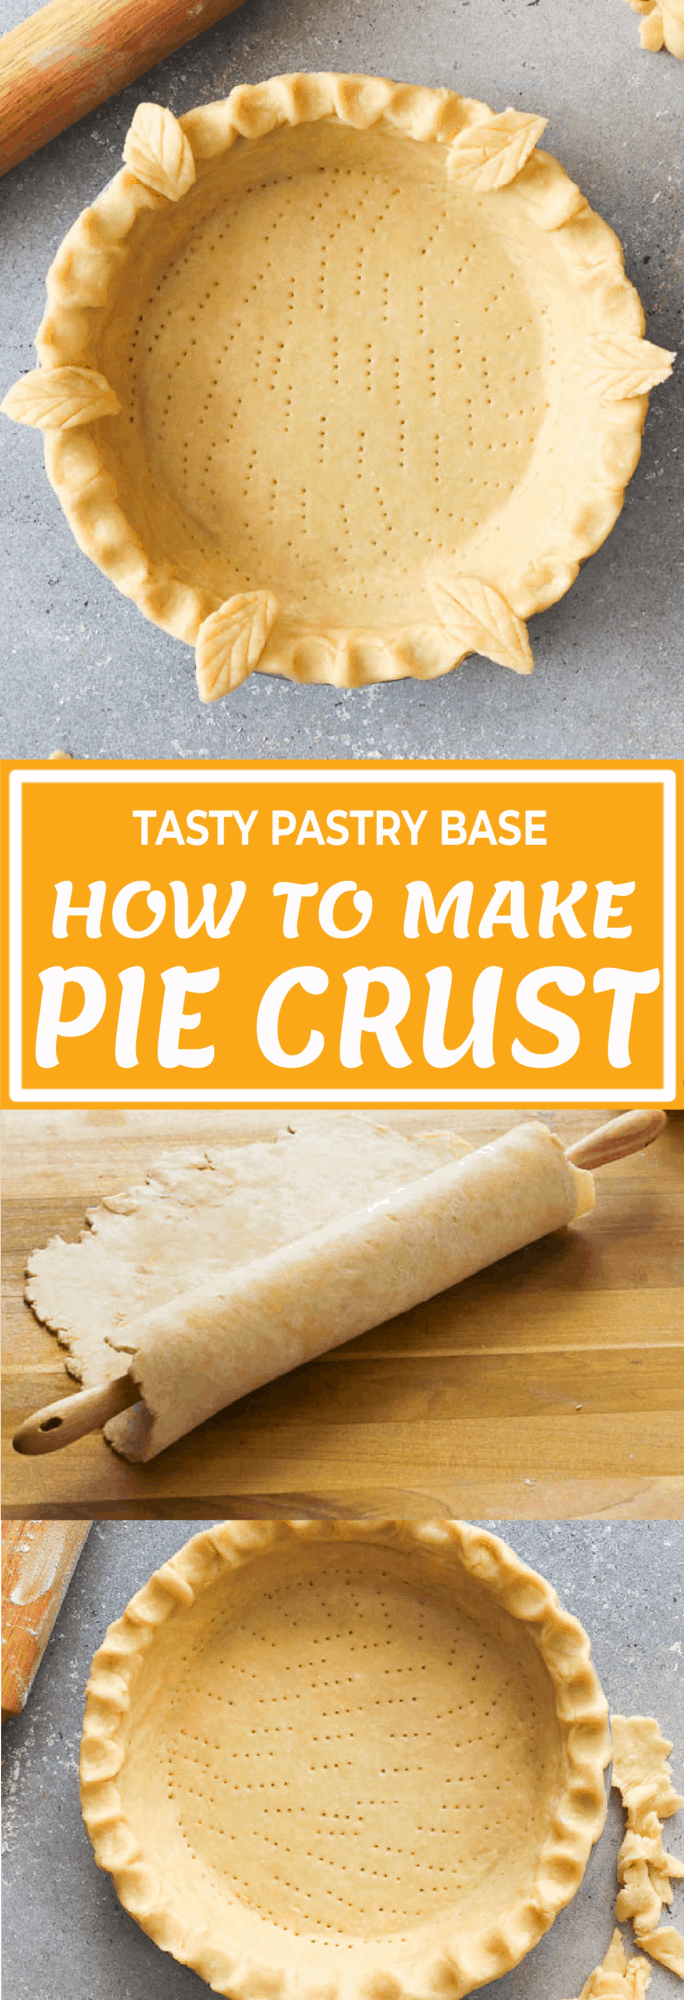
- Gently press the dough into the shape of the pie pan. Fit gently into the bottom and side of a 9-inch plate. Use kitchen shears to trim the dough to a 2 -inch overhang; fold under, and seal to form a rim.
- Save the rest of the dough for later use, as needed to do any patchwork. Cover any tearing and/or holes, then decorate the edges. Place the pie pan and the strips, if using any, in the fridge for at least 45 minutes.
- Prick your pie dough before baking if you are pre-baking the pie shell and you don’t want it to rise too much. If not, leave as is.

Watch How To Make It
[adthrive-in-post-video-player video-id=”iLHcQDzP” upload-date=”2020-11-13T04:18:11.000Z” name=”How To Make Pie Crust” description=”Deliciously flaky and incredibly easy, learning HOW TO MAKE PIE CRUST is as easy as, well, a pie! A great skill to know for making quick and beautiful dishes whether it’s sweet or savory. Start mastering this art of making pie crust with this very simple recipe.” player-type=”collapse” override-embed=”false”]
How to Make Pie Crust
Ingredients
- 3 cups all-purpose flour
- 2 tablespoons sugar (for sweet recipes, otherwise skip this ingredient)
- 1 teaspoon kosher salt (if using salted butter, skip this ingredient)
- 4 ounces shortening (very cold )
- 6 ounces unsalted butter (very cold ) , cubed
- 8- 12 tablespoons (about ½-¾ cup ) ice water
Instructions
- Combine the flour, sugar, and salt. Then place in the freezer until ready to use. Place a large bowl in the fridge until ready to use.
- Dice the butter and the shortening, if you can handle it (shortening might be too soft to dice), then return it to the fridge until ready to use.
- Remove the large bowl from the fridge, then add the flour and sugar mixture. Quickly cut the butter and shortening into flour mixture with a pastry cutter until the mixture resembles coarse crumbs, about the size of peas. This will ensure that the pie is flaky and not dense.
- If the mixture is too soft or the butter has softened up, return back to the fridge to firm up.
- Slowly stir in 2 tablespoons of water at a time in the flour mixture and continue working the dough until it comes together, adding more water as needed.
- Dump the pie dough out on a floured board. Knead the pie dough just lightly enough to ensure it is smooth. Do not over knead the dough.
- Divide the dough in half (one slightly large than the other, if making a pie lattice). Place in the palm of your hand and form a thick disc.
- Wrap the dough in saran wrap or plastic and chill in the fridge for an hour and up to 3 days for best results. It helps it easier to roll out. You can equally freeze and defrost in the fridge the night before using it.
- When ready to use, remove the plastic from the dough and place it on a floured board or work surface.
- If your pie dough breaks and crumbles when you try to roll it out, it's probably too dry. So sprinkle some cold water over the pie dough with your fingers and work it in gently. Again you do not want to overwork the dough. On the flip side, If your dough gets too soft to handle, return the dough back to the fridge to chill out.
- Use a large rolling pin to roll out the dough, working from the center of the dough about, 12 to 13-inch round.
- Dust the rolling pin, then place your rolling pin on one edge of the pie crust and carefully roll the pie crust over the rolling pin. Transfer it to the pie pan and unroll.
- Gently press the dough into the shape of the pie pan. Fit gently into the bottom and side of a 9-inch plate. Use kitchen shears to trim the dough to a 2 -inch overhang; fold under, and seal to form a rim.
- Save the rest of the dough for later use, as needed to do any patchwork. Cover any tearing and/or holes, then decorate the edges. Place the pie pan and the strips, if using any, in the fridge for at least 45 minutes.
- Prick your pie dough before baking if you are pre-baking the pie shell and you don't want it to rise too much. If not, leave as is.
Tips & Notes:
- Please keep in mind that nutritional information is a rough estimate and can vary greatly based on products used.
Nutrition Information:
Shonda Hill says
I love that the recipe walks you through all details and variables. Plus nutritional facts, win/win
Imma says
Awesome!!! Can’t wait to know how it turns out for you.
Tracey says
This is my go-to recipe. So simple to follow. Thanks for sharing, Imma!
ImmaculateBites says
My pleasure :)!
Phina says
Hi I’mma, I loved this recipe kindly share with me lemon meringue pie recipe too
I couldn’t find shortening so kindly advice what to do….i did magarine instead
Immaculate Bites says
Hi Phina! Margarine is okay as substitute for shortening. I don’t have a lemon meringue pie recipe yet but I do have a lemon tart recipe. I hope you’ll enjoy it! 🙂