Rich, cheesy, and super saucy Chicken Enchiladas to adorn your dinner table with its ultimate blast of colors and flavors. This quick and easy-to-make recipe is made more amazing with my best-tasting Homemade Enchilada Sauce! Perfect comfort food to share with your family and friends.
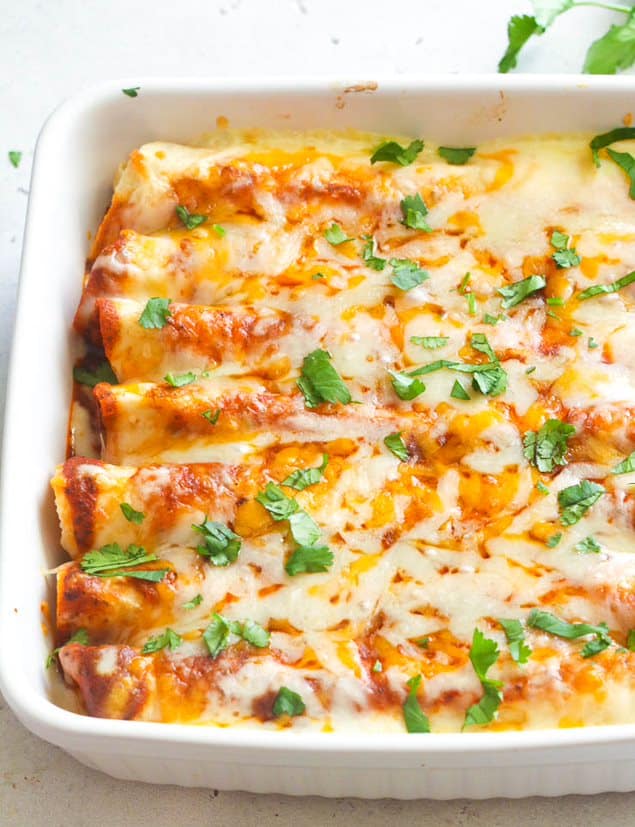
It was a random Sunday evening when I thought of putting the leftover shredded chicken in my refrigerator to some good use. Then the enchilada sauce sitting on the back of my kitchen shelf instantly gave me the idea to bake something that I never cooked before. And within a few minutes, my house got filled with the irresistible aroma of this classic Mexican dish.
Well, that was my enchiladas story; it’s about time that you make yours and surprise your family with this cheesy-comfort food dinner. (Or lunch or breakfast – you choose!)
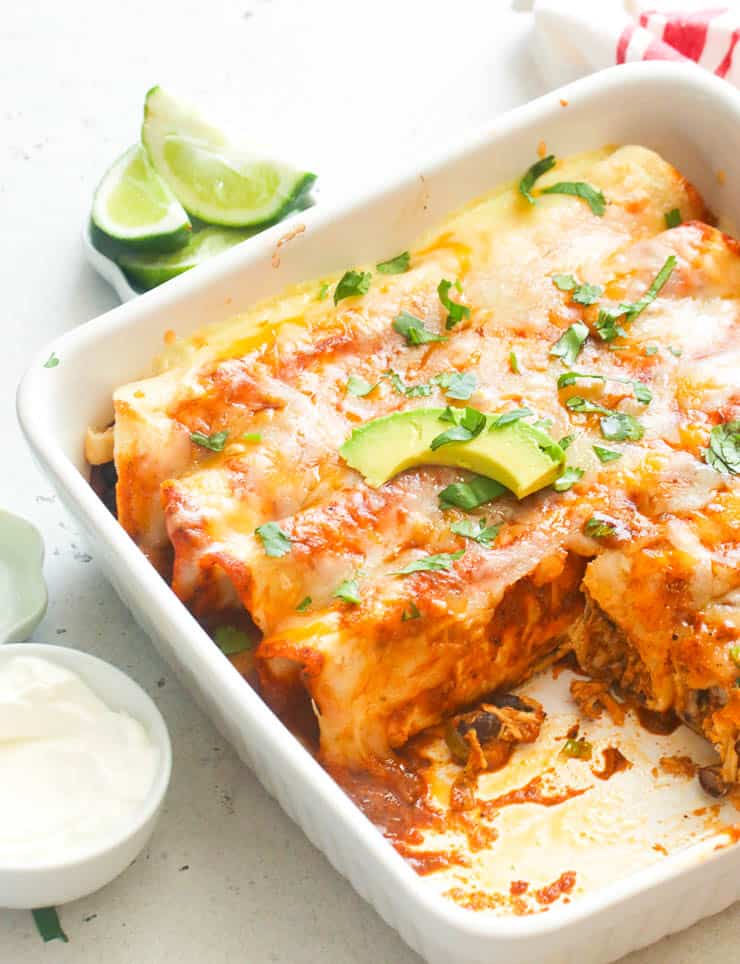
What is an Enchilada?
Enchiladas are a famous Mexican dish that is enjoyed all over the world due to their balanced mix of ingredients like chicken filling, cheese, tortillas, and enchilada sauce.
These rolled tortillas are filled with a variety of fillings (this one is chicken, but there’s beef and shredded pork that’s yummy too) and then placed in a shallow dish covered in enchilada sauce and then baked with cheese on top.
My homemade Enchiladas Sauce gives this recipe its authentic flavors, but it can also be easily store-bought.
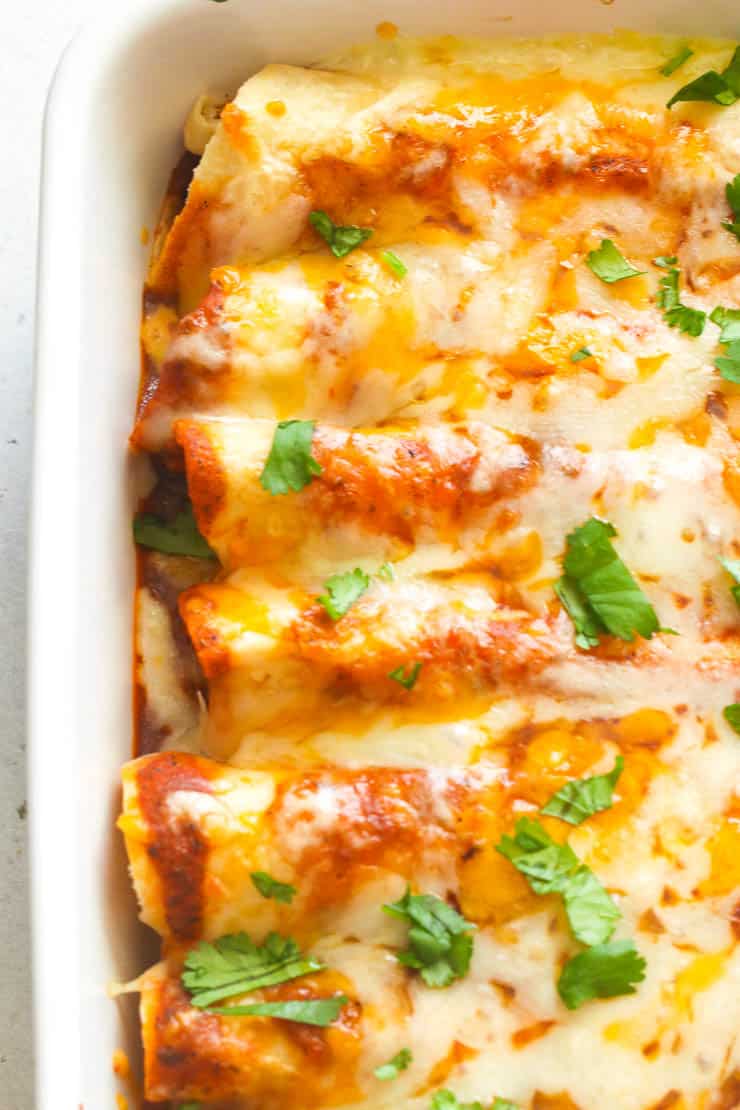
Recipe Ingredients
- Shredded Chicken. Here’s my recipe on how to make Shredded Chicken, but you can always use any leftover roast chicken or poached chicken. Chicken is my favorite meat to use in my enchiladas. It’s kid-friendly, inexpensive, and doesn’t take too much time to cook.
- Canned Black Beans. Adding beans to this dish adds texture and is rich in protein, making it more satisfying and filling. Plus, beans have a lot of health benefits and nutrition content, so don’t skip this hearty bean. 😉
- Mexican Cheese. Mostly made from cow’s milk. It’s very creamy and smooth, the perfect addition to this Mexican comfort food bites. And besides, what’s not to love with cheesy chicken enchiladas?
- Green Onions. A pungent straw-like veggie that’s often used as a garnish but also gives interesting flavor complementing the whole dish.
- Enchilada Sauce. It’s alright to use store-bought enchilada sauce. But if you really want to make your enchiladas the “best” kind of vibe and flavor, I suggest making your own sauce so you’ll have more control over the additions of spices you like. Click here to try my best-tasting Homemade Enchilada Sauce.
- Flour Tortillas. They are not called enchiladas without these goodies to wrap the fillings. Don’t forget to warm them before you add the filling so they won’t break apart. You can make your own with my Flour Tortillas recipe here.
- Salt and Black Pepper. Basic seasonings intensify the flavor in any dish and give a flavor boost.
- Sour Cream. A staple condiment to add to almost any Mexican dish. I like adding them to my burritos, tacos, and quesadillas. It neutralizes the spiciness and makes the dish richer and tastier.
How to Make Chicken Enchiladas
Prep and Make the Filling
- Preheat – Preheat the oven to 350 degrees F. Then Lightly spray a 9×13 baking dish or casserole with cooking spray.
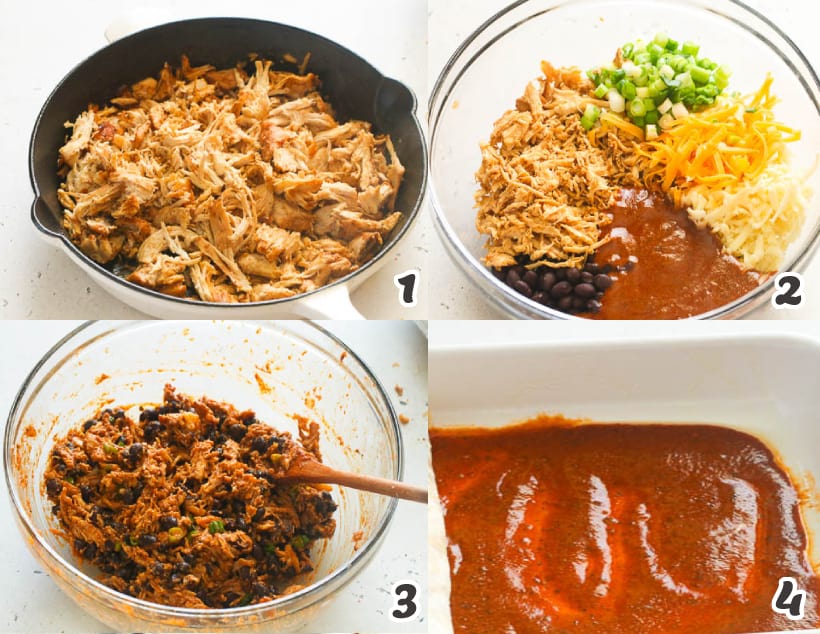
- Combine and mix – Place shredded chicken in a bowl, together with beans, shredded cheese, green onions, and ½ cup enchiladas sauce. Mix until fully combined. Season to taste with salt and pepper. Set aside. (Photos 1-3)
- Spoon and spread the sauce – Spoon enough enchilada sauce into the bottom of the casserole dish. Spread around to coat. (Photo 4)
Assemble and Bake
- Microwave the tortillas – Place a few tortillas at a time on a plate, and cover them with a damp paper towel. Microwave them in 30-second increments or until they are warmed through.
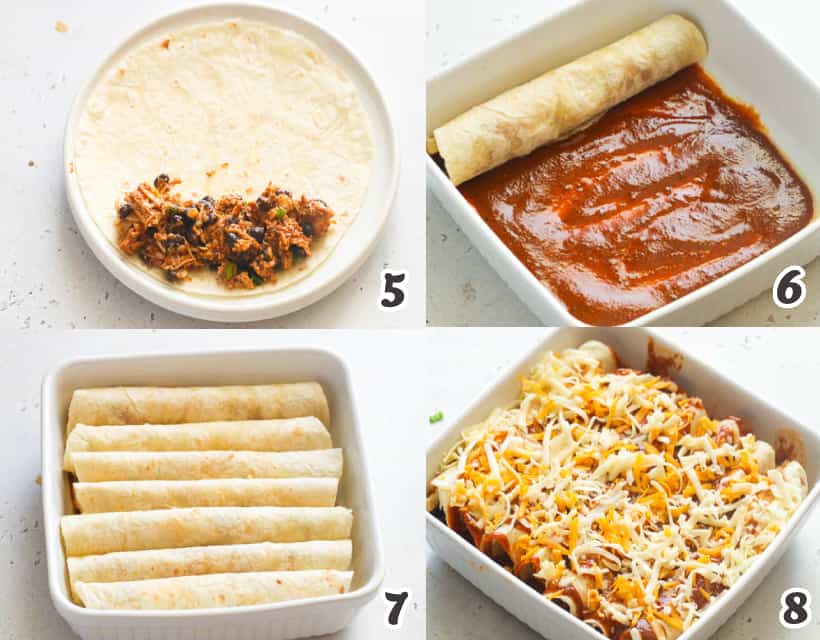
- Add the fillings and roll – Place tortillas one at a time on a flat surface or plate, then add ⅓ cup of chicken filling to the tortilla, about 1 inch from the edge. Tightly roll up tortillas and place them seam side down on the prepared casserole dish. (Photos 5-6)
- Repeat – Repeat the process with the remaining chicken filling. (Photo 7)
- Pour sauce and top with cheese – pour the remaining enchiladas sauce over the enchiladas. Then top with the remaining cheese. (Photo 8)
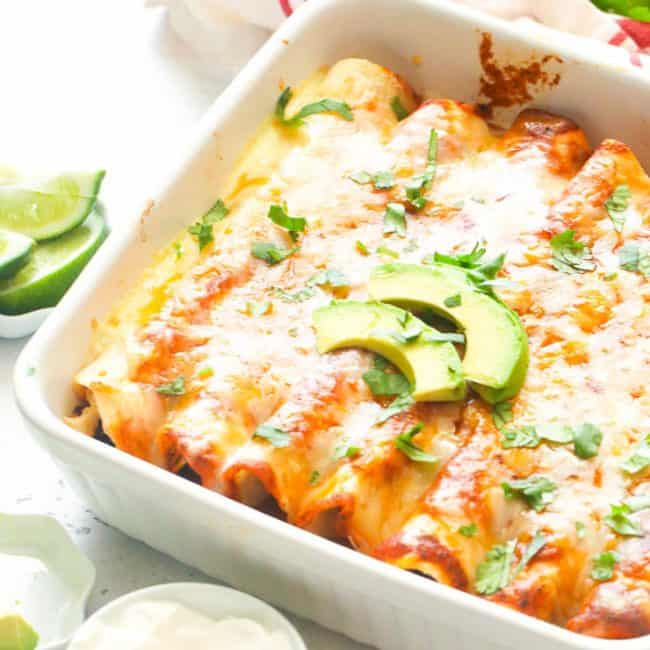
- Bake – Place the pan in the oven and bake uncovered for 15-20 minutes or until the cheese is melted and the enchiladas are hot and bubbly.
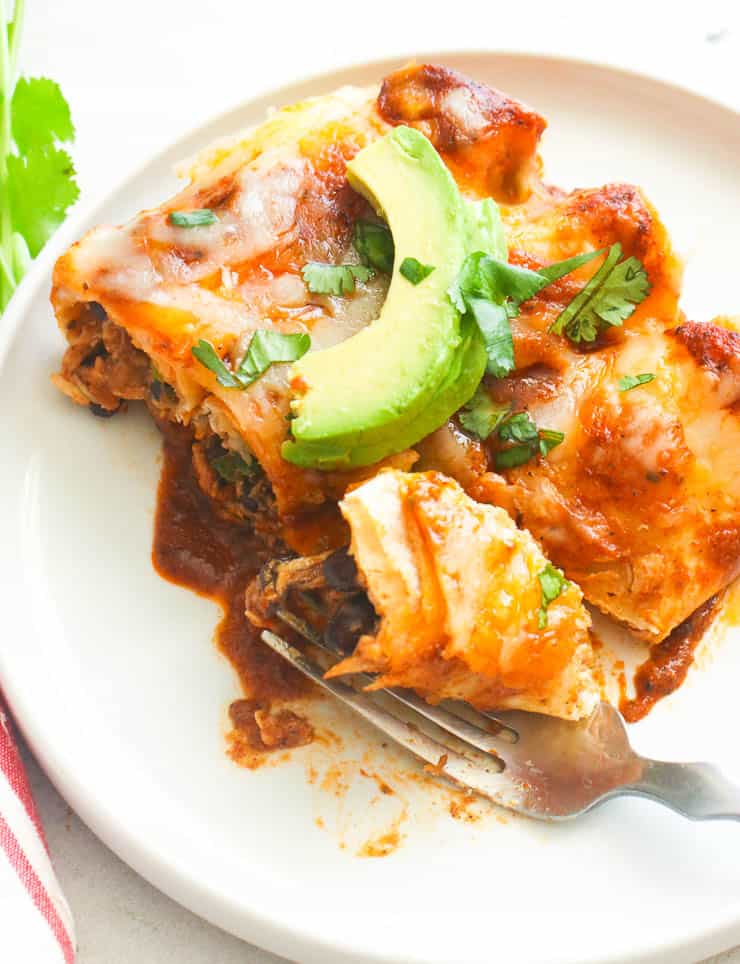
- Serve warm – Serve with sour cream and cilantro.
Recipe Variations
Quick Substitutes
- Corn Tortillas. Originally, the enchiladas recipe uses corn tortillas. I just prefer using flour tortillas because they’re easier to roll. Click here for my Homemade Tortilla Recipe.
- Greek Yogurt or Plain Yogurt. This is almost similar to sour cream in terms of taste and texture making it the best replacement and it’s cheaper. 😉
- Taco Sauce. Just add a little bit of chicken or vegetable broth to slightly dilute the sauce. You can also add more extra chili powder, cumin, garlic powder, or added chilies for a flavor boost.
Cheeses
You can replace Mexican cheese with any or combinations of your favorite cheeses like:
- Monterey Jack and Cheddar cheese. Strong cheesy flavor with a smooth melty texture when heated or cooked.
- Provolone Cheese. This has a creamy, well-rounded flavor of aged cheese. It varies from mild-tasting to sharp depending on the type used.
- Romano Cheese. This cheese has a creamy white appearance with a sharp and piquant flavor, commonly used in pizza and pasta.
- Cottage Cheese. Has fewer calories, so if you’re on a diet, this one is for you.
- Ricotta Cheese. Though it has a grainy texture, it’s still a great substitute because of its rich flavor.
For Vegan Version
- Beans. Replace the chicken or meat with additional beans to make these enchiladas meat-free. The three-bean filling with a mix of sautéed vegetables like carrot and bell pepper also tasted great.
- Vegan Cheese. The texture is slightly different from regular cheese, but the taste is similar.
Flavorful Extras
Make these easy chicken enchiladas fancier and indulge with a few additions like:
- BBQ Sauce. If you want your enchiladas to taste extra spicy, then add some hot sauce or BBQ sauce to the shredded chicken, and you will simply love the taste of it.
- Avocados or Mashed Potatoes. Adding a layer of mashed avocados or mashed potatoes over the tortillas before adding the filling is another way to make the dish more nutritious and even more delicious.
- Vegetables. If you don’t like the combination of black beans with chicken, then you can add vegetables like bell pepper, spinach, or carrots instead.
Recipe Variations
This enchilada recipe can be prepared in a variety of ways. Yes! The creative chef in me never lets me settle down to a single variety of a recipe, so I tried making these easy enchiladas with a variety of fillings and toppings.
Dessert Enchiladas
- Apple Cinnamon – combining 2 comfort food in 1, turning your apple pie into enchiladas. Yummy!
- Strawberry and Cream Cheese Stuffed Enchiladas – Cheesecake in tortilla roll-ups. Yeah! Life is really getting better!
More Creative Takes on Enchiladas
- Enchilada Lasagna – so instead of rolling the tortillas, you layer them like in lasagne. It can be meaty or vegetarian, add some cheese and enchilada sauce and you’re all set.
- Mini Enchilada Tacos – no rolling needed; just bake your mini tortillas, brushed with a little butter, to make them crispy and firm. And then, top with your favorite toppings with drizzles of enchilada sauce.
Making Ahead and Storage Instructions
Prep your Chicken Ahead
- Season, Cook, and Shred: Sear or bake the chicken breast after seasoning with olive oil, black pepper, and salt, then shred it using a fork.
- Store: Place the shredded chicken in a sealed container. Refrigerate for up to 4 days or freeze up to 3 months.
If you are feeding a big crowd or just craves an enchilada almost every day, you can make a big batch ahead of time and store them.
Storing Unbaked Assembled Enchiladas and Leftover
- Storing: Assemble them in a baking dish or oven-safe foil pan. Or place them in a dry and clean sealed container or freezer-safe Ziplock bags.
- Refrigerating: Both can stay freshly refrigerated for up to 2-3 days.
- Freezing: It can be frozen for up to 3 months.
- Reheating: Reheat for 20-30 minutes (refrigerated) and 45 minutes (frozen) at 350 °F, no need to thaw.
Note: Make sure to wrap them nicely to prevent freezer burn. I suggest storing them in foil pans so you can heat them in small batches.

What to Serve with Chicken Enchiladas
These Chicken Enchiladas won’t be complete without side dishes. Good thing, we have plenty of choices of sides to turn this dish into a full meal! Here are some:
More Popular Mexican Food
Try these other Mexican foods for your next meal plan!
Watch How to Make It
[adthrive-in-post-video-player video-id=”taRxFB89″ upload-date=”2021-04-12T07:46:16.000Z” name=”Chicken Enchilada.mp4″ description=”Rich, cheesy, and super saucy Chicken Enchiladas to adorn your dinner table with its ultimate blast of colors and flavors. This quick and easy-to-make recipe is made more amazing with my best-tasting Homemade Enchilada Sauce! Perfect comfort food to share with your family and friends.” player-type=”collapse” override-embed=”false”]
Chicken Enchiladas
Ingredients
- 3-4 cups shredded chicken
- 1 15-ounce can black beans drained and rinsed
- 1½ cups or more (225g or more) Mexican cheese, shredded
- 2-3 tablespoon (12-18g) green onions, chopped
- 1½-2 cups enchilada sauce, homemade or store-bought
- Salt and pepper to taste
- 8-10 8-inch flour tortillas warmed
- ½ cup (120g) sour cream to serve
- cilantro, to serve
Instructions
- Preheat the oven to 350 degrees F. Then lightly spray a 9×13 baking dish or casserole with cooking spray.
- Place shredded chicken in a bowl, together with beans, shredded cheese, green onions, and ½ cup enchiladas sauce. Mix until fully combine. Season to taste with salt and pepper. Set aside.
- Spread half of the enchilada sauce into the bottom of the casserole dish. Spread around to coat.
- Place a few tortillas at a time on a plate, cover them with a damp paper towel. Microwave them in 30-second increments or until they are warmed through.
- Place tortilla one at a time on a flat surface or plate then add ⅓ cup of chicken filling in the tortilla, about 1 inch from the edge. Tightly roll up tortillas and place them seam side down on the prepared casserole dish.
- Repeat the process with the remaining chicken filling.
- Pour remaining enchiladas sauce over the enchiladas. Then drizzle the remaining cheese on top.
- Transfer the enchiladas pan to the oven and bake for 15-20 minutes until bubbly.
- Serve with sour cream and cilantro.
Tips & Notes:
- Mexican cheese is made from cow’s milk. You can buy them in ethnic-food groceries or online like at igourmet.com. If you can’t get one, you may replace it with Mozzarella, Jack Cheese, Provolone, Romano, or French Feta for these enchiladas.
- Use leftover chicken – If you don’t have time to make this Shredded Chicken here, you can always use any leftover shredded roast chicken or poached chicken.
- Store-bought rotisserie chicken – you can put the shredded chicken into sandwich bags and freeze them so they’ll be ready to use any time.
- Use quality corn/flour tortillas – to make sure your enchiladas won’t break apart while assembling
- Just enough sauce – too much sauce will make them soggy.
- Brush some sauce – add a thin layer of sauce at the bottom of the baking dish so the enchiladas won’t stick at the bottom and to ensure proper saturation of sauce.
- Use homemade enchilada sauce – Good enchiladas rely on a good sauce.
- Spice it up – Adding a little kick of spiciness goes a long way!
- Serve warm – These chicken enchiladas taste best when served fresh and warm, straight from the oven!
- Feel free to double the ratio if you think you need more servings.
- Nutritional information is provided as a courtesy only. Please keep in mind that it is a rough estimate rather than a guarantee. Ingredients can vary greatly based on the products used.
Rona says
I really loved this recipe.I made it for dinner, it was simple to make and my family loved it. Would definitely recommend
Immaculate Bites says
Thank you so much, Rona!