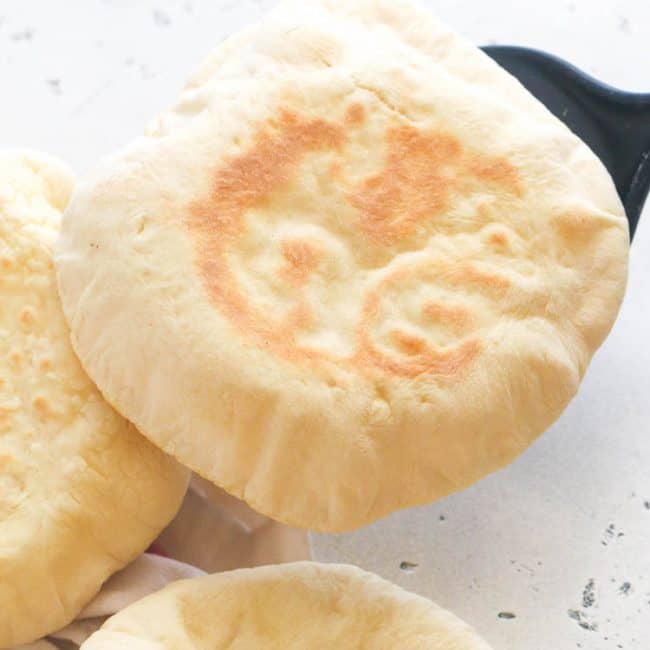
Easy homemade PITA BREAD perfectly served with any saucy dish or as a light snack. One would never be enough, so grab another piece because this freshly baked good is all worth it. The best thing about this is that it saves a lot of food from being wasted coz you can pair it from veggies to meat, and even dips.
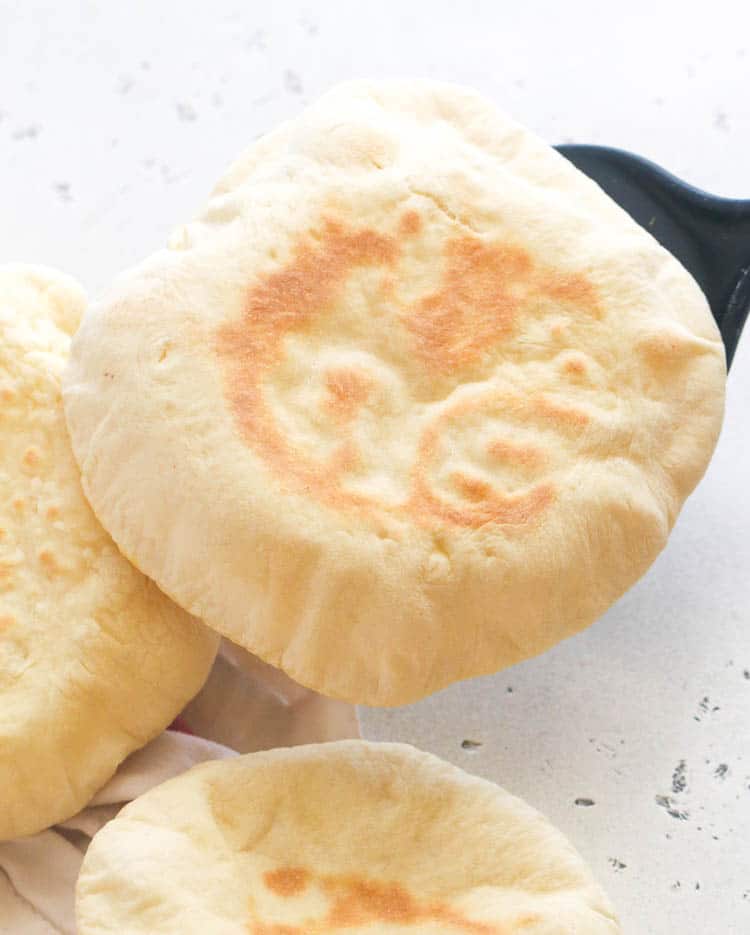
Sauces? Yes! Veggies? Yes! Meat? Oh goodness, YES! I have tried almost everything on pita bread, even from sauces to desserts, and all I could say is “yes yes yes!”.
If you’ve read this far into the blog, you’d know that I love the whole experience of dining great food. This baked good in particular highlights all aspects of that.
Personally, I consider Pita as an all-around food because you can eat it with almost anything and it takes you to the whole journey of the food. From the aroma, the texture, the visuals, and most importantly the taste of pita bread will surely make your mouth water. It’s hard to resist so why not just give in?
What is Pita Bread?
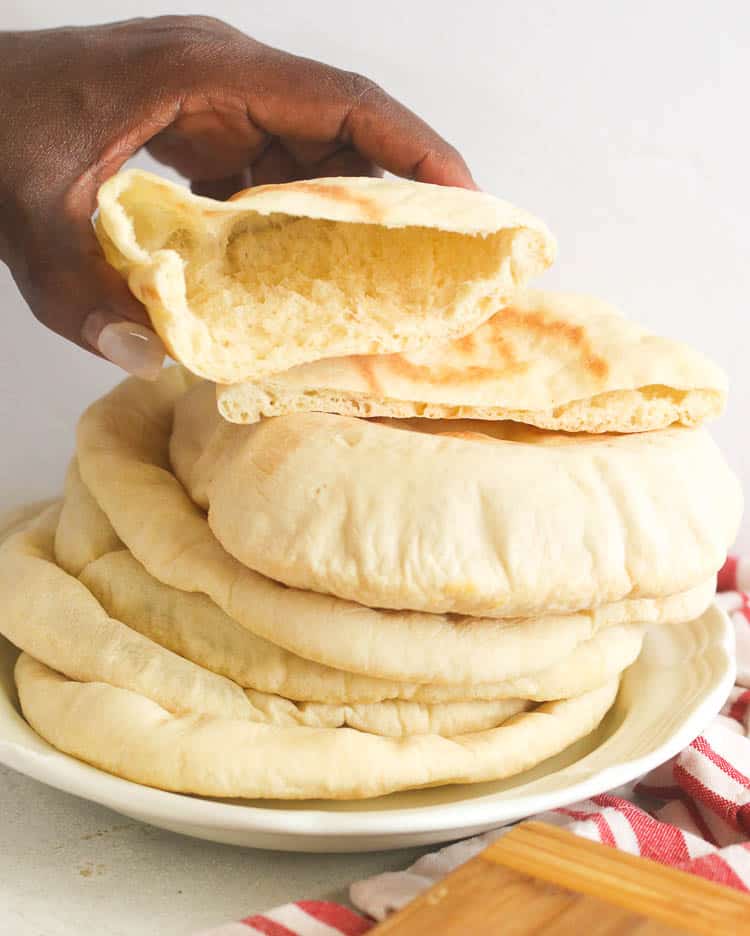
One of the earliest food in recorded history, Pita is a popular food served in ancient times. It originated from the Middle East and quickly spread throughout neighboring countries. The tradition of making these has been passed down to different generations but this simple pita bread recipe remained true to its original form.
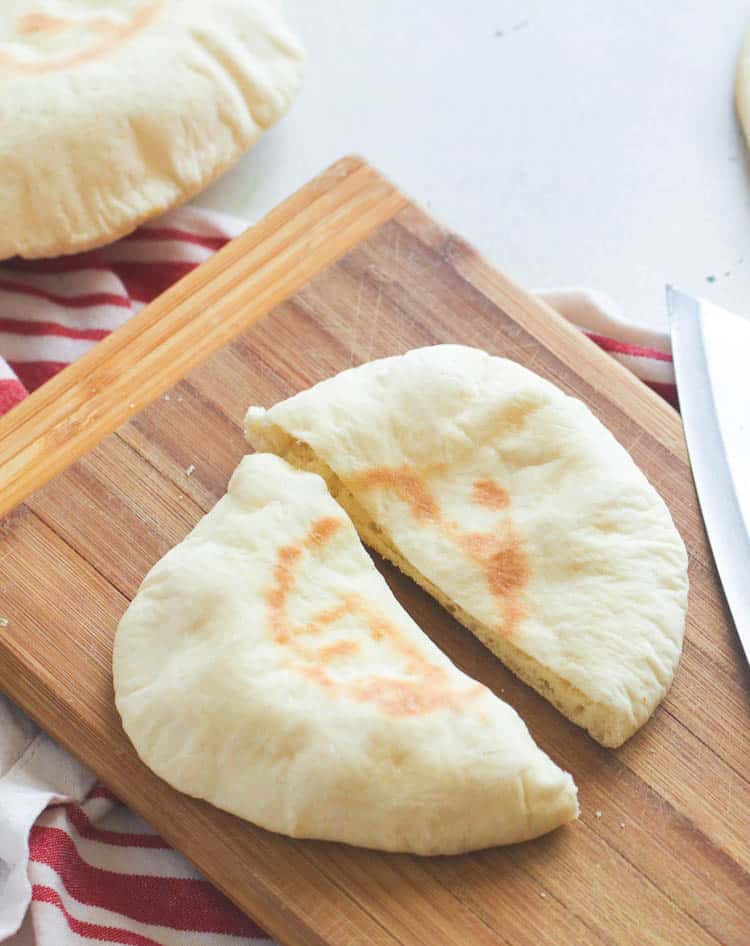
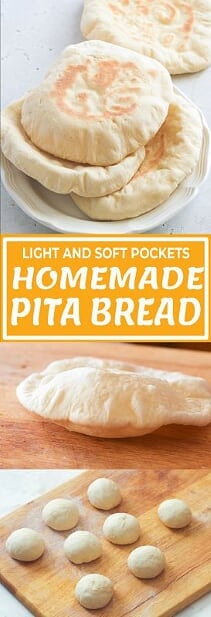
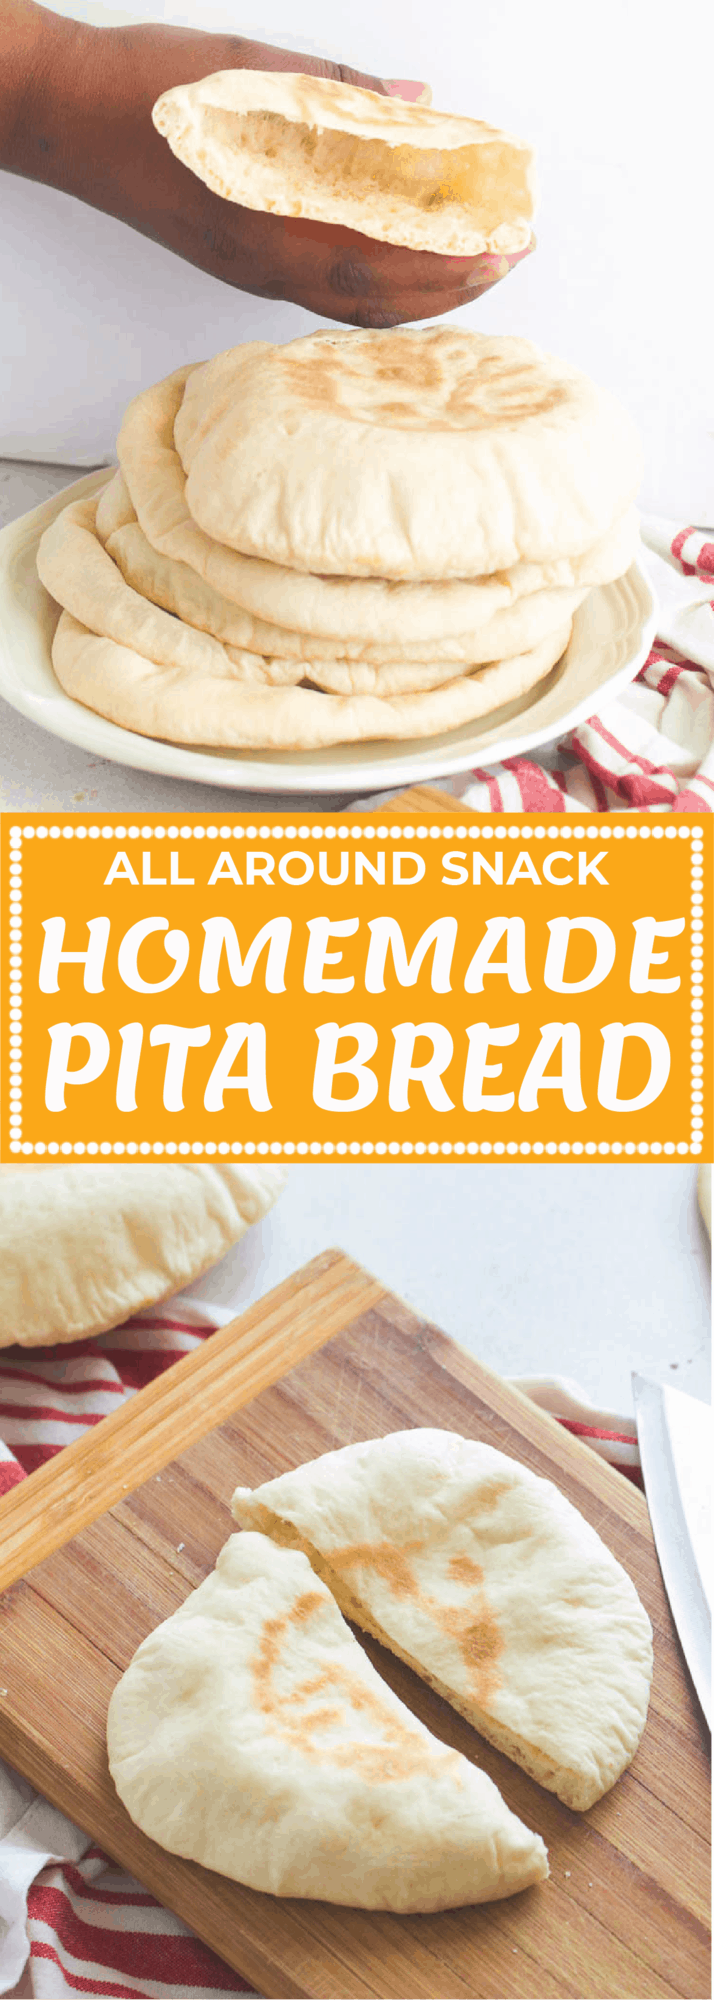
A lot of different variations of the pita bread were developed as it became more popular around the world. You can still recognize a good pita bread by simply looking at it. A baked soft, moist, flatbread, and most oftentimes has pockets to hold all the food you wish to pair it with.
Pita Bread Ingredients
Salt, water, flour, and yeast. These are the basic elements that make up Pita bread. Each ingredient has a huge importance for the whole food. Since we’re going to make a modern take on the original flatbread, it’s best that we know the ingredient that we are going to work with.
Salt and sugar– are two dry ingredients of our Pita Bread Recipe that regulates the water in our mixture. These two also helps in the flavoring department.
Flour – is basically what makes the body of our bread. We are going to use all-purpose flour for this recipe. Feel free to use half all-purpose flour and half whole wheat flour.
Yeast – this important ingredient makes our bread soft and a bit of airy inside. The activation of the yeast makes our flatbread rise and evenly bake. If your yeast doesn’t bubble up after being soaked in warm water, then your yeast might have died or is expired. Replace it right away.
Water – to bind it all together.
Olive oil – for lubricating the mixture, additional flavor, and making sure our pita bread is moist.
Storage and Making Ahead Instructions
Can the Dough be Made Ahead of Time?
Yes, you can prepare the dough ahead of time. Once it has risen, you can store away the dough in the fridge for up to a week. And when you want to enjoy some, just grab 2 or 3 dough balls, flatten them and bake away.
Can you freeze Pita Bread?
Yes, you can! Although freshly baked pita bread is always better.
To freeze Pita Bread, place cooled pitas in an airtight bag or Ziploc bag. Make sure to place a small parchment paper between each side so that you can easily separate them. Freeze for up to 3 months.
Once you’re ready to serve it again, just warm them up on low to medium heat in a skillet or in a medium-heated oven. No need to thaw.
What to eat with Pita Bread?
Pita is often served as it is – plain and simple. The reason for this is because it is served alongside with different sauces and dishes that you could apply to it. I’ve preselected a few dishes you could eat with your homemade pita bread:
More Easy Bread Recipes
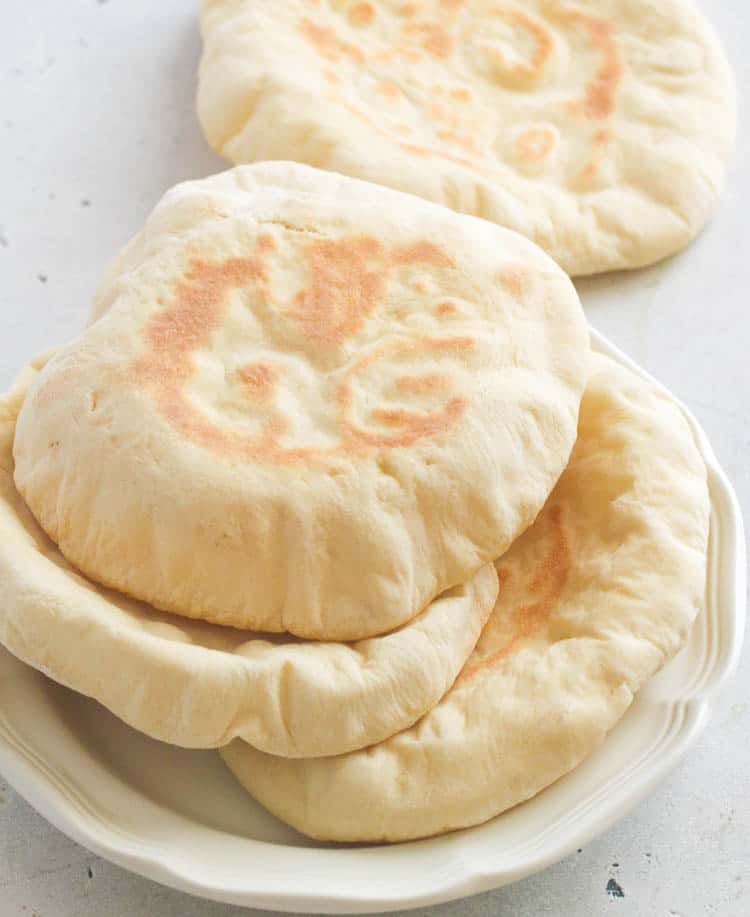
How To Make Pita Bread
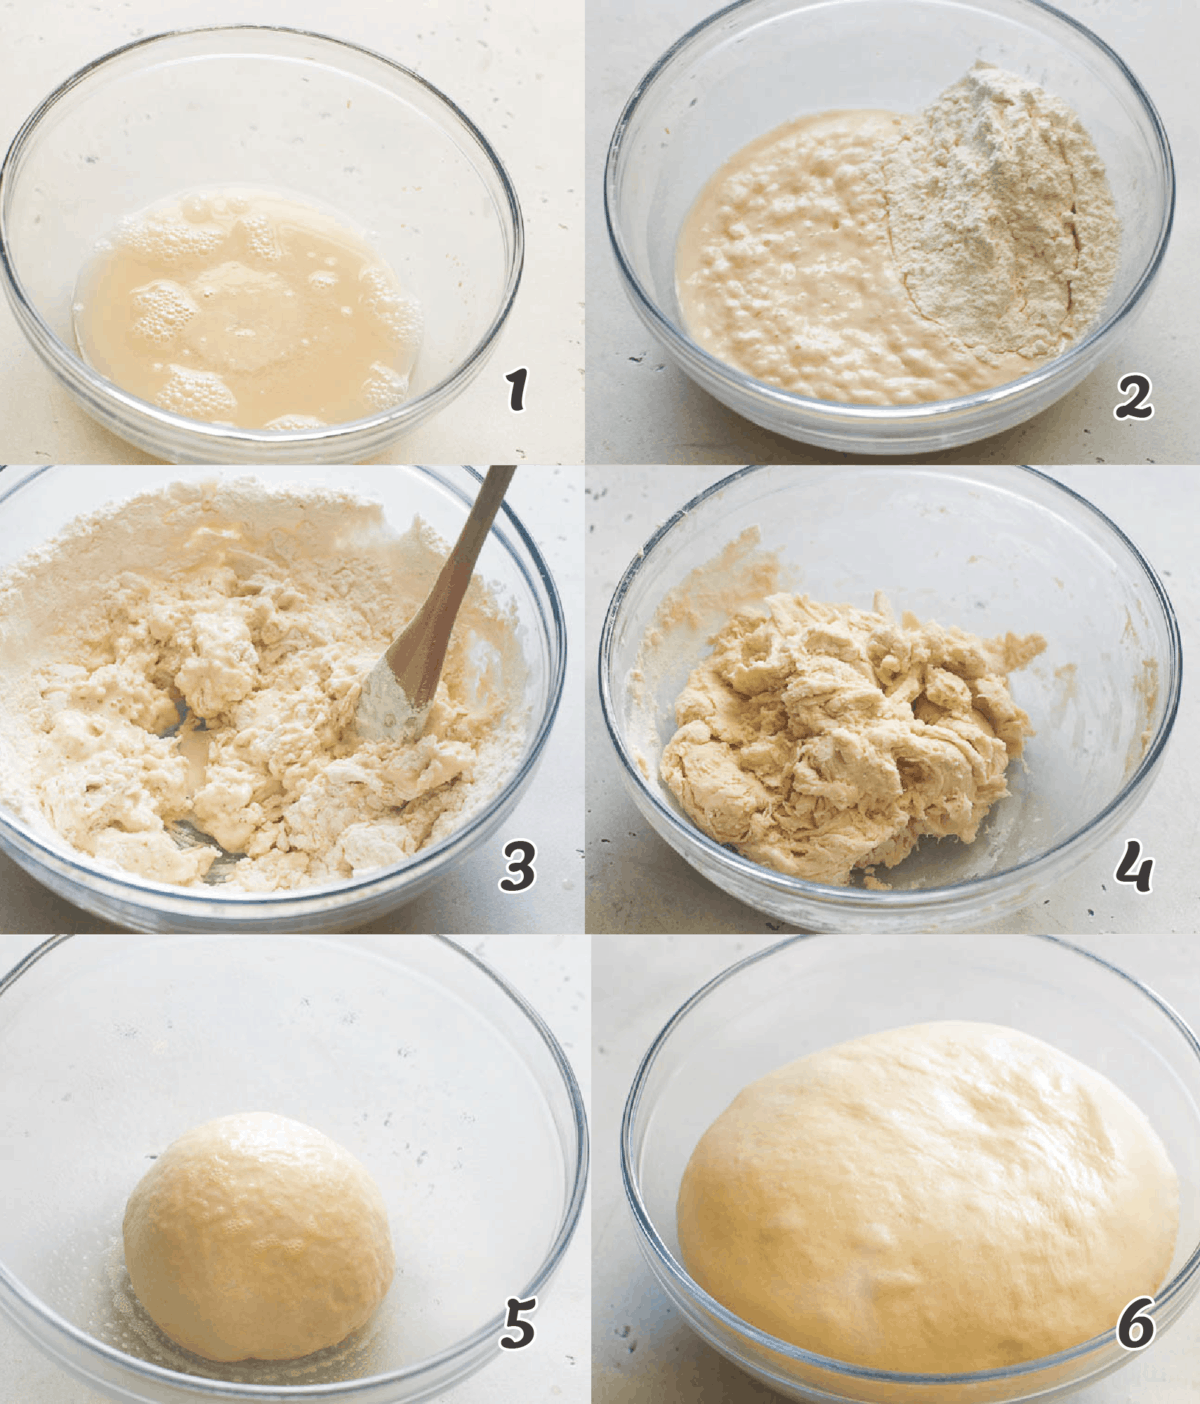
Start with warm water in a large mixing bowl. Add yeast and sugar. Stir to dissolve. Add 1/4 cup all-purpose flour and whisk together. Put the bowl in a warm (not hot) place, uncovered, until mixture is frothy and bubbling, about 15 minutes. Add salt, olive oil, and nearly all remaining all-purpose flour (reserve 1/2 cup). With a wooden spoon or a pair of chopsticks, stir until mixture forms a shaggy mass. Dust with a little reserved flour, then knead in bowl for 1 minute, incorporating any stray bits of dry dough. Turn dough onto a work surface. Knead lightly for 2 minutes, until smooth. Cover and let it rest for 10 minutes, then knead again for 2 minutes. Try not to add too much-reserved flour; the dough should be soft and a bit moist. (At this point, the dough may be refrigerated in a large zippered plastic bag for several hours or overnight. Bring dough back to room temperature, knead into a ball and proceed with the recipe.)
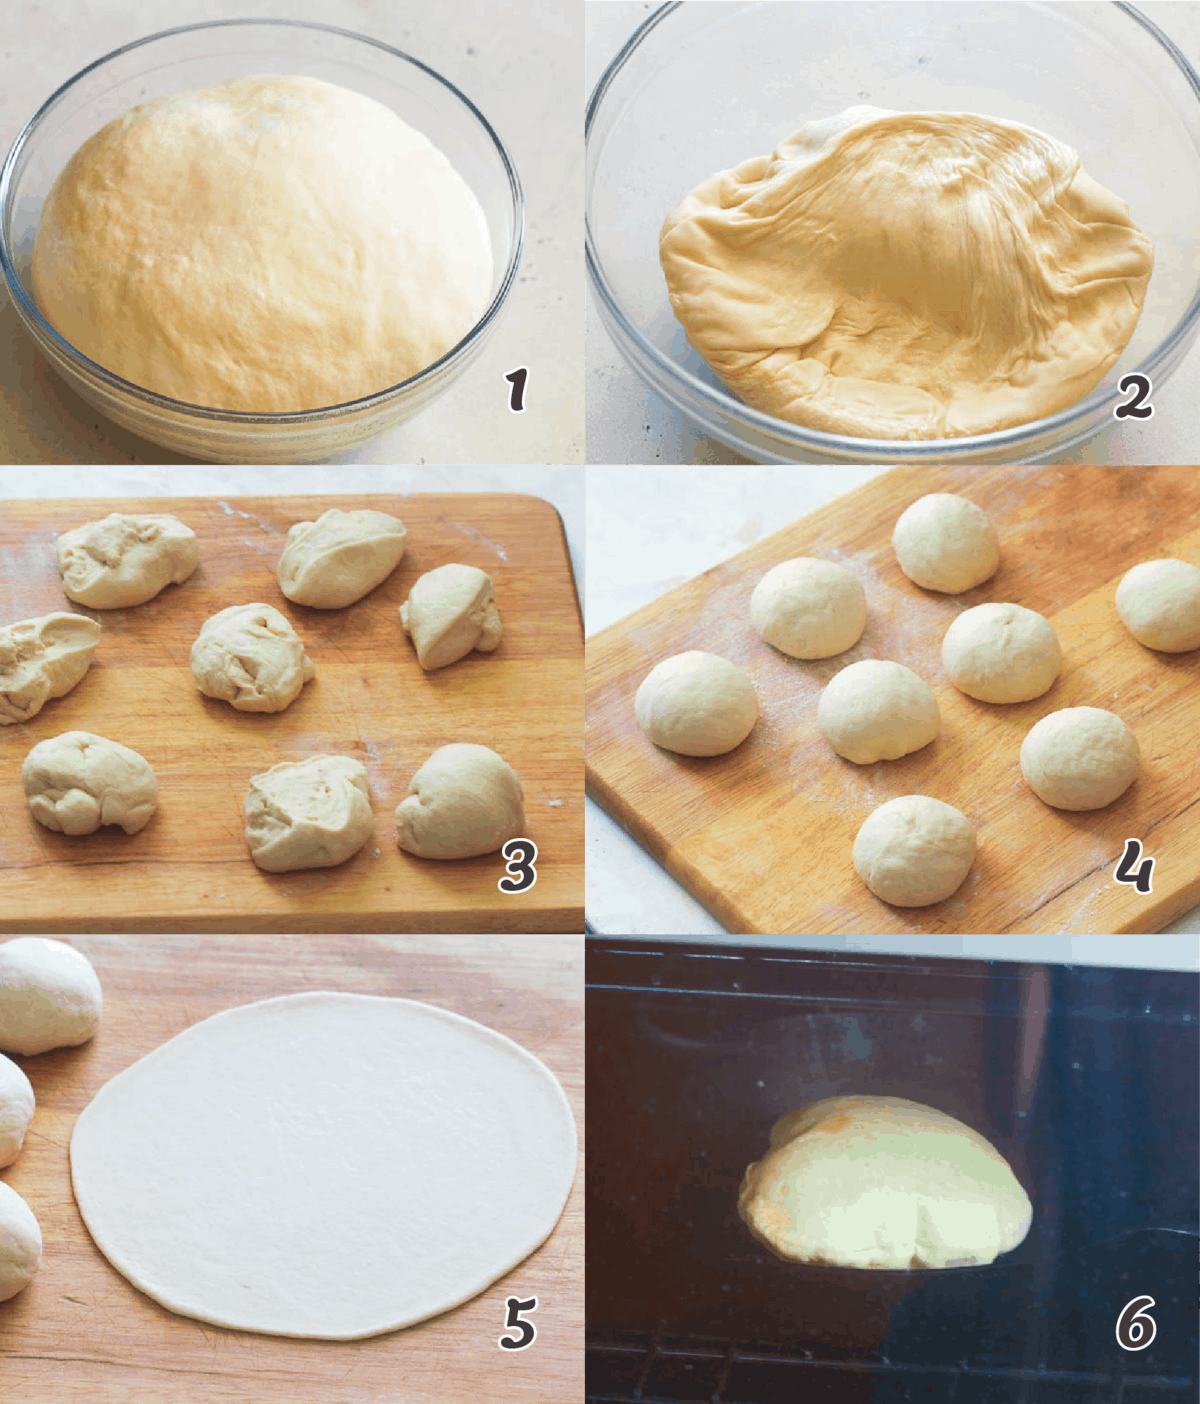
Clean the mixing bowl and put the dough back in it. Cover bowl tightly with plastic wrap, then cover with a towel. Put the bowl in a warm (not hot) place. Leave until dough has doubled in size, about 1 hour. Heat oven to 475 degrees F. On the bottom shelf of the oven, place a heavy-duty baking sheet, large cast-iron pan or ceramic baking tile. Punch down dough and divide into 8 pieces of equal size. Form each piece into a little ball. Place dough balls on the work surface, cover with a damp towel, and leave for 10 minutes. Remove 1 ball (keeping others covered) and press into a flat disk with a rolling pin. Roll to a 6-inch circle, then to an 8-inch diameter, about 1/8 inch thick, dusting with flour if necessary. (The dough will shrink a bit while baking.)
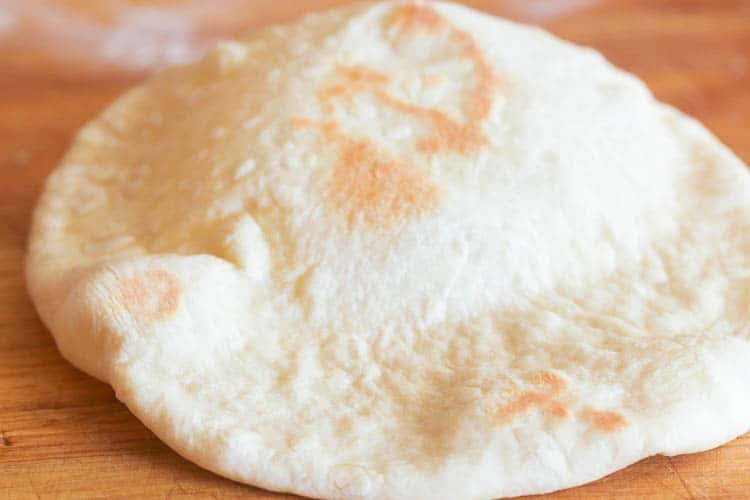
Carefully lift the dough circle and place quickly on a hot baking sheet. After 2 minutes the dough should be nicely puffed. Turn over with tongs or spatula and bake for 1 more minute. The pita should be pale, with only a few brown speckles. Transfer warm pita to a napkin-lined basket and cover so bread stays soft. Repeat with the rest of the dough ball.
Pita Bread
Ingredients
- 1 ¼ cup warm water (90 to 100 degrees F/32 to 38 degrees C)
- 2 teaspoons dry yeast
- ½ teaspoon sugar
- 3 cups all-purpose flour
- 1 ¼ teaspoon salt
- 2 teaspoons olive oil
Instructions
- Start with warm water in a large mixing bowl. Add yeast and sugar. Stir to dissolve. Add the 1/4 cup all-purpose flour and whisk together. Put the bowl in a warm (not hot) place, uncovered, until mixture is frothy and bubbling, about 15 minutes.
- Add salt, olive oil, and nearly all remaining all-purpose flour (reserve 1/2 cup). With a wooden spoon or a pair of chopsticks, stir until mixture forms a shaggy mass. Dust with a little reserved flour, then knead in bowl for 1 minute, incorporating any stray bits of dry dough.
- Turn dough onto work surface. Knead lightly for 2 minutes, until smooth. Cover and let it rest for 10 minutes, then knead again for 2 minutes. Try not to add too much reserved flour; the dough should be soft and a bit moist. (At this point, the dough may be refrigerated in a large zippered plastic bag for several hours or overnight. Bring dough back to room temperature, knead into a ball and proceed with the recipe.)
- Clean the mixing bowl and put the dough back in it. Cover bowl tightly with plastic wrap, then cover with a towel. Put the bowl in a warm (not hot) place. Leave until dough has doubled in size, about 1 hour.
- Heat oven to 475 degrees F. On the bottom shelf of the oven, place a heavy-duty baking sheet, large cast-iron pan or ceramic baking tile. Punch down dough and divide into 8 pieces of equal size. Form each piece into a little ball. Place dough balls on the work surface, cover with a damp towel and leave for 10 minutes.
- Remove 1 ball (keeping others covered) and press into a flat disk with a rolling pin. Roll to a 6-inch circle, then to an 8-inch diameter, about 1/8 inch thick, dusting with flour if necessary. (The dough will shrink a bit while baking.)
- Carefully lift the dough circle and place quickly on a hot baking sheet. After 2 minutes the dough should be nicely puffed. Turn over with tongs or spatula and bake for 1 more minute. The pita should be pale, with only a few brown speckles. Transfer warm pita to a napkin-lined basket and cover so bread stays soft. Repeat with the rest of the dough ball.
Tips & Notes:
- Why won't my Pita Bread Puff? This is a common problem for first-timers, homemade pita bread should rise and create the pockets if the oven or the skillet is hot enough. To ensure this, make sure that you have preheated your skillet and oven and you have thawed and rested your dough.
- But even if you don't puffy pita bread, they are still delicious and make a great wrap or torn into pieces for dipping in hummus.
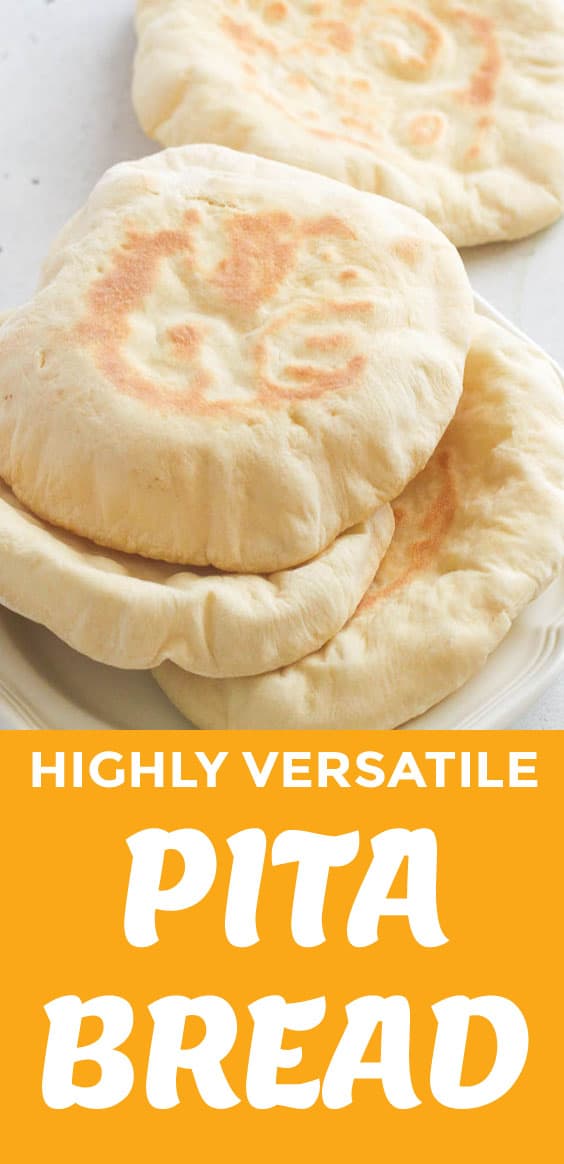
- Which method is best to use - oven or skillet? There's no right or wrong between the two coz they both have advantages and disadvantages, In the oven, pitas naturally puff more grandly with softer pockets, however, they look pale and taste mild. On the stovetop, you don't get to achieve that nice puff, however, the flavor is better with those crunchy toasted spots. You can make several pitas in the oven at one go, whereas you'll have to cook them individually when on a stovetop. So both method actually works. Just choose what works better for you.
- Please keep in mind that nutritional information is a rough estimate and can vary greatly based on products used.
Nutrition Information:
Mariela Hillery says
I wanted to send you a tiny observation to finally give thanks over again with the awesome tricks you have contributed above. It has been particularly generous of you to allow unhampered just what most people could possibly have offered for sale as an electronic book to generate some dough for their own end, and in particular considering that you could have done it if you ever considered necessary. The points also worked to become great way to be aware that other people have the identical dream really like my personal own to see more on the topic of this issue. I’m certain there are several more enjoyable situations up front for those who examine your blog.
Tomasz M says
I’ve made pita bread many times before, but this is the best recipe so far. Already made the bread few times according to this one. My wife also loves it!!!
Thank you!
ImmaculateBites says
Yay! Thanks so much. Glad to hear it worked out well for you.
Dean Theo says
Very good! I got mine a lil too thick, but just had to cook a lil longer. It was so delicious though ^_^ thanks for posting!
Juliet says
I tried, and the majority actually puffed up all the way through! I’m sulee excited!!!! Thank you so kuch
ImmaculateBites says
Fantastic! Happy to hear this .
Wendy says
Hola Imma; Un imprescindible en casa, no podría ser de otra manera, ya que mi marido es árabe (Saudí). Yo lo hago sin levadura. Lo que realmente hace que se hinflen es lo delgado que son, es el mismo mecanismo de las patatas sufflé. Que sería del Hummus ó Mutakbal ó baba ganush sin pan pita ja ja ja ja.
Nunca te lo he dicho pero me alucinan tus fotos, son preciosas! Felicidades por hacer tan buen trabajo. Cuídate mucho. Besitos
ImmaculateBites says
¡Oh, muchas gracias por la buena revisión, Wendy :)!
¡Realmente calienta mi corazón!
Tawana says
Hi,
When making the pita dough do you have to refrigerate or is that just and FYI if not make immediately? Also, can do be placed in conv. oven on proof setting to keep warm?
imma africanbites says
Hi. You don’t necessarily need to refrigerate the pita bread dough. Proceed to step 4 right away, once you’re done kneading the dough in step 3.
Judy says
Can this be done gluten free?
Billie says
I love Pita bread! I”m excited to make my own! Don’t know why I never tried before. Thanks Imma for sharing, I’m going to make some to have with egg salad for my lunches!
Jamie says
Imma, you’re always so on point! Love getting your email updates with recipes. Saw this one come in this morning and was thrilled because I’ve had a hard time finding pita bread at the store lately. Love all your recipes and appreciate the constant meal inspiration! Can’t wait to try this one!
Pratham says
Fibulas mind blowing
Just like INDIAN KHAMIR “ROTI”
ImmaculateBites says
Yes it is.