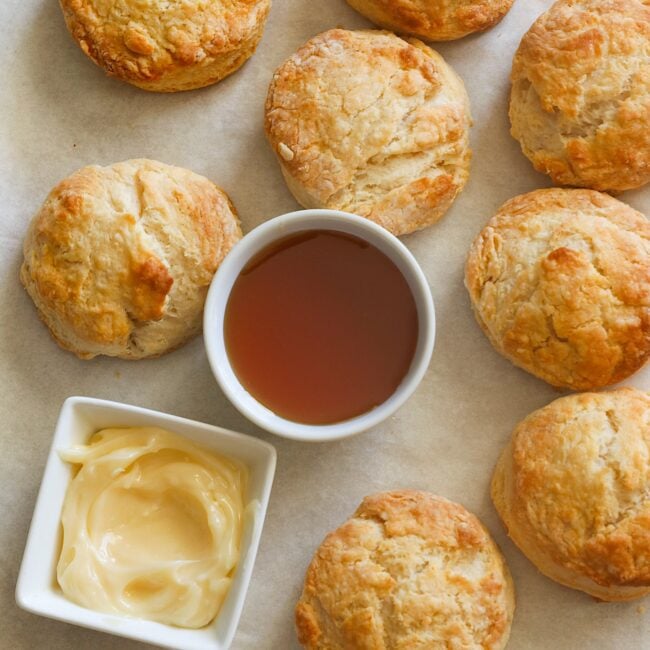
Honey Butter Biscuits Recipe – Flaky and tender, these buttery, just sweet biscuits are perfect for breakfast, lunch, dinner, or a snack! And they’re ideal for a big get-together or a cozy family meal. 🫶
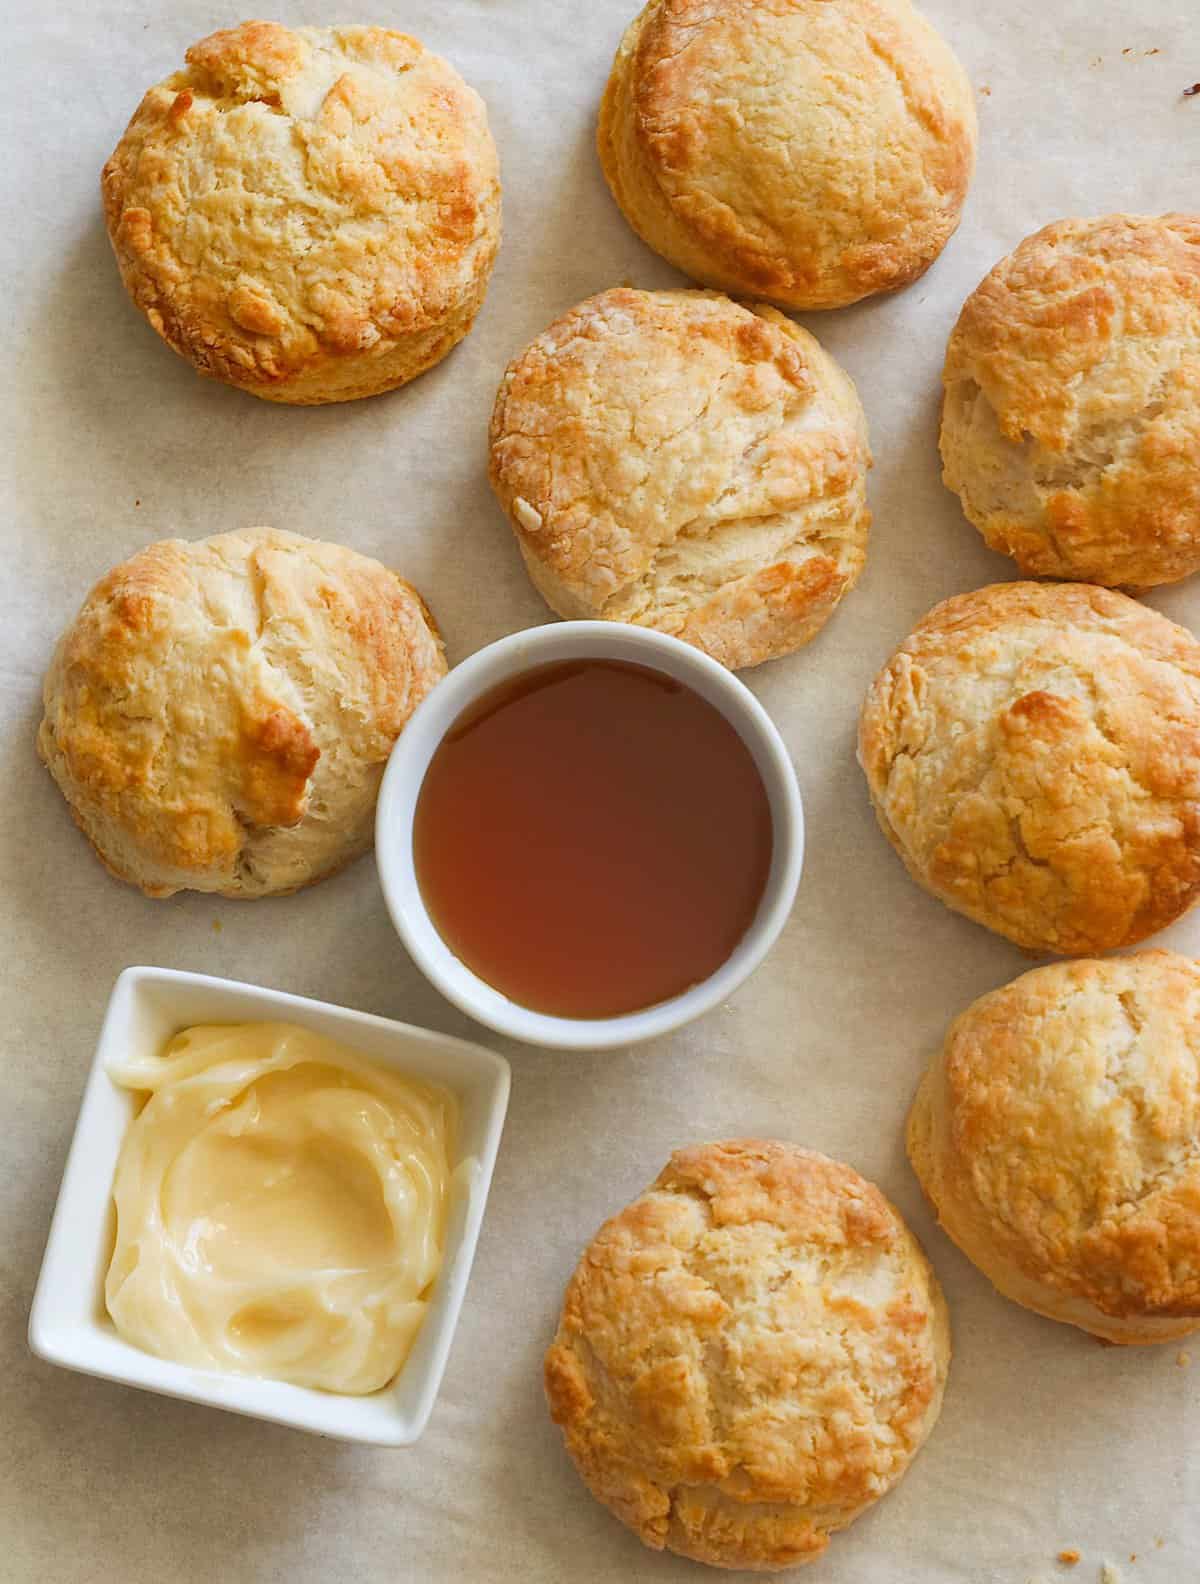
Is there anything better than homemade biscuits with honey? Yes! Homemade honey butter biscuits! These babies are everything you love about a Southern classic, lightly sweetened with honey. And you can slather them with a delightful honey butter spread to boot.
Homemade biscuits might sound intimidating, but I’d like to encourage you to give them a try anyway. It takes a little practice, but they come together in no time once you get the hang of it. Plus, I’m sharing all my best tips so you can avoid making the same mistakes I did in the beginning. 😅
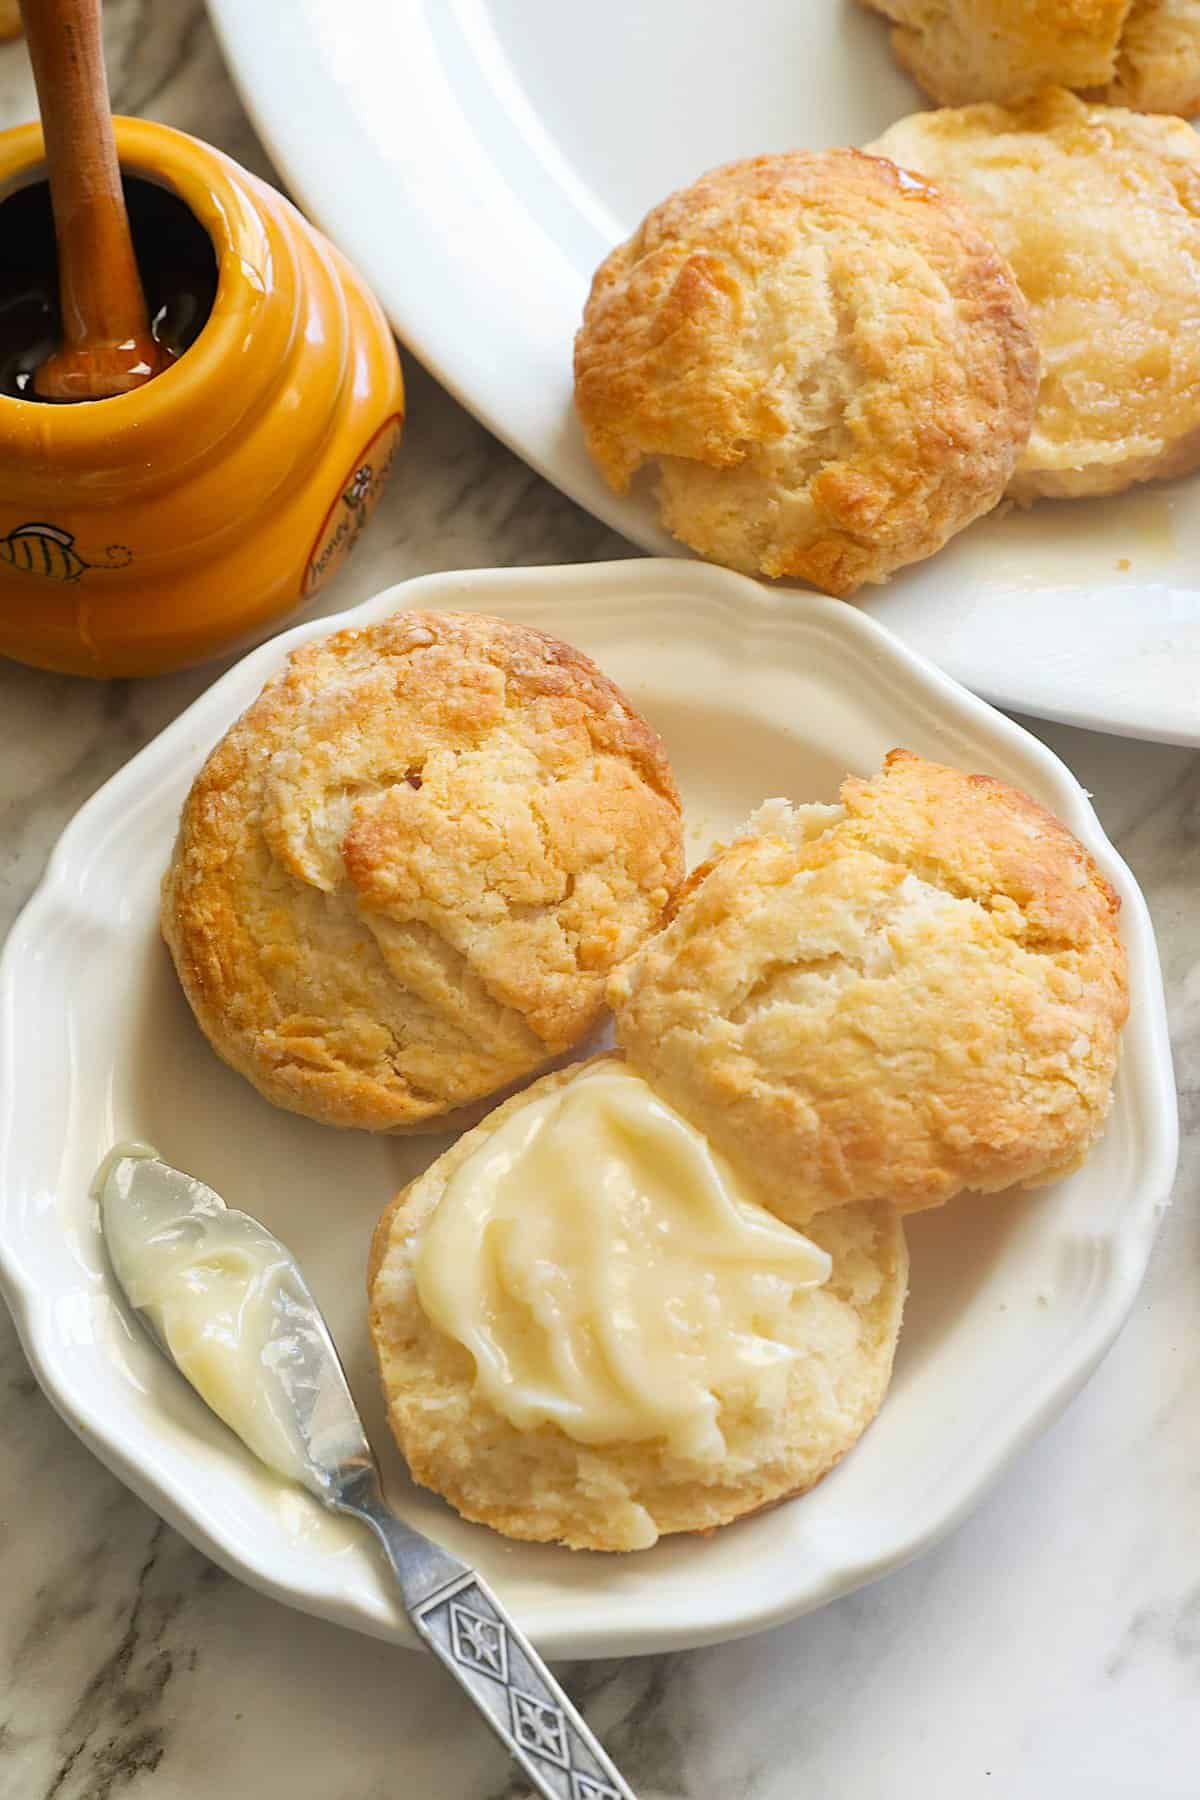
The Key to Perfect Honey Butter Biscuits
How can you make sure your biscuits turn out buttery and flaky like the Good Lord intended? Here’s the secret: keep your ingredients cold! I sometimes even put the dough in the freezer for about five minutes before I roll it out.
The key to perfectly baked biscuits is keeping the butter from melting while you make the dough. Grate the butter frozen, not refrigerated, and avoid overworking the dough with warm hands, and you should be golden! ✨
While freezing-cold butter is the #1 tip for great biscuits, accurate measuring is also important. Measuring by weight is the way to go if you have a kitchen scale. Otherwise, fluff the flour in the container, then scoop it with a spoon into your measuring cup. Also, making sure your baking soda hasn’t expired contributes to light and fluffy honey butter biscuits.
Recipe Ingredients
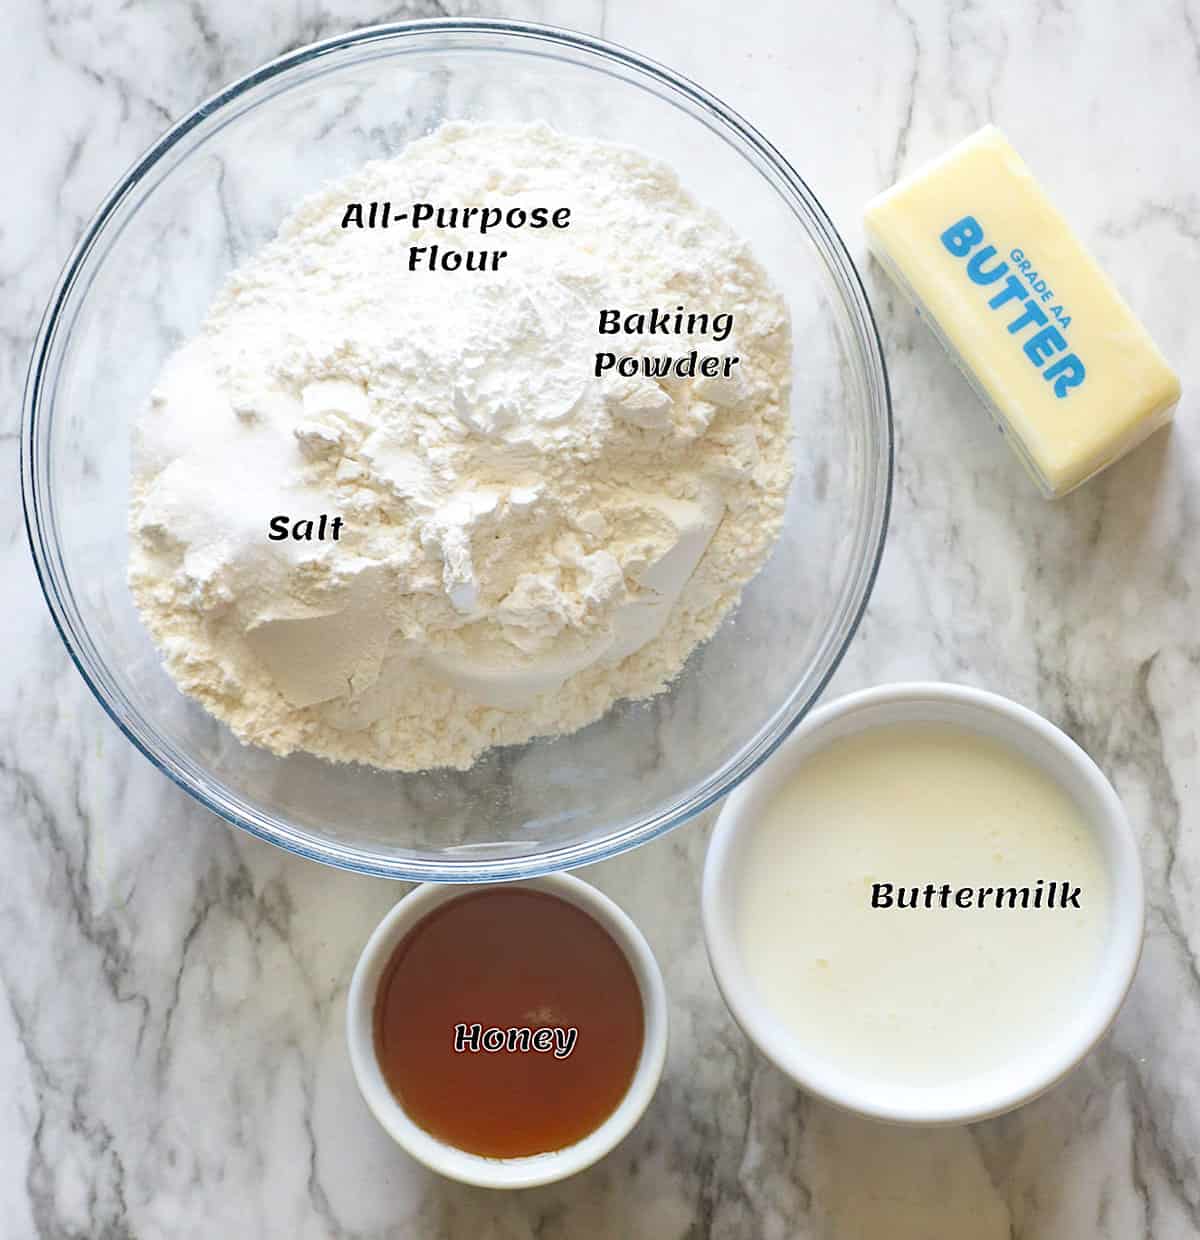
- Flour – This pantry staple is the foundation of our biscuits. You don’t need anything fancy because all-purpose flour will do just fine.
- Baking Powder – This is our leavening agent and what gives our biscuits a good rise. Make sure it hasn’t expired for best results.
- Honey lightly sweetens our fluffy biscuits. Then drizzle it over the freshly baked biscuits and mix it with butter for a delightful honey butter spread to smear over freshly baked biscuits, too!
- Butter makes the biscuits light and flaky! As it melts, it creates steam, which creates air pockets, so the colder, the better. Plus, they add that rich, buttery flavor synonymous with this Southern pastry. I used unsalted butter, but if you just have salted butter, simply reduce the salt by ½ teaspoon.
- Buttermilk is slightly acidic and activates the baking soda for a good biscuit rise. It also adds a subtle tang and tenderness to the biscuits that is uh-mazing. 🤩 Please make sure it’s cold.
How to Make Honey Butter Biscuits
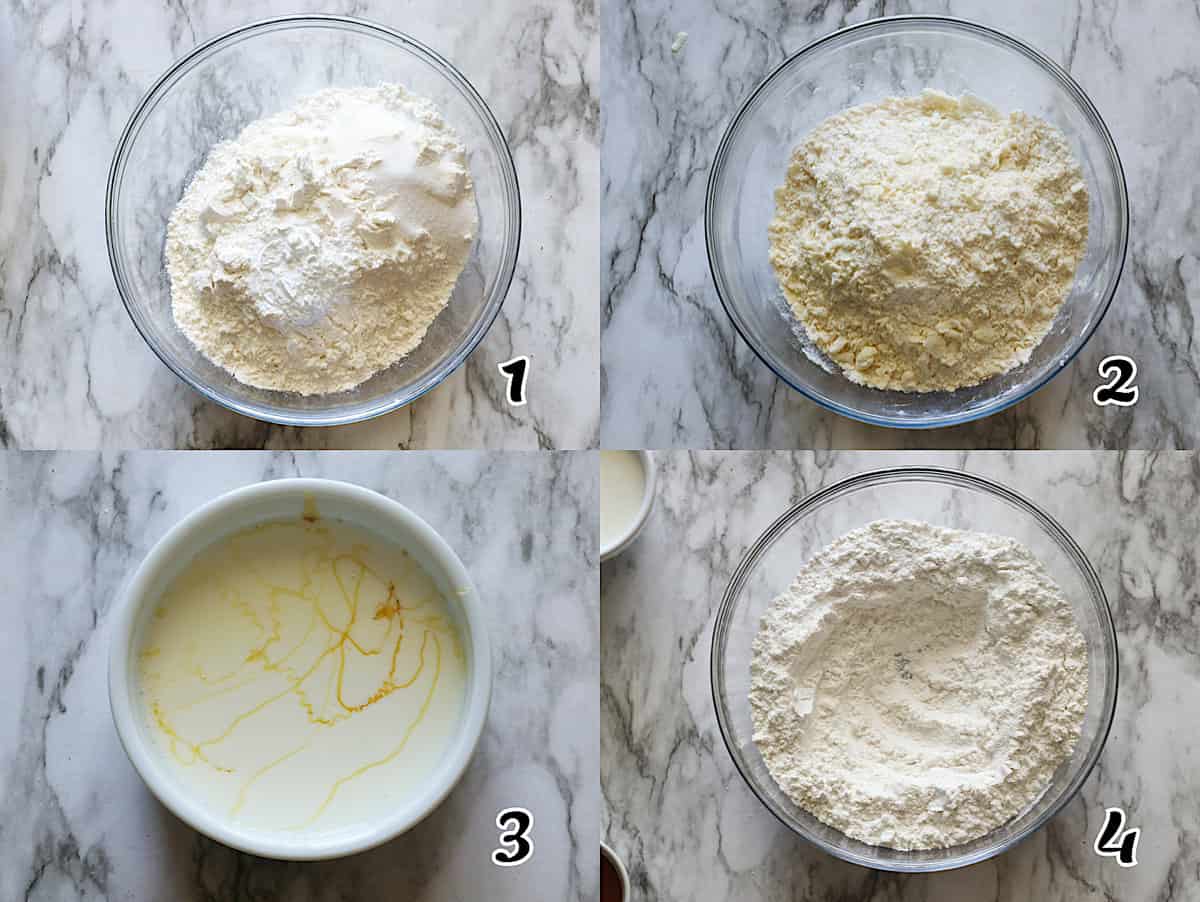
Make the Biscuit Dough
- Dry Ingredients – Sift the flour, baking powder, sugar, and salt into a large mixing bowl. (Photo 1)
- Butter – Then quickly grate frozen butter into the flour mixture—grated frozen butter ensures even fat distribution throughout the dough, making light and fluffy biscuits. (Alternatively, cut cold butter into the flour with a pastry blender until it resembles coarse crumbs (it may take around 5 minutes). The mixture should be crumbly with pea-size chunks. (Let the bowl chill in the fridge to keep the butter cold if you’re not making the biscuits immediately.) (Photo 2)
- Prep Buttermilk – In a small bowl, mix the honey and buttermilk. (Photo 3)
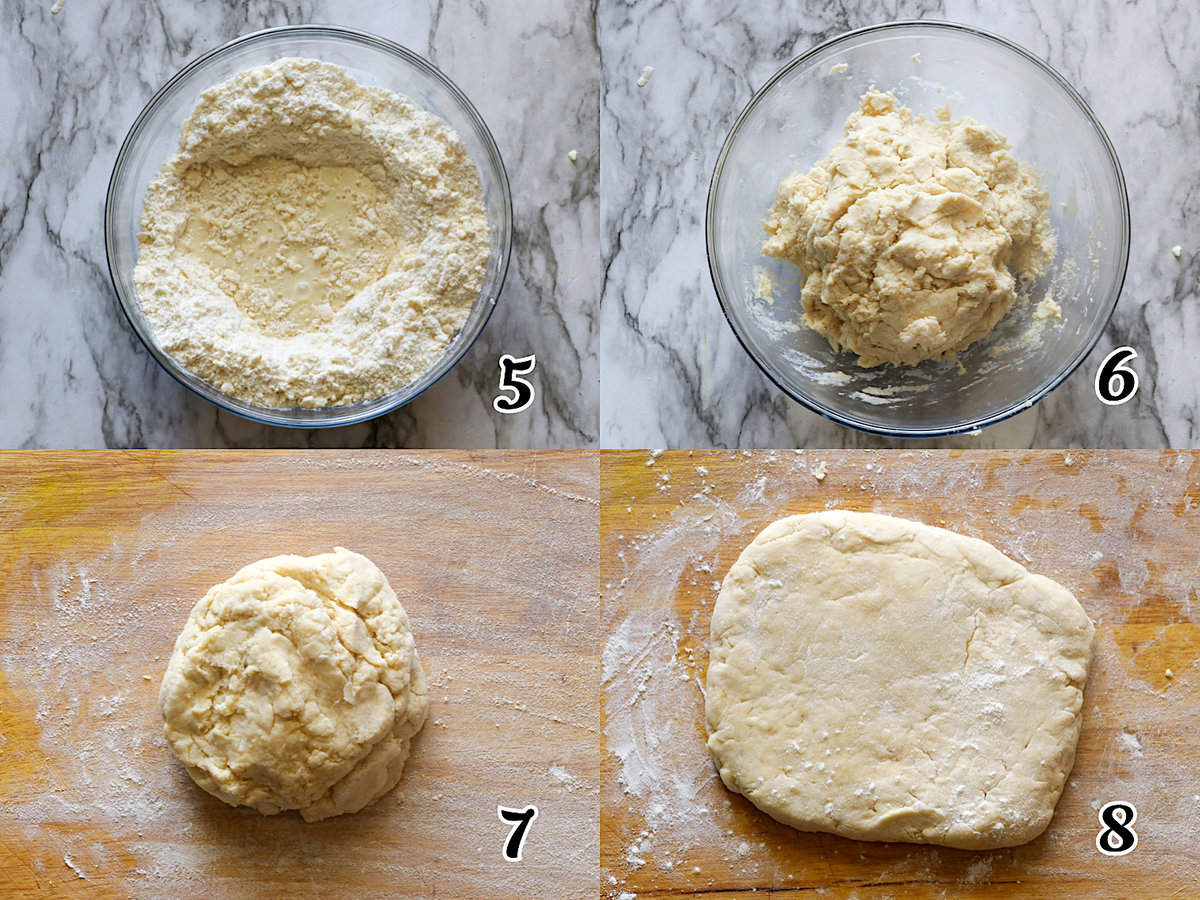
- Make Dough – Make a well in the center of the flour and add the honey and buttermilk mixture. Mix just until the ingredients come together. (Photos 4-5)
- Knead Carefully – Sprinkle flour on a board or clean surface, and knead dough 4-5 times. Avoid overmixing. (Photos 6-7)
- Roll – Gently pat the biscuit dough on the floured surface with your hands or roll it with a rolling pin to about ½ inch thick. (Photo 8)
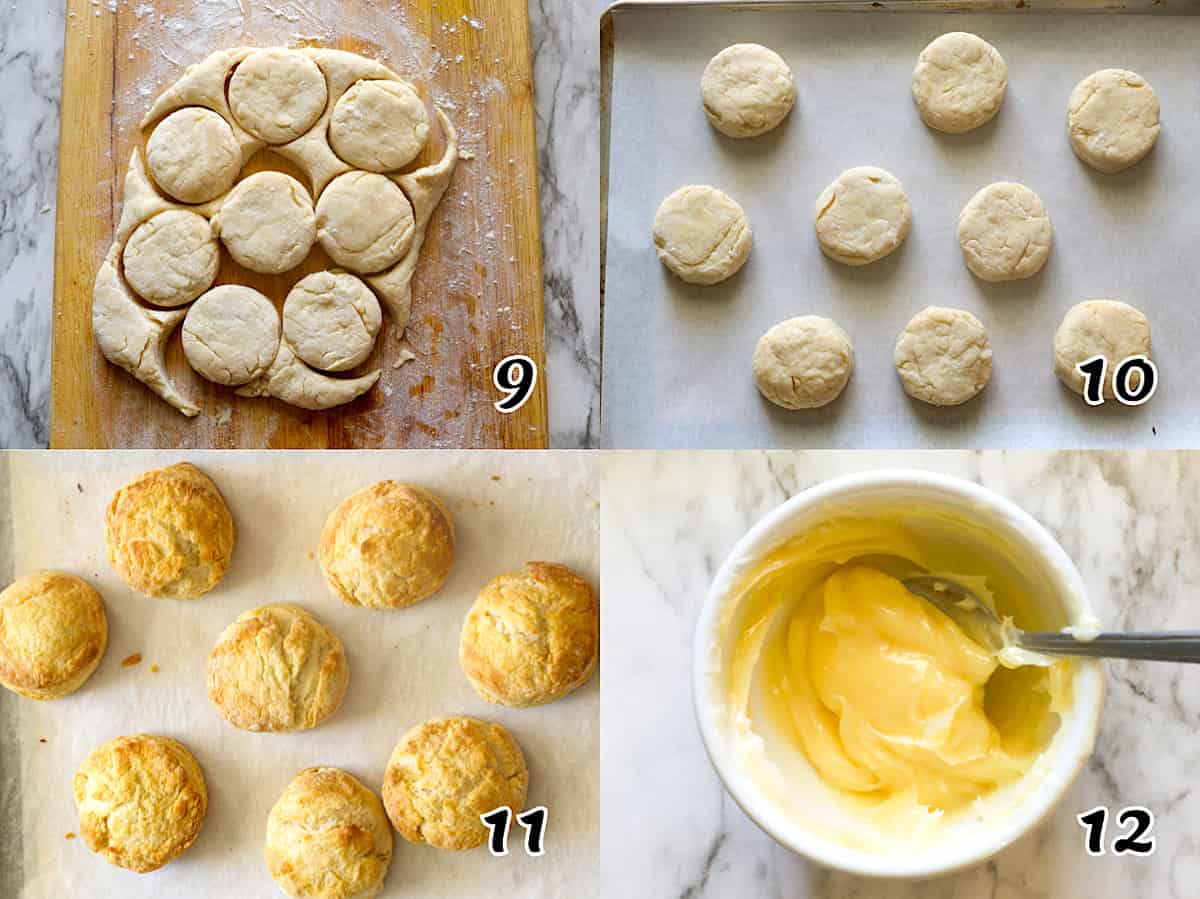
- Cut out the biscuits with a 2- or 3-inch biscuit cutter or a rim of a glass. Push straight down firmly, then pull the cutter up. Gently loosen the dough from the cutter with your fingers, then arrange the biscuits on your greased or parchment-paper-lined baking sheet, spacing them out equally. (Photos 9-10)
- Scraps – Knead leftover dough scraps together and repeat until all the biscuit dough is used up. The last few biscuits might not be as pretty as the others, but they will still pass the taste test.
Make the Honey Butter Biscuits
- Brush – Lightly brush each biscuit with buttermilk or cream.
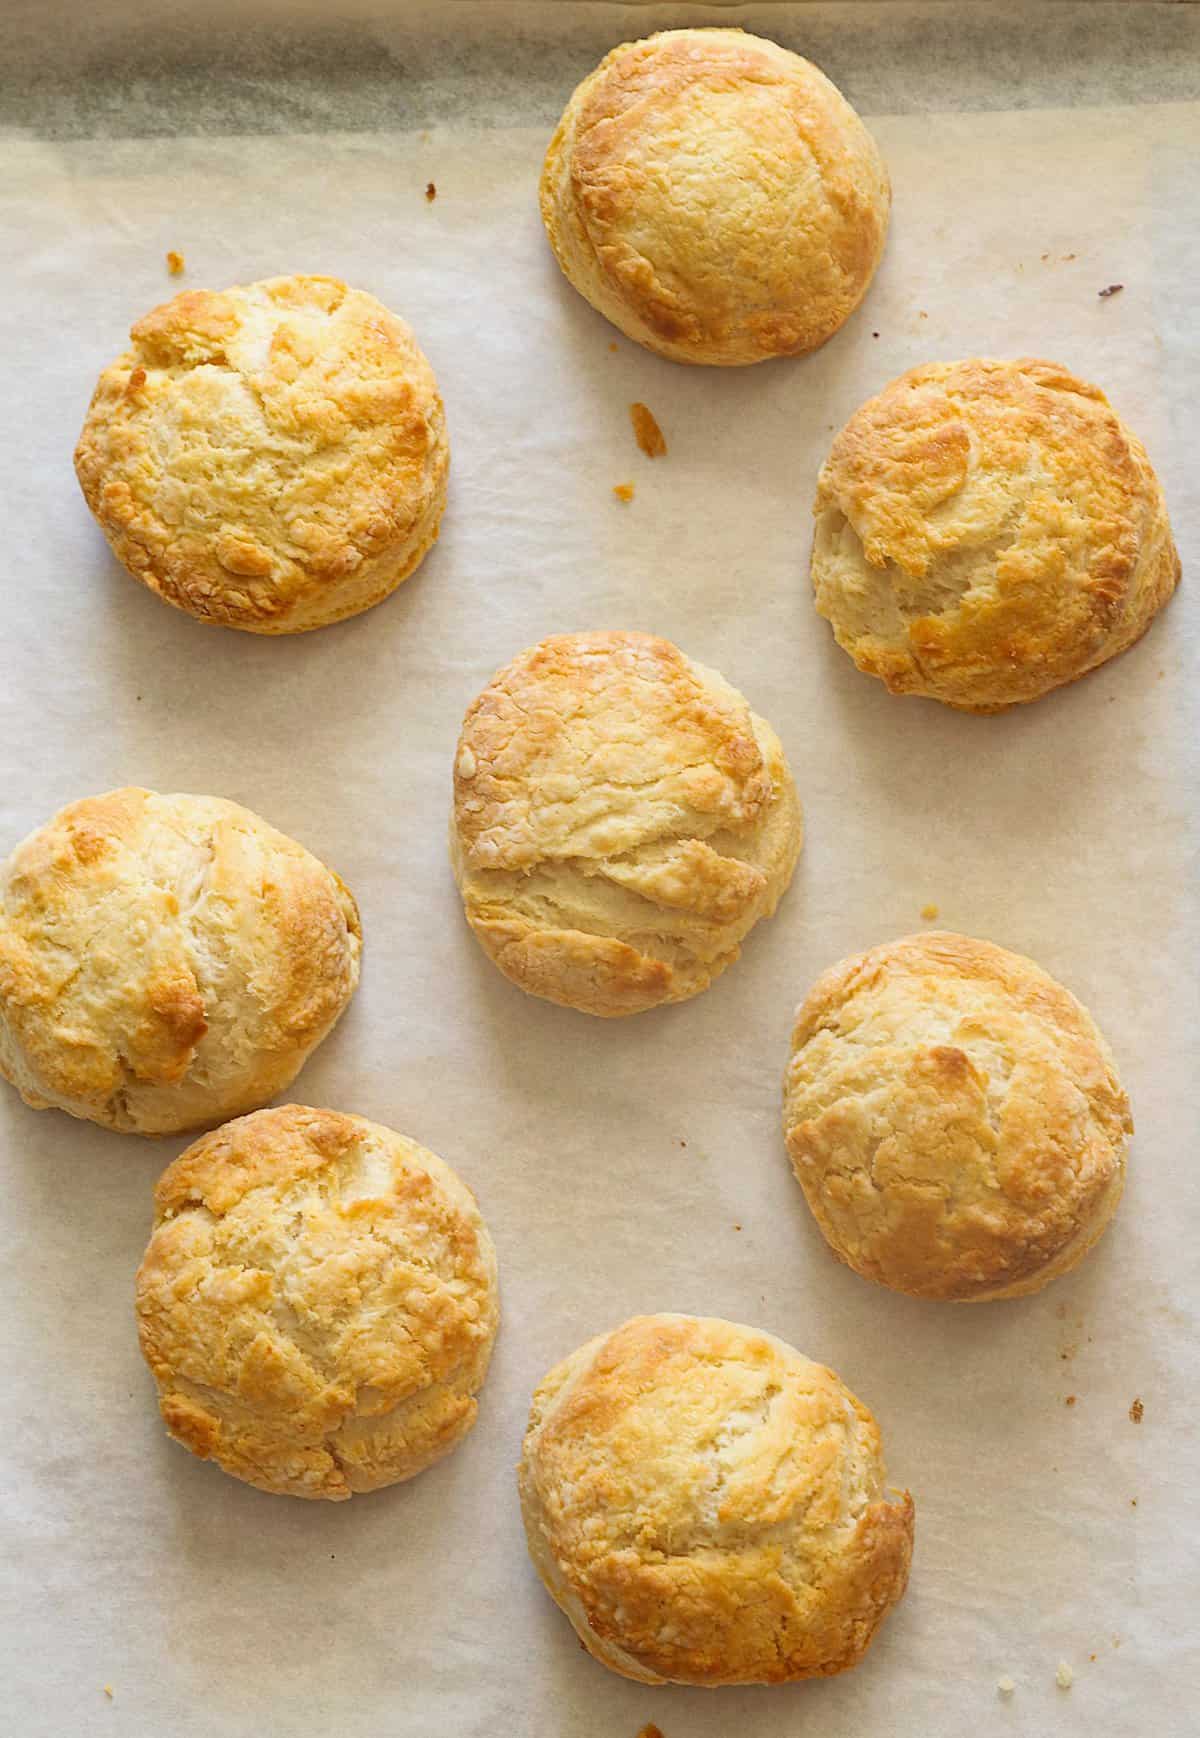
- Bake them at 400℉ (205℃) for 12-15 minutes or until lightly golden brown. (Photo 11)
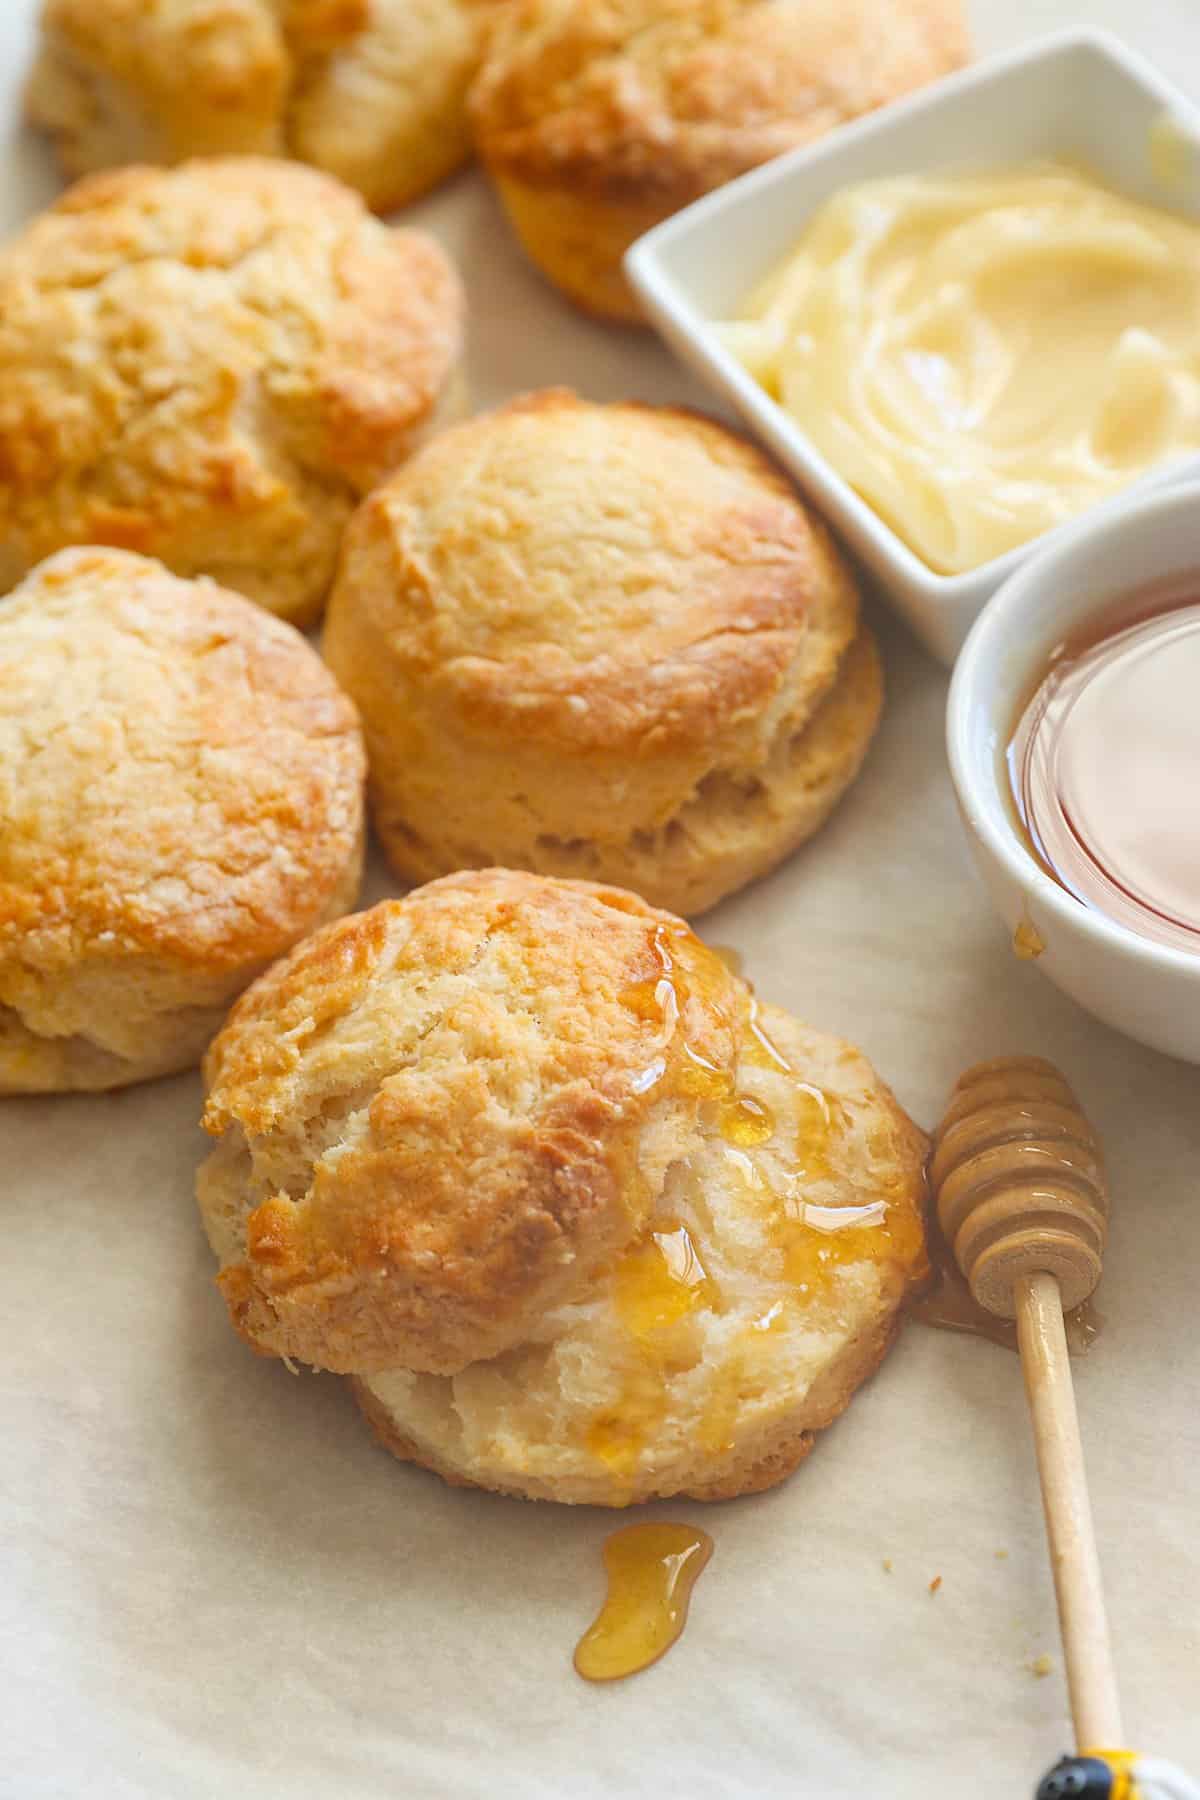
- Serve – Remove them from the oven, immediately brush them with honey or honey butter, and serve with more honey butter on the side if desired.
- Honey Butter – Beat the softened butter and honey in a medium bowl until light and fluffy. Give the honey butter a taste. If you want it sweeter, add a bit more honey. If it’s too sweet, add a bit more butter. (Use the honey butter immediately or store it in an airtight container in the fridge. It should stay good for up to two weeks.) (Photo 12)
Recipe Variations
- Honey pumpkin biscuits! Add ¼-⅓ cup of pumpkin puree to your dough, along with a teaspoon of cinnamon, and reduce your buttermilk by ¼ cup. It’s an extra cozy version of an already delightful biscuit. 🧡
- Get zesty! Add orange or lemon zest to the biscuit dough for a citrusy take on the honey biscuit.
- Warm spices. Add cinnamon, nutmeg, and ginger to the biscuit dough for a warm, spiced flavor that is divine.
- Chicken Biscuits. Fry up some chicken breasts for honey butter chicken biscuits.
Tips and Tricks
- If you don’t have buttermilk, you can make a quick substitute by mixing a tablespoon of white vinegar or lemon juice into ¾ cup of whole milk. Let it sit for about 5 minutes before using.
- If there’s any wait time between making the dough and folding and rolling it out, keep it in the fridge so the butter doesn’t melt.
- Place the biscuits close together on the baking sheet for a higher rise and softer sides. For crispier edges, space them farther apart.
- If you don’t want to deal with kneading the scraps, cut the dough into squares or rectangles. They won’t have the classic round shape, but you may start a new trend of square biscuits.
Make-Ahead Instructions
These honey butter biscuits do great in the freezer, so feel free to make them up to three months in advance. You can freeze them raw or cooked. Fast freeze them on a baking sheet, then pop them into a freezer ziplock bag when frozen. Squeeze all the air out you can, and freeze them.
If you freeze them raw, pop them in the oven to bake as-is. There’s no need to thaw them. Just note they’ll take a little longer to cook.
Serving and Storage Instructions
Serve honey butter biscuits hot out of the oven or at room temperature. They taste great either way.
Store leftover biscuits in the fridge in an airtight bag for 2-3 days. You can heat them in the oven, toaster oven, or microwave if you want to eat them warm.
What Goes With Honey Butter Biscuits
Serve honey biscuits with classic Southern meals like smoked pulled chicken with mac and cheese and green bean casserole. Or you can serve them as part of a hearty breakfast alongside a Western omelet or hashbrown breakfast casserole.
More Buttery Biscuit Recipes to Try
- Angel Biscuits
- Fluffy Cathead Biscuits
- Biscuits and Sausage Gravy
- Sweet Potato Biscuits
- Southern Chocolate Gravy and Biscuits
Watch How to Make It
Easy Honey Butter Biscuits
Ingredients
Honey Butter Biscuits
- 2¾ cups all-purpose flour plus more for kneading
- 4 teaspoons baking powder
- ¼ cup honey
- 1½ teaspoon salt
- 12 tablespoons unsalted butter, very cold, even better frozen
- 1 cup buttermilk
Honey Butter
- ½ cup unsalted butter, room temperature
- 3-4 tablespoons honey
Instructions
Honey Butter Biscuits
- Sift the flour, baking powder, sugar, and salt into a large mixing bowl.
- Then quickly grate frozen butter into the flour mixture—grated frozen butter ensures even fat distribution throughout the dough, making light and fluffy biscuits. (Alternatively, cut butter into flour mixture with a pastry blender until it resembles coarse crumbs (it may take around 5 minutes). The mixture should be crumbly with pea-size chunks. (Let the bowl chill in the fridge to keep the butter cold if you're not making the biscuits immediately.)
- In a small bowl, mix the honey and buttermilk.
- Make a well in the center of the flour and add the honey and buttermilk mixture. Mix just until the ingredients come together.
- Sprinkle flour on a board or clean surface, and knead dough 4-5 times.
- Gently pat the biscuit dough with your hands or roll it with a rolling pin to about ½ inch thick.
- Cut out the biscuits with a 2- or 3-inch cookie cutter or a rim of a glass. Push straight down firmly, then pull the cutter up. Gently loosen the dough from the biscuit cutter with your fingers, then arrange the biscuits on your greased or parchment-paper-lined baking sheet, spacing them out equally.
- Knead leftover dough scraps together and repeat until all the biscuit dough is used up. The last few biscuits might not be as pretty as the others, but they will still pass the taste test.
- Lightly brush each biscuit with buttermilk or cream.
- Bake them at 400℉ (205℃) for 12-15 minutes or until lightly browned.
- Remove them from the oven, immediately brush them with honey or honey butter, and serve with more honey butter on the side if desired.
Honey Butter
- Beat the softened butter and honey in a medium bowl until light and fluffy. Give the honey butter a taste. If you want it sweeter, add a bit more honey. If it's too sweet, add a bit more butter.
- Use the honey butter immediately or store it in an airtight container in the fridge. It should stay good for up to two weeks.
Tips & Notes:
- If you don’t have buttermilk, you can make a quick substitute by mixing a tablespoon of white vinegar or lemon juice into ¾ cup of whole milk. Let it sit for about 5 minutes before using.
- If there’s any wait time between making the dough and folding and rolling it out, keep it in the fridge so the butter doesn’t melt.
- Place the biscuits close together on the baking sheet for a higher rise and softer sides. For crispier edges, space them farther apart.
- If you don’t want to deal with kneading the scraps, cut the dough into squares or rectangles. They won’t have the classic round shape, but you may start a new trend of square biscuits.
- Please remember that the nutritional information is a rough estimate and can vary significantly based on the products used in the recipe.
Trish W says
Would have liked to see the inside of a biscuit split in half, & not just multiple photos of the tops.
Imma says
Hi Trish! A couple more pics have been added to the post! Enjoy :)!