Fried Chicken Breast is crispy, juicy, and downright irresistible! A perfect balance between amazing flavor and a crunchy texture. This simple, versatile recipe is fabulous hot, cold, anytime, anywhere.
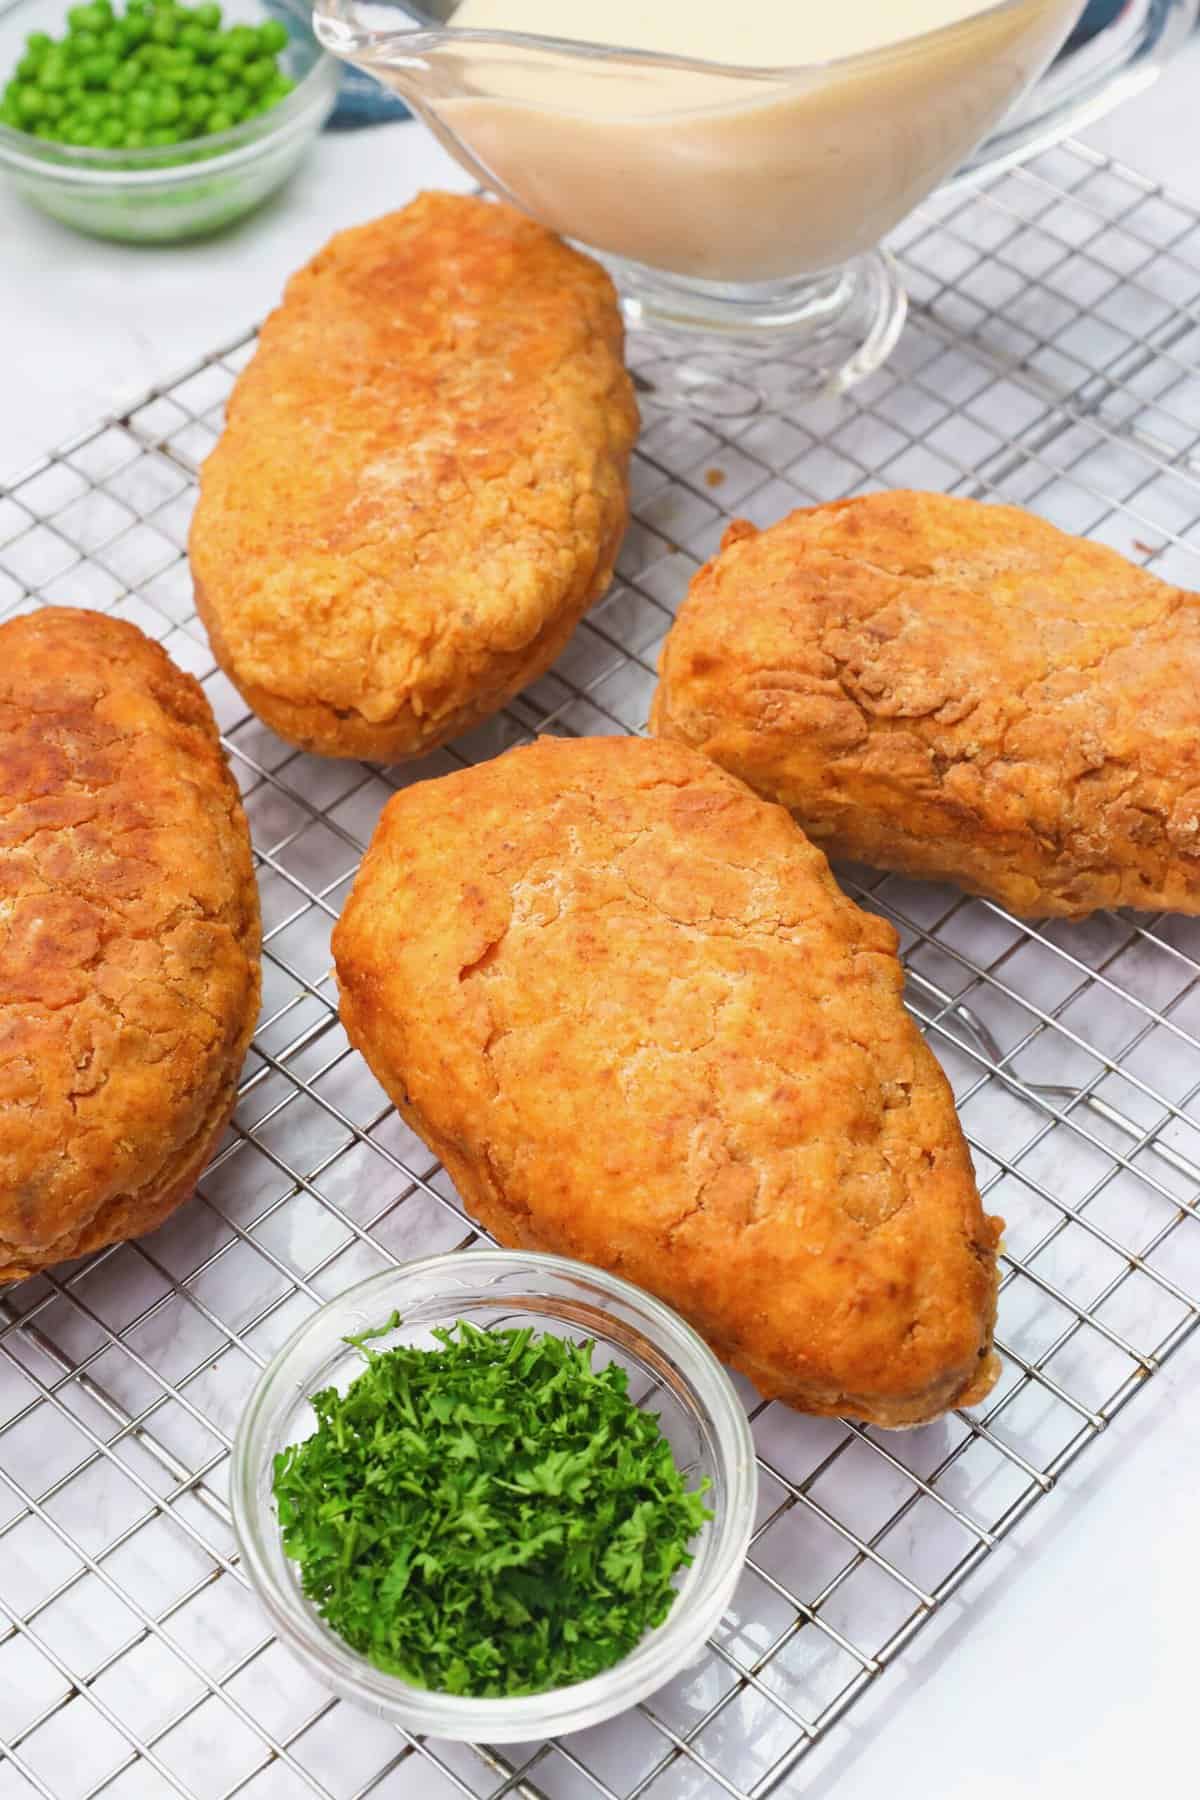
I’ve always loved fried chicken. Watching my Aunt deep fry chicken pieces to golden perfection fascinated me as a kid, even though she used quite a different recipe. After moving to the States, I discovered Southern fried chicken and fell in love all over again.
Although African fried chicken still has a special place in my heart, I also enjoy classic Southern comfort food. Fried chicken breasts are epic as they are, in a crunchy sandwich, or stacked on top of waffles. So relax, and enjoy making a can’t-miss, treat-yourself delicacy.
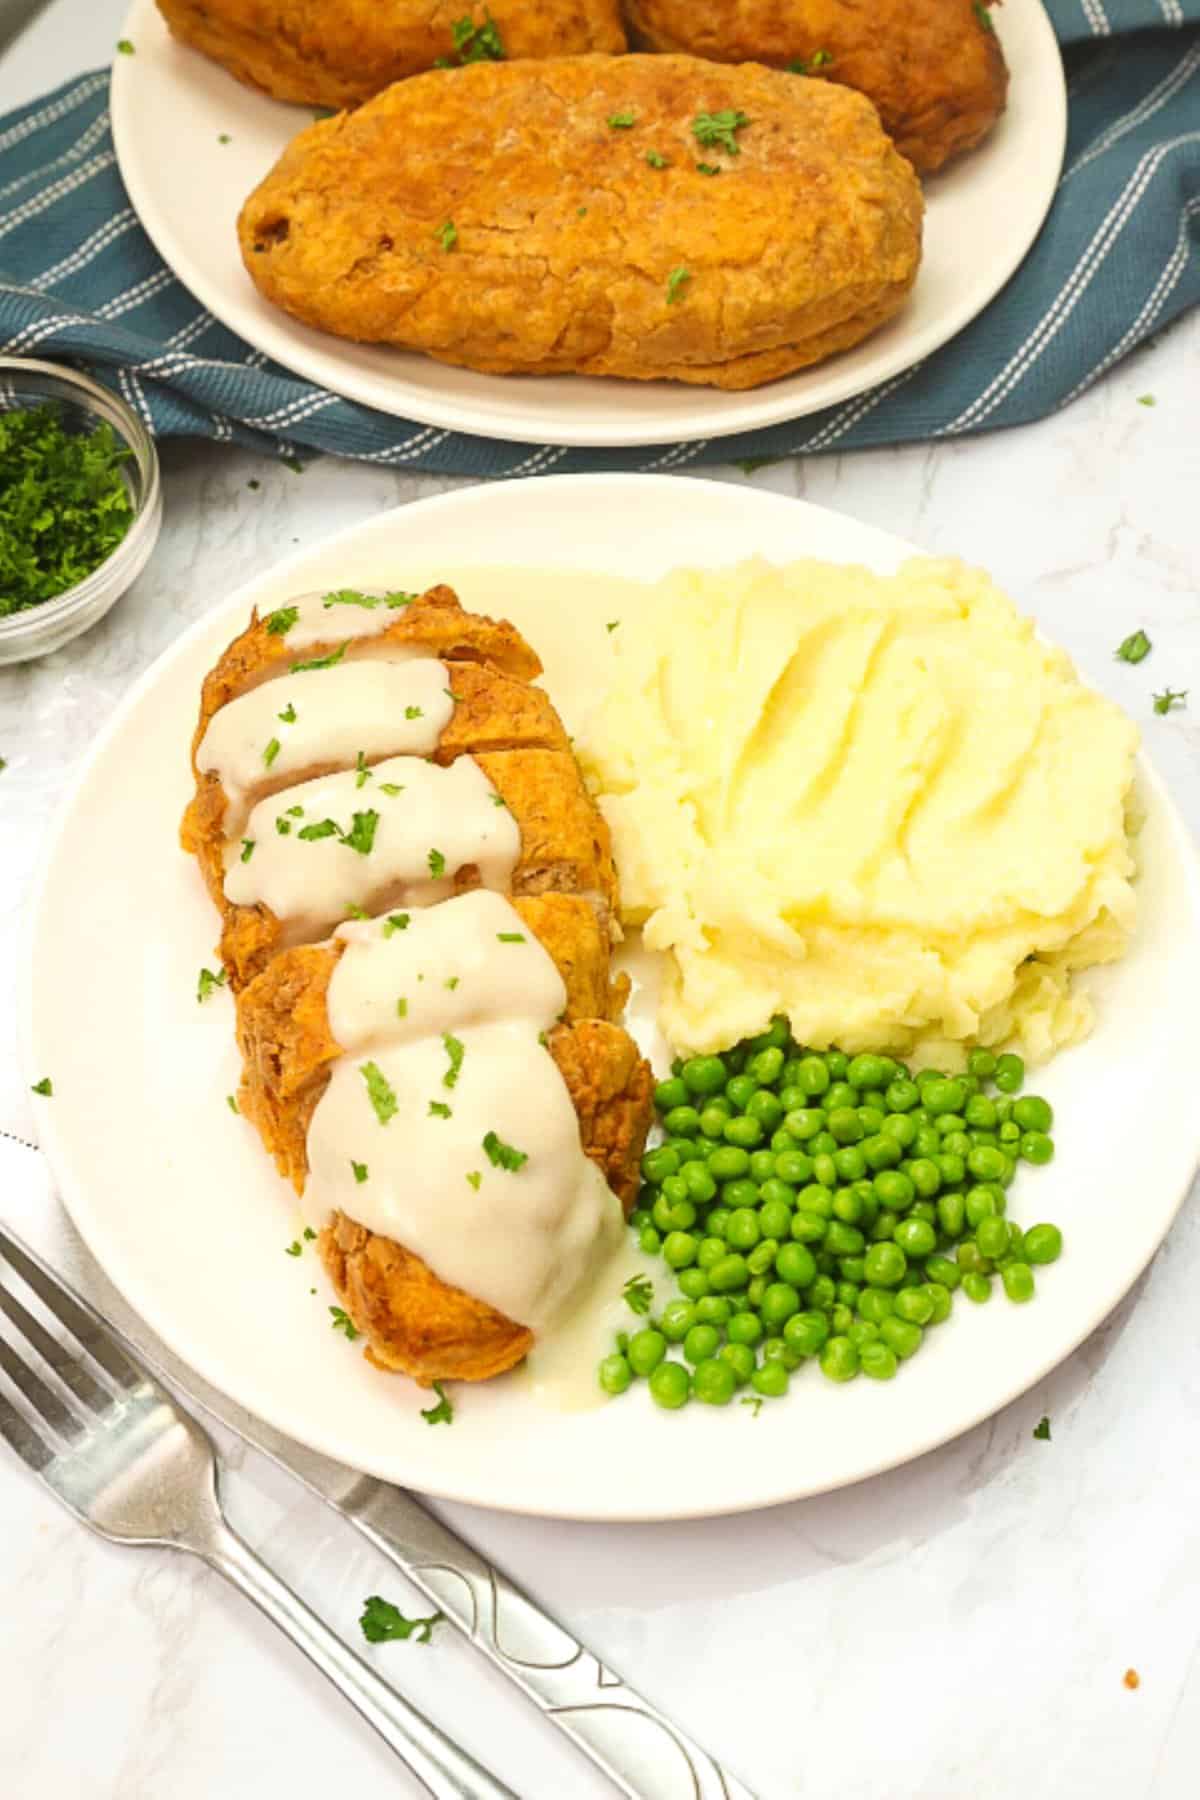
Fried Chicken Breast—A Worldwide Classic
You know fried chicken must be good because almost every country has its version. From KFC in the States to chicken yassa in Africa and Chongqing in China, it’s a worldwide classic. Why is chicken such an international star? Because it’s cheaper, easier to raise, and tastes uhh-mazing. Win-win!
Recipe Ingredients
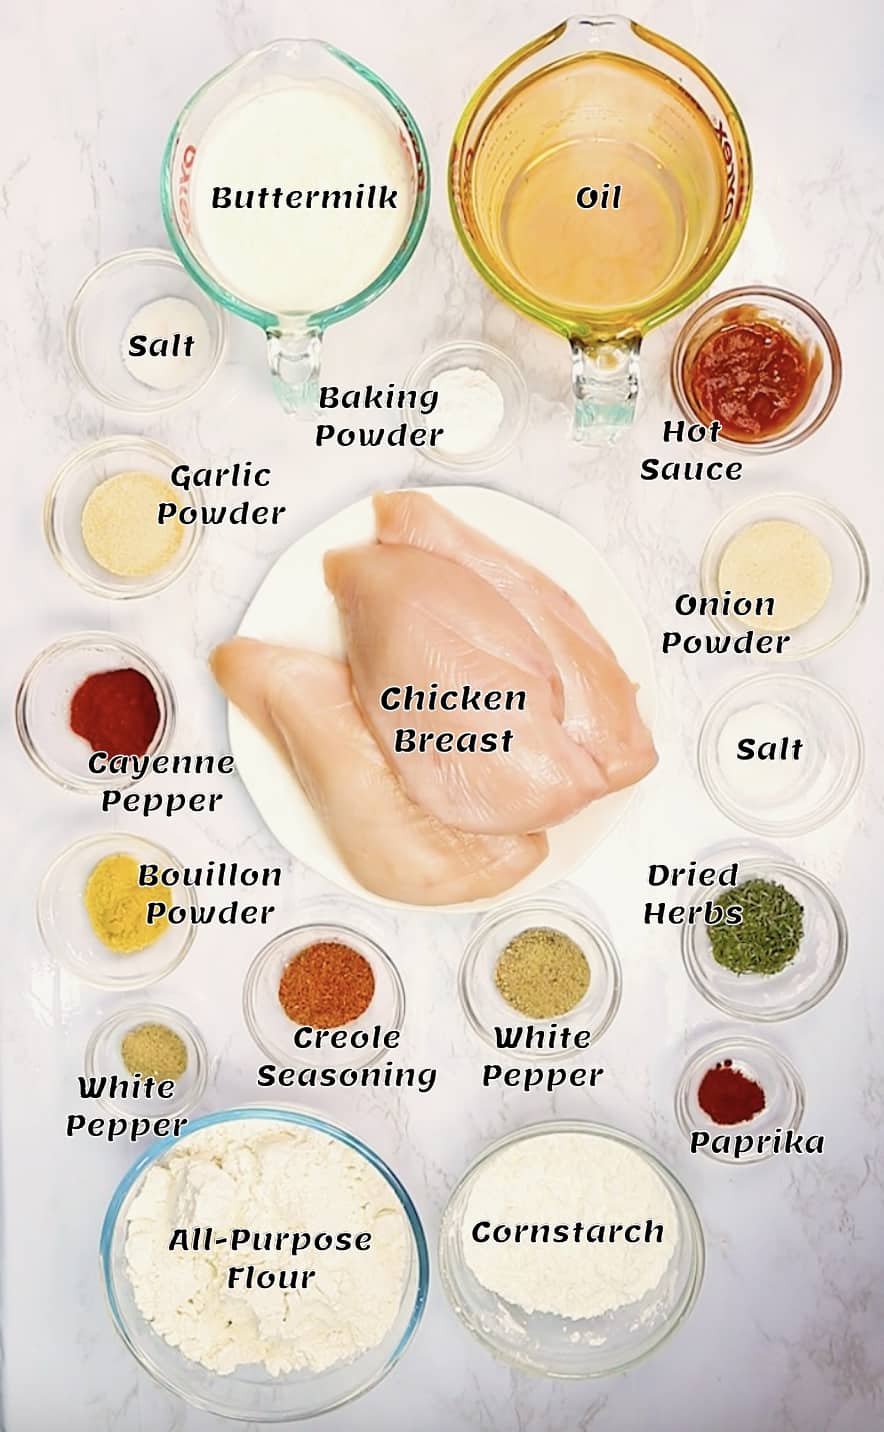
- Chicken Breasts – Boneless, skinless chicken breasts fry up faster, but you can fry any parts you want. Bone-in breasts are juicier but take a little longer to cook.
- Buttermilk does two jobs in this recipe. It tenderizes the chicken and gives your breading a base to stick to.
- Spiced Breading – Flour, cornstarch, and various seasonings seal in moisture and add the crave-worthy flavor. Besides, the crunchy breading is my favorite part.😉
- Oil – Any neutral cooking oil that can handle high heat, like canola, vegetable, or peanut oil, will work.
How to Make Fried Chicken Breasts
Prep the Chicken
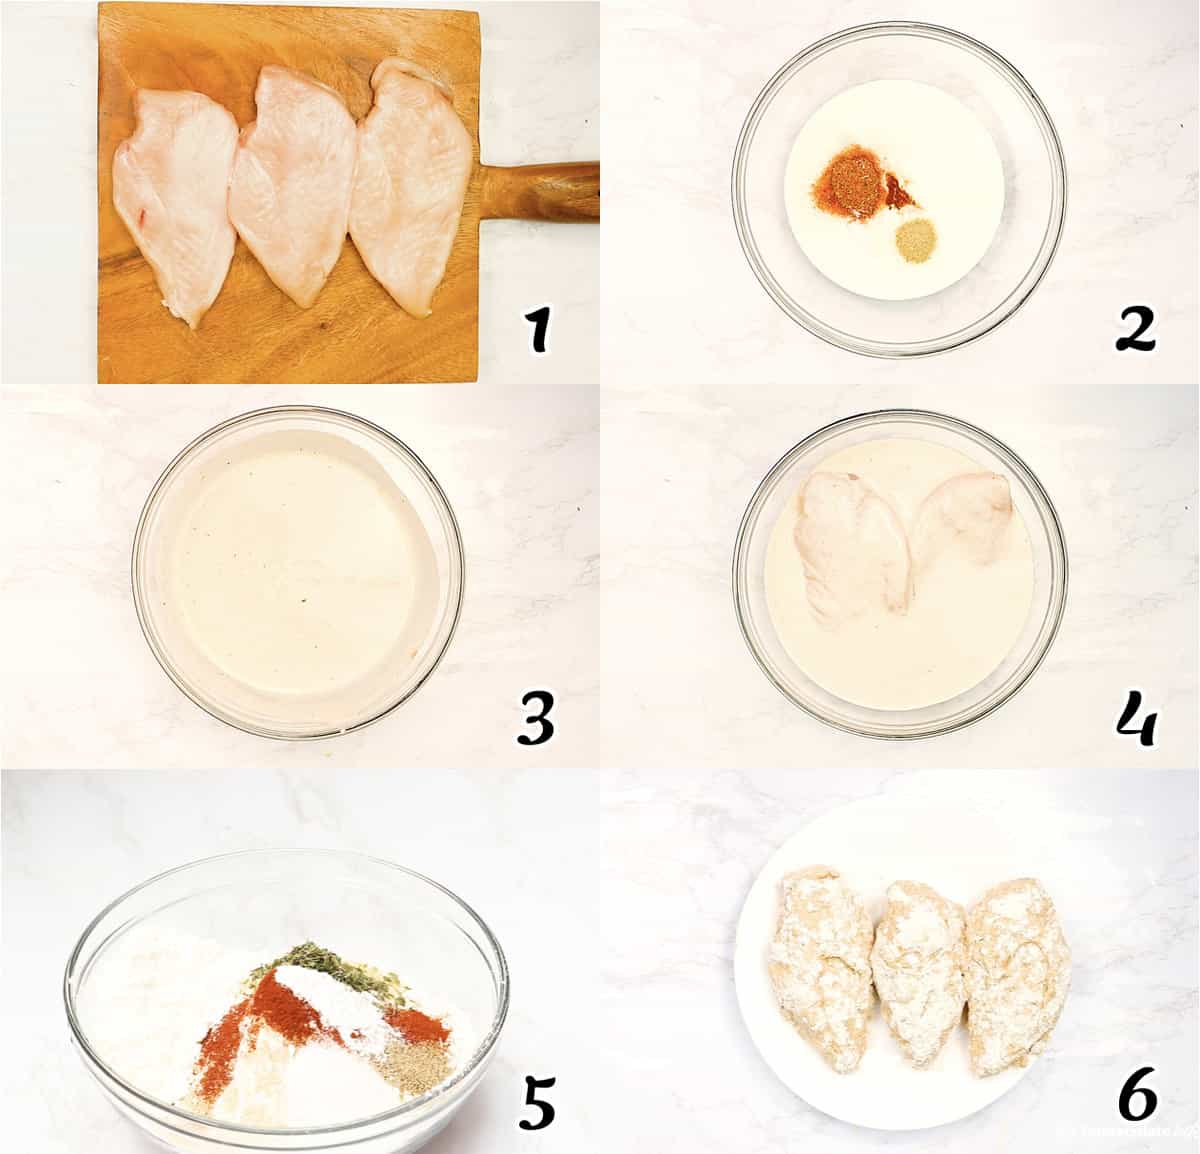
- Prep the Chicken – Using a meat mallet or the bottom of a saucepan, lightly pound your chicken to about a half-inch thickness between two pieces of cling wrap or waxed paper until it has an even thickness. If the breast is too thick, cut it horizontally into two fillets. (Photo 1)
- Coating – Pour the buttermilk into a bowl. Add salt, pepper, hot sauce, and Creole seasoning. Mix well. (Photos 2-3)
- Marinate – Place the chicken in another bowl and pour some of the buttermilk over the chicken. Cover with cling wrap and refrigerate between 4 and 24 hours. (Photo 4)
- Breading – Whisk the flour, cornstarch, baking powder, paprika, garlic powder, onion powder, herbs, cayenne pepper, white pepper, and salt in a large bowl. (Photo 5)
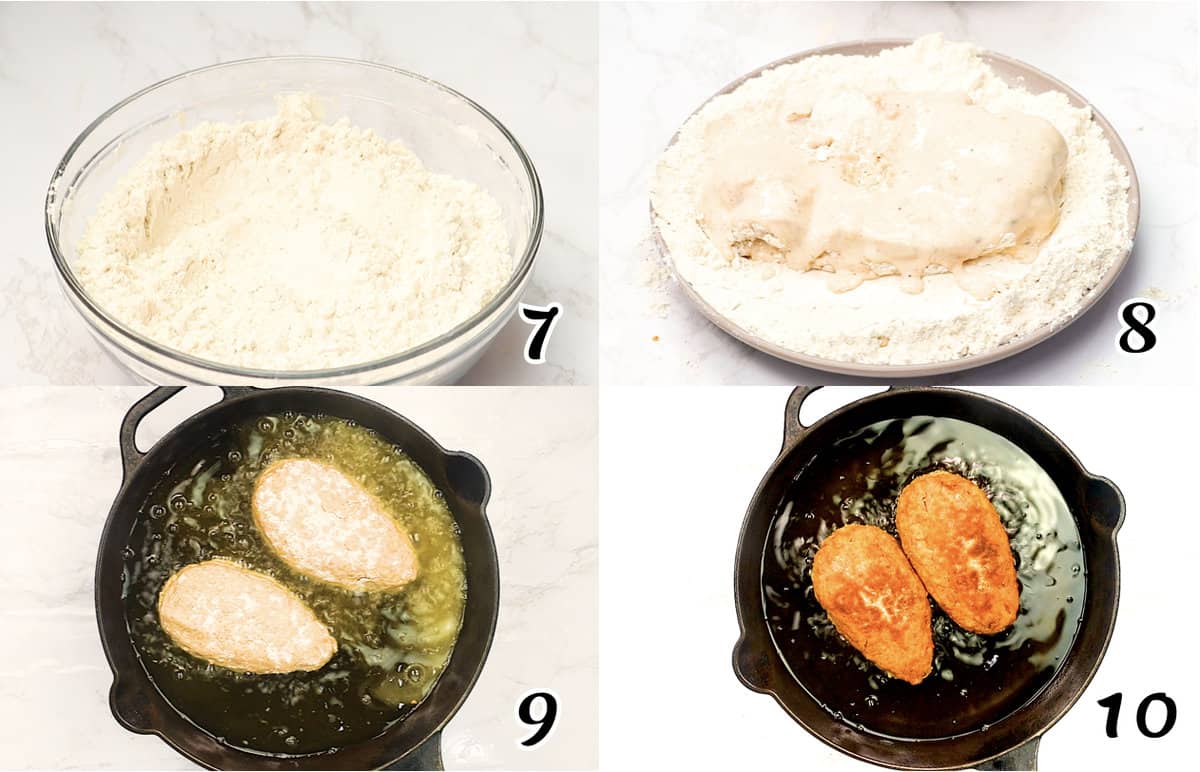
- Dredge – Remove the marinated chicken from the buttermilk (allow excess to drain back into the bowl). Then dredge in the flour mixture and shake off excess flour. (Photos 6-8)
- Double Dip – Double dip the chicken in the remaining buttermilk (add fresh buttermilk as needed), followed by the flour mixture—shaking off excess flour. Let the chicken rest for 10-15 minutes while heating the oil to help the coating stick better. (Photos 5-6)
Fry It
- Heat the oil in your deep fryer or cast iron skillet to 375℉/190℃. The temperature will drop once you add chicken.
- Fry – Use tongs to slowly and carefully place the chicken in the hot oil. Work in batches to not overcrowd the skillet. Fry the chicken until golden brown, turning once every 5 minutes (how long it takes depends on the breast size). Chicken is done when it’s no longer pink inside and its juices run clear or your instant-read thermometer says 165℉/75℃. You may also do a test by piercing the chicken with a knife or fork to see if the juices run clear.
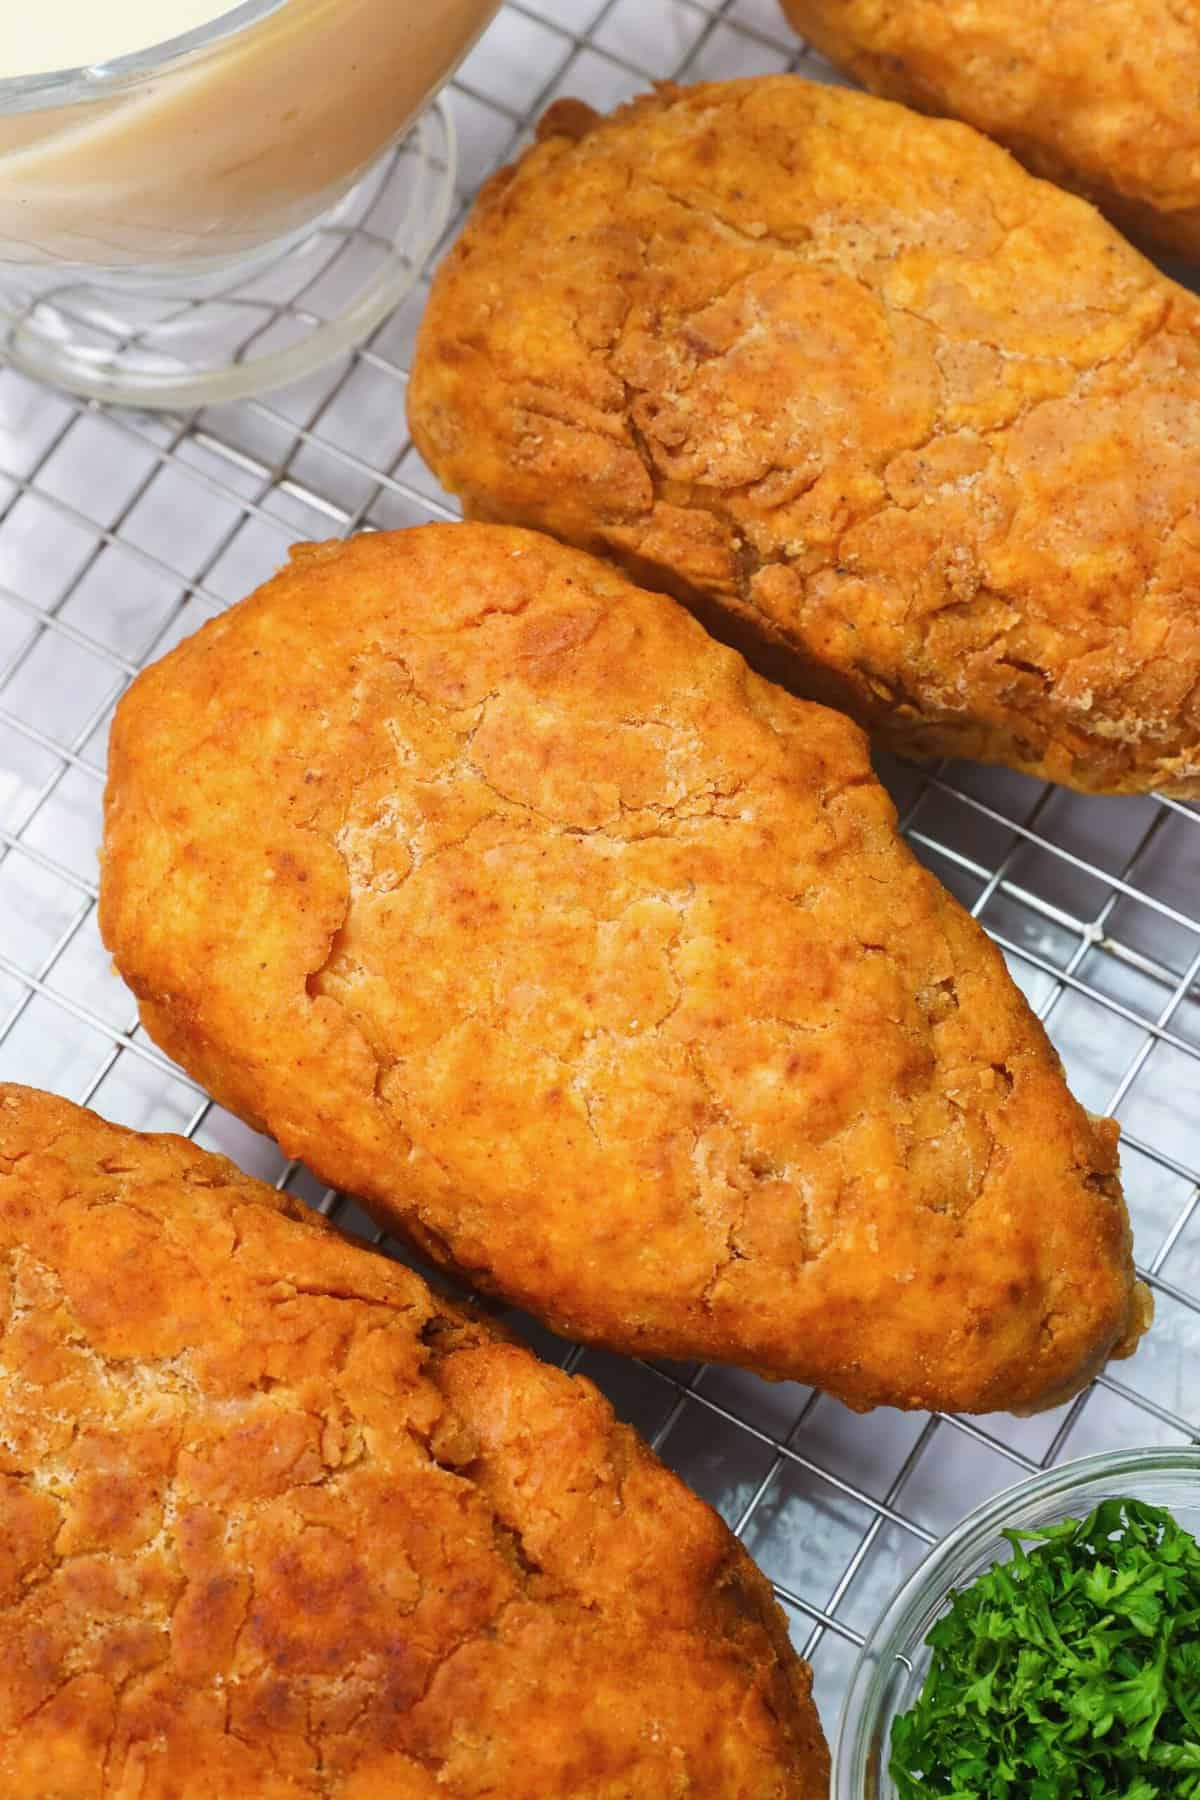
- Drain the oil from the chicken on paper towels and then transfer them to a wire rack.
- Repeat with the remaining chicken pieces.
- Rest – Let the chicken rest for at least 10 minutes before serving.
Recipe Variations
- The combination of flour and cornstarch produces the best crispy results, but you can use 100% cornstarch or a mix with gluten-free flour for a gluten-free version.
- Air-fried chicken breast is fantastic. It usually takes 15-20 minutes in an air fryer, depending on the size. Just flip halfway through.
Tips and Tricks
- Let the chicken rest after coating it in the flour and buttermilk mixtures before frying it. That will allow it to form a crust and warm to room temperature, which will help it cook evenly.
- A cast-iron pan helps create perfectly fried chicken because it holds the temperature better and heats evenly.
- Rather than submerging your chicken entirely into oil, only heat enough oil so it covers ¾ of the chicken. The weight of the chicken will cause it to sit just almost above the oil’s surface, creating a crispy crust without burning.
- Don’t overcrowd your pan with chicken because it will lower the oil’s temperature and slow the cooking time (soggy chicken isn’t good). Do it in small batches instead.
- Make sure not to let the fried chicken sit on a paper towel for too long because it could get soggy and stick to the paper. Instead, drain the chicken using a wire rack over a baking sheet, and they’ll cool crispy and dry all at once.
Make-Ahead Instructions
You can make this recipe 3-4 days in advance. To heat it, let the chicken get to room temperature, then either re-fry it, oven-bake it at 350℉/177℃ for 20 minutes, or air fry it at 375℉/190℃ for 6 minutes per side.
Serving and Storage Instructions
Cool the fried chicken for about 10 minutes before serving it.
To store, refrigerate the chicken in an airtight container for up to 4 days. To freeze, spread the breasts out on a tray and put them in the freezer. Once frozen, transfer the pieces to a ziplock bag and keep them frozen for up to 4 months.
Please don’t leave the chicken on the counter for over two hours before storing it.
FAQS
Cooking time varies depending on the meat’s thickness and your oil’s heat, but it usually takes 5-6 minutes per side. The internal temperature will be 165°F/74°C on a meat thermometer when done.
Marinate the chicken breasts in buttermilk for at least 4 hours to tenderize them. Make sure the oil temperature is just right. And let the chicken rest on a wire rack before serving to allow the juices to redistribute and prevent dryness.
Aim for about 350-375°F (176-190°C). If the oil isn’t hot enough, the chicken will absorb it; if it’s too hot, it will burn on the outside and undercook on the inside. No thermometer? No problem; just test the oil by dipping a wooden spoon into it. If it bubbles steadily, it’s ready for frying.
Frying frozen chicken is not recommended because it can lead to uneven cooking and raw chicken in the center. If it weren’t for salmonella…
What Goes With Fried Chicken Breast
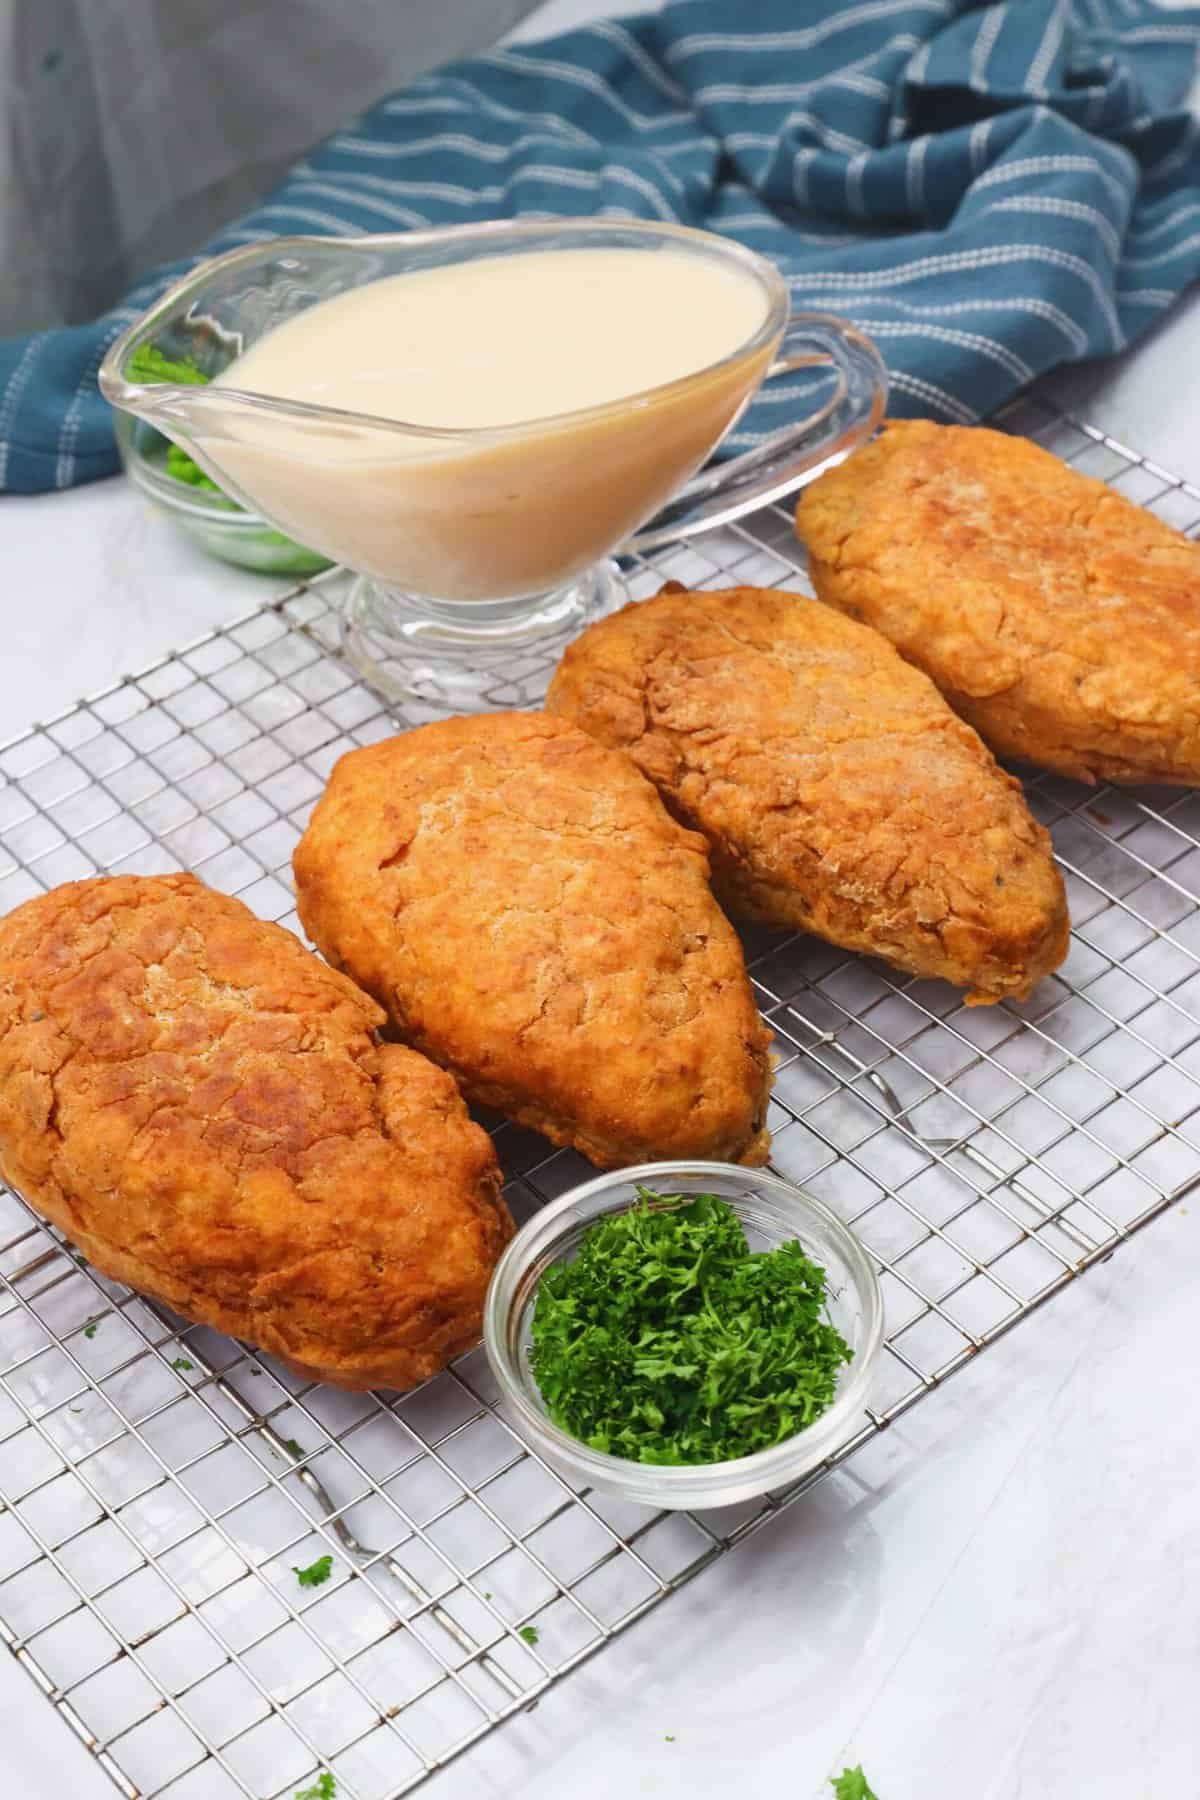
Enjoy these delicious fried chicken breasts with roast garlic mashed potatoes and coleslaw sides. Turn it into an amazing chicken sandwich or top waffles for a Southern classic.
More Drool-Worthy Fried Recipes to Try
Conclusion
Tender and moist inside while pleasantly spicy and crispy on the outside, make Immaculate fried chicken breasts. Have you tried this recipe yet? Remember to share your mouthwatering photos with me on Instagram.
Fried Chicken Breast
Ingredients
- 3-4 medium-sized chicken breasts (skinless and boneless)
Chicken Marinade
- ½ teaspoon salt, adjust to preference
- ½ teaspoon white pepper, adjust to preference
- ½ teaspoon hot sauce
- 1 teaspoon Creole seasoning
- 2 cups buttermilk (for both marinating and coating)
Breading
- 2 cups all-purpose flour
- ½ cup cornstarch
- 1 teaspoon baking powder
- ½ tablespoon paprika
- 1 tablespoon garlic powder
- 1 tablespoon onion powder
- 1 tablespoon bouillon powder
- 1 tablespoon dried herbs (thyme, oregano, parsley, etc.)
- ½ teaspoon cayenne pepper
- ½ teaspoon white pepper
- ½ teaspoon salt, adjust to taste
- Oil for frying
Instructions
Prep Chicken Breasts
- Using a mallet or the bottom of a saucepan, lightly pound your chicken to about a half-inch thickness between two pieces of plastic wrap until it is evenly sized. If it is too large, then cut it horizontally into two fillets.
- Pour buttermilk into a bowl. Add salt, pepper, hot sauce, and creole seasoning. Mix well.
- Put the chicken in a bowl and pour some of the buttermilk over the chicken. Cover with cling wrap and let marinate in the fridge for at least 4 hours (24 hours works too).
- Whisk together the flour, cornstarch, baking powder, paprika, garlic powder, onion powder, bouillon powder, herbs, cayenne pepper, white pepper, and salt in a large bowl.
- Remove the marinated chicken from the buttermilk. Then dredge it in the flour mixture and shake off excess flour.
- Double dip the chicken in the remaining buttermilk (add fresh buttermilk as needed), followed by the flour mixture – shake off any excess flour. Let the chicken rest for 10-15 minutes while preparing the oil. That will help the coating to stay on better.
Frying
- Heat oil in your deep fryer or cast iron skillet to 375℉/190℃. The temperature will drop once you add chicken.
- Slowly and carefully place the chicken in the hot oil using a tong. Work in batches to not overcrowd the skillet.
- Fry the chicken until golden brown, turning once every 5 minutes – depending on the size of the pieces. Chicken is done when it's no longer pink inside and its juices run clear, or your instant-read thermometer reads 165℉/75℃. You may do a test by piercing the chicken with a fork.
- Drain the chicken on paper towels and then transfer them to a wire rack.
- Repeat with remaining chicken pieces. Let them cool for at least 10 minutes before serving.
Tips & Notes:
- Let the chicken rest after coating it in the flour and buttermilk mixtures before frying it. That will allow it to form a crust and warm to room temperature, which will help it cook evenly.
- A cast-iron pan helps create perfectly fried chicken because it holds the temperature better and heats evenly.
- Rather than submerging your chicken entirely into oil, only heat enough oil so it covers ¾ of the chicken. The weight of the chicken will cause it to sit just almost above the oil’s surface, creating a crispy crust without burning.
- Don’t overcrowd your pan with chicken because it will lower the oil’s temperature and slow the cooking time (soggy chicken isn’t good). Do it in small batches instead.
- Make sure not to let the fried chicken sit on a paper towel for too long because it could get soggy and stick to the paper. Instead, drain the chicken using a wire rack over a baking sheet, and they’ll cool crispy and dry all at once.
- Please remember that the nutritional information is a rough estimate and can vary significantly based on the products used in the recipe.

John Roper says
Made this today using thighs, great flavour from the marinade and the flour mix, so crunchy, definitely will be making it again
Imma says
Amazing!!!!! That looks absolutely delicious!! Glad you loved it. Looking forward to you trying more of my recipes.