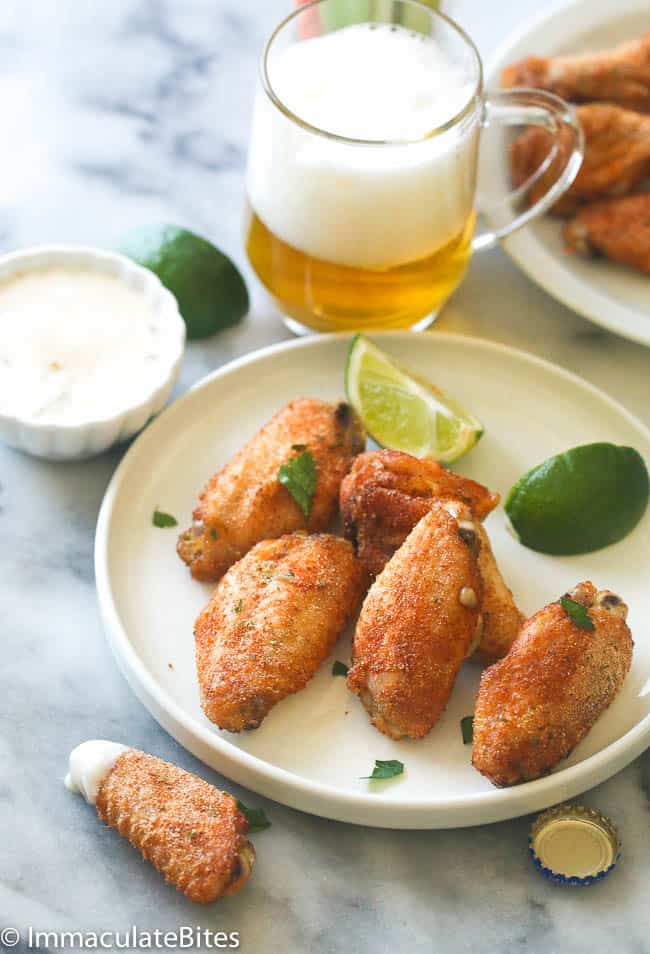
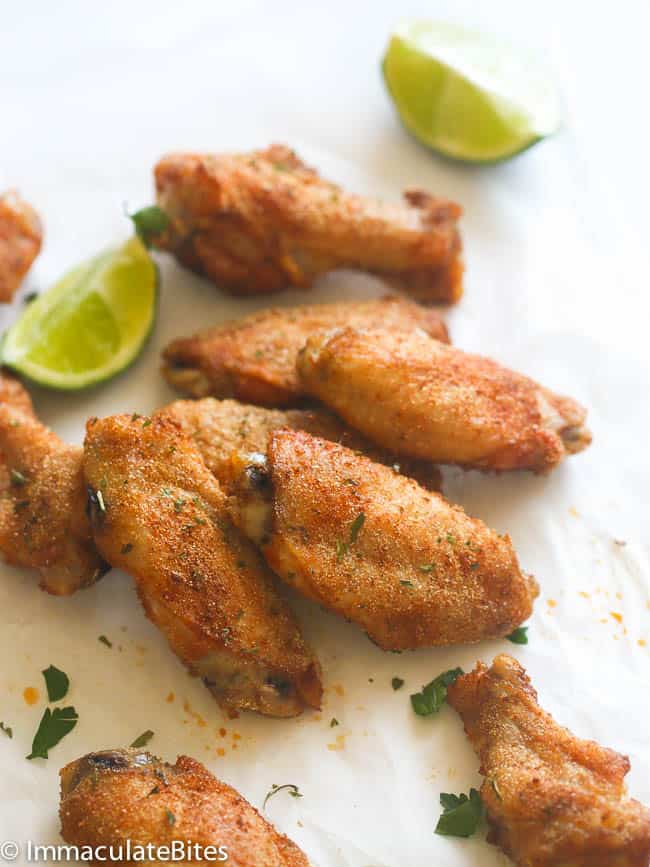
Baked Crispy Chicken Wings – Ridiculously crispy on the outside, tender and juicy on the inside, and oh-so-flavorful! And the best part? Guilt-free indulgence. Plus, you now have another finger-licking good chicken wings recipe for your collection.
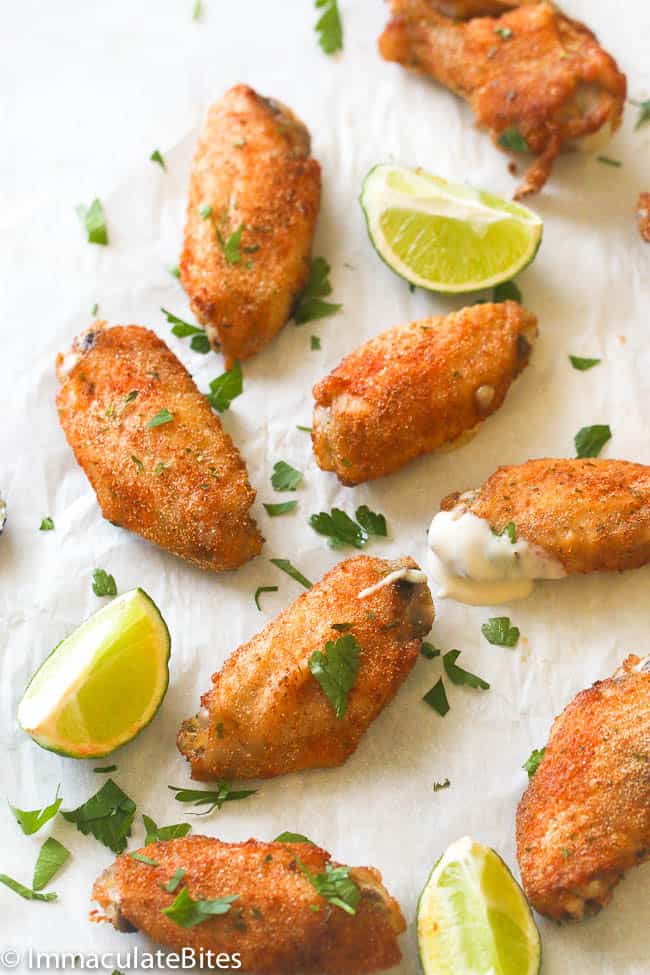
So after years of buying chicken wings at pizza places and restaurants, I finally perfected my chicken wings recipe. Crispy on the outside (even without the breading) and tender-juicy on the inside. Oh, nothing beats that irresistible crisp at first bite!
And since I occasionally need a healthier way to make my family’s faves, this time, they’re baked. Fortunately, these wings hold their crispiness like a pro. My boys were chowing down on these crispy baked chicken wings like there was no tomorrow. Woohoo! Plus, they are so easy to make, and you can include whatever spices match your mood or guests.
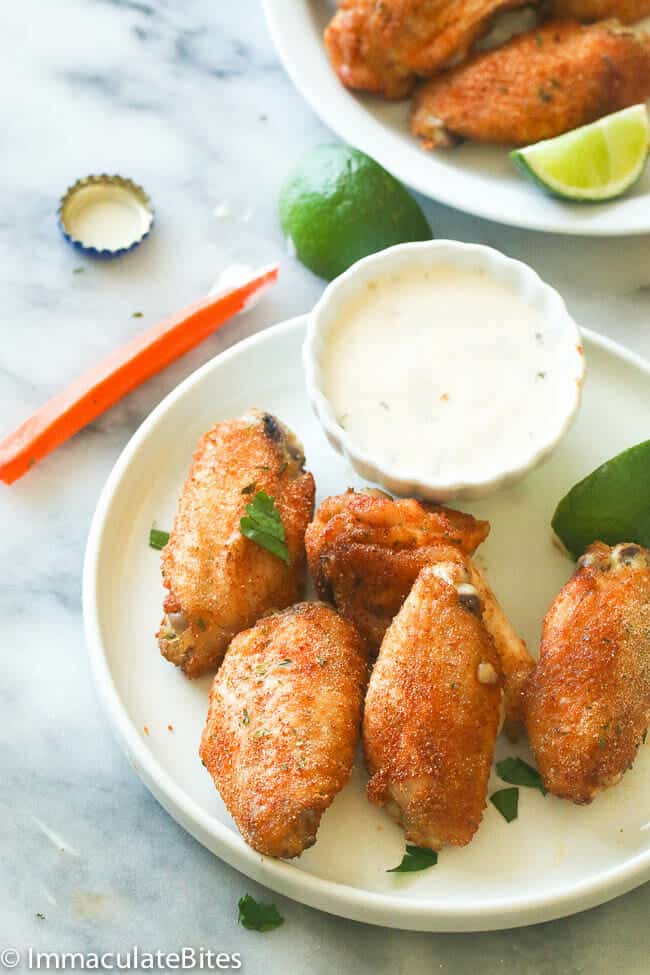
The Secret to Crispy Chicken Wings
After reading Alton Brown’s method of achieving crispy chicken wings, I incorporated some of his techniques. Simply let the wings dry in the fridge for about an hour, sometimes overnight. However, if you’re pressed for time, just dry them with a paper towel.
And coating them with oil made a massive difference in making baked chicken wings crispy. And, of course, remember to rotate the pan halfway through baking for even cooking.
Recipe Ingredients
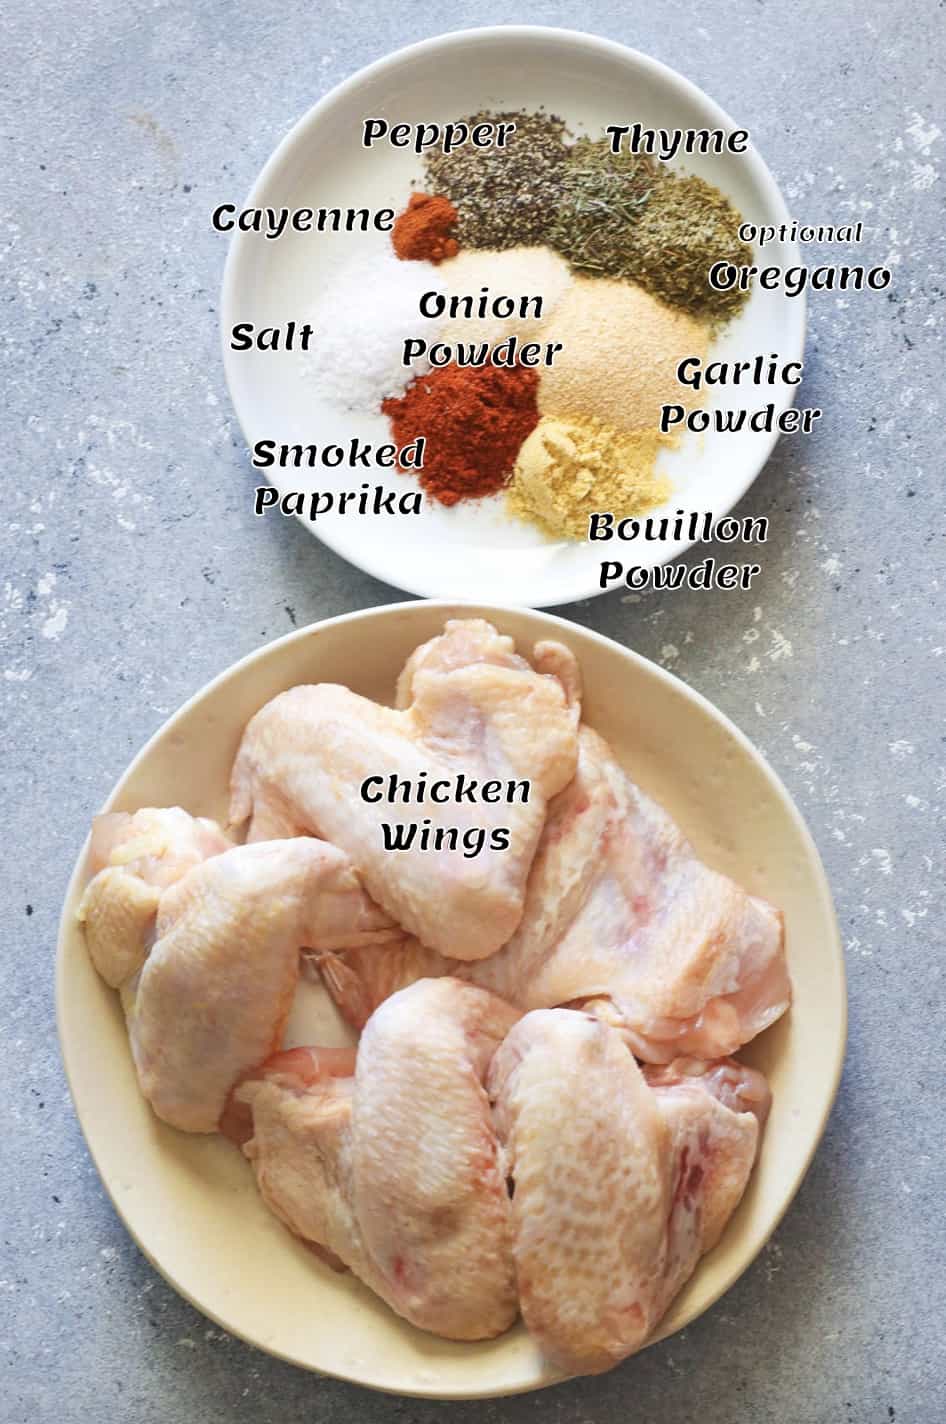
These ultimate Super Bowl chicken wings will surely make a homerun in your heart and tummy. So gather the ingredients, and let’s get kicking!
- Chicken Wings – You can buy whole chicken wings and separate them or buy them already in flats and drumettes.
- Flavor – Herbs and spices make everything better. And you can customize the mix to your tastes. But I used thyme, salt, cayenne, white pepper, onion powder, smoked paprika, garlic powder, and bouillon powder. 😉
- Oil – This flavor enhancer also gives you crisper chicken wings. Whatever you have on hand will work, but avocado or olive oil is fine if you’re doing paleo.
How to Bake Crispy Chicken Wings
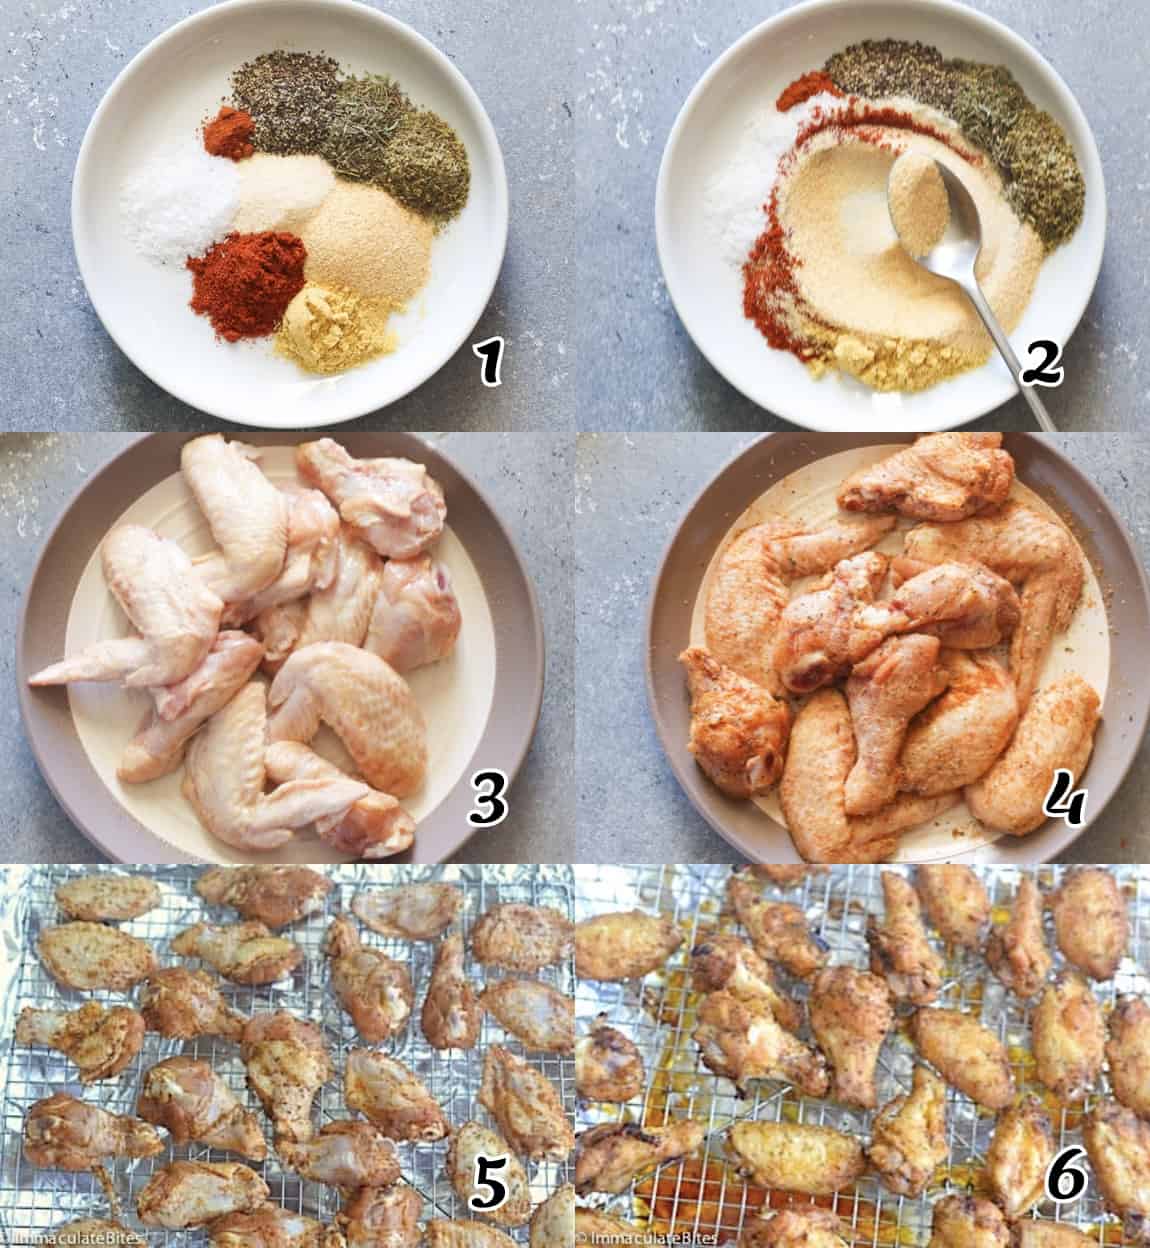
- Wash and Chill – Wash chicken wings and place them on a cookie sheet in a single layer, then let them sit in the fridge for at least 3 hours or, preferably, overnight. Don’t cover them because you want them to dry well.
- Season – Place the chicken wings in a large bowl with all the spices, then drizzle with vegetable oil. Mix until the wings are well coated. (Photos 1-4)
- Arrange – Line a baking pan with foil, and top with a wire rack. Arrange chicken wings in a single layer. (While the chicken wings are baking, the oil will slowly drip to the bottom of the baking pan.)
- Bake wings until cooked through and the skin is crispy (45-50 minutes), rotating them halfway through (right around 20 minutes in).
- Serving – Take them out of the oven and serve them with your favorite chicken wing sauce.
Recipe Variations
- Breading – While it’s great without seasoned flour, you can still dredge them in flour for extra crispiness. Add the seasonings to ½ cup of flour, mix well, and dredge your chicken wings. Then arrange them on your baking tray and lightly spray them with cooking oil.
- Parts is Parts – Chicken legs and thighs also work great for this recipe. Remember, though, that the thigh and breast parts need longer baking time. 😉
- Fried Chicken Wings – No oven? No problem! Fried chicken wings also deliver a spectacular game-day food trip.
- Sauce – Coat the chicken with a finger-licking good sauce after baking for extra goodness. BBQ sauce, Buffalo, Jerk sauce, or Honey Garlic are all good choices.
- Check out my chicken wing recipe collection for more mouthwatering ideas.
Tips and Tricks
- Add ⅛-¼ teaspoon of baking powder to your spice mix before seasoning your wings. It helps the wings brown beautifully and get crispy.
- For extra crispiness, broil your baked chicken wings until the skin is golden brown. (Keep an eye out so they don’t burn.)
- Flip the wings at least once while baking to keep them crispy.
- The whole chicken is cheaper, so sometimes I buy 3-4 whole chickens when they’re on sale. Then I cut them up and freeze them in freezer baggies. Legs and thighs in one, boneless-skinless breasts in another, and chicken wings in another. Then I make a rich, nutritious chicken broth with the rest. Yum!
Make-Ahead Instructions
This recipe doesn’t lend itself to making it ahead because it’s best hot out of the oven. But you can start the night before since the wings should be refrigerated before baking.
Serving and Storage Instructions
These crispy baked chicken wings are best straight out of the oven. Well, you may need to let them cool enough to not burn your tongue. 😉
If you have leftover wings (which I doubt), they’ll last in an airtight container in the refrigerator for 4 days or freezer for 3 months.
Thaw in the fridge overnight if frozen, then spread the wings on a baking tray. Reheat in a preheated 350℉/177℃ oven for 10-15 minutes until they’re perfectly crispy wings again.
FAQs
First, dry the skin and let the wings dry even more in the fridge—an hour up to overnight. Then bake it low until the fat starts melting, and then crank up the heat. You can also add a pinch of baking powder and cornstarch to your seasonings before coating the wings.
Personally, 400℉/205℃ is better for wings. But you can start at 350℉/177℃ for a few minutes and then crank it up to 425℉/218℃ (my preferred temperature) for a crispy finish. 165℉/75℃ is the perfect internal temperature for chicken.
No, you should not. We want crispy chicken wings, and covering them will steam them and make the skin soggy.
What to Serve With Baked Crispy Chicken Wings
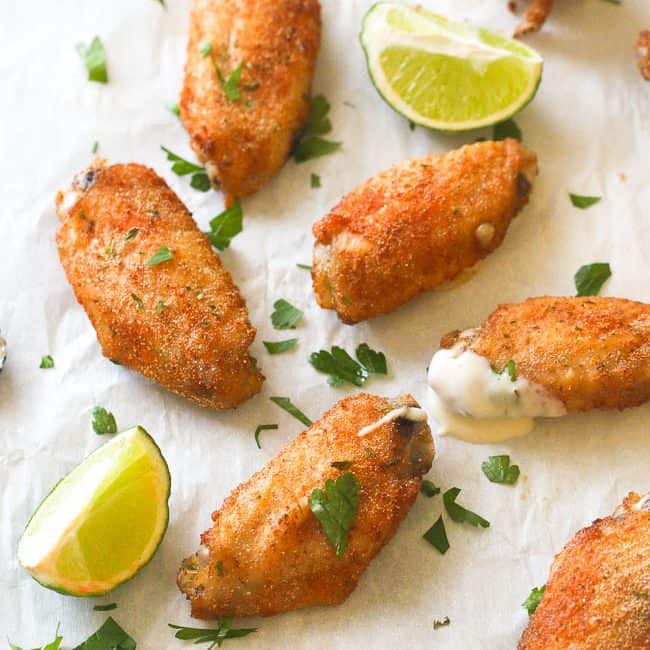
There are so many ways to serve these happy chicken wings. You can enjoy them as is or with some sauce, such as hot sauce and ranch dressing. And, of course, side dishes like these.
More Fabulous Chicken Wing Recipes to Try
- Baked Jerk Chicken Wings
- Sweet Sticky Spicy Chicken Wings
- Lemon Pepper Chicken Wings
- Crispy Grilled Chicken Wings
- Honey Garlic Chicken Wings
Conclusion
Spicy, crispy, and super easy crispy baked chicken wings are the best! When do you make chicken wings? Tell me in the comments, or tag me on Facebook. ❤️
This post was first published on January 2017 and has been updated with new content.
Baked Crispy Chicken Wings
Ingredients
- 3 pounds chicken wings
- 1 tablespoon thyme
- 1 teaspoon salt
- 1 tablespoon onion powder
- 1 tablespoon garlic powder
- 1 teaspoon smoked paprika
- 1 teaspoon white pepper
- ½ teaspoon cayenne pepper
- 1 teaspoon bouillon powder (or replace with salt)
- Vegetable oil
Instructions
- Wash chicken wings and place them on a cookie sheet in a single layer, then let them sit in the fridge for at least 3 hours or, preferably, overnight. Don't cover them because you want them to dry well.
- When ready to bake, preheat the oven to 425°F/218℃.
- Place the chicken wings in a large bowl with all the spices, then drizzle with vegetable oil. Mix until the wings are well coated.
- Line a baking pan with foil, and top with a wire rack. Arrange chicken wings in a single layer. (While the chicken wings are baking, the oil will slowly drip to the bottom of the baking pan.)
- Bake wings until cooked through and the skin is crispy (45-50 minutes), rotating them halfway through (right around 20 minutes in).
- Take them out of the oven and serve them with your favorite chicken wing sauce.
Tips & Notes:
- Add ⅛-¼ teaspoon of baking powder to your spice mix before seasoning your wings. It helps the wings brown beautifully and get crispy.
- For extra crispiness, broil your baked chicken wings until the skin is golden brown. (Keep an eye out so they don’t burn.)
- Flip the wings at least once while baking to keep them crispy.
- The whole chicken is cheaper, so sometimes I buy 3-4 whole chickens when they’re on sale. Then I cut them up and freeze them in freezer baggies. Legs and thighs in one, boneless-skinless breasts in another, and chicken wings in another. Then I make a rich, nutritious chicken broth with the rest. Yum!
- Please keep in mind that nutritional information is a rough estimate and can vary significantly based on
KELLY says
I made this for a family get together and we enjoyed every bite. Thanks so much Imma for this simple and amazing recipe
Imma says
Oh great to hear that. Thank you so much!
Nora says
Can these be made in an air fryer?
ImmaculateBites says
Yes they sure can.
Gail Brooks says
These were the best wings I have ever eaten??? I can’t stop raving about them.
Please, please tell me how to avoid the grease that splattered all over the oven and the oven grates. I’m reluctant to make them again until I can avoid all the messy clean up.
ImmaculateBites says
Fantastic! Am so thrilled . Thanks so much.
Gail says
Can someone tell me how to make them without covering my oven in grease???
ImmaculateBites says
Leave out the cookie rack and turn wings half way through.
Ralph Jerzy says
Great hit!
I’ve made this over a dozen times in the past 2 years (as wings and legs), always a show stopper. I’ve made these in both a oven and a smoker (which really brings in an awesome touch). These are so good that at pot lucks and parties, these are repeat requests from others.
One trick I use to help with drying out the skin is I point a small fan on the chicken while in the fridge to cause more air motion (yes, crazy, I put fans in my fridge).
Shila says
Imma, this recipe was sooo good! I have tried several of your recipes which came out fabulous and delicious!! Thank you!! Your site is my top favorite!! I can’t wait to try out many more!! Kudos to you!
imma africanbites says
Thank you, Shila! Glad it turned out well for you. I can’t wait either for you to try my other recipes. Enjoy!
April Scott says
I have made your wings regularly over the last year or so, always fabulous – this weekend we have an afternoon meeting with 20 odd guests, again I go to your great recipe, with no worries of how they will turn out, they will be gobbled up 🙂
Thank you for sharing
Lily says
Any suggestions on what to serve this with? I’m working on a home ec. project.
ImmaculateBites says
You can never go wrong with fries(wedges)
Alyssa mingin says
Hi there my name is Alyssa and i was gonna make chicken wings for dinner tonight but all the recipes i read say i should use a wire rack, well i dont have a rack. Is there any suggestions u could give me? Need asap….ty
ImmaculateBites says
The only thing I could say is to go ahead and make it without the rack. The top part would still be crisp.
Wolf says
I’ve made foil strips (3-4) and laid chicken pieces on top of these Not 100% like a wire rack but I saw Martha Stewart do this once for the same reason…no rack.
It works to a degree
Dana says
I love your recipes and this was another winner!
ImmaculateBites says
Awesome Dana! Thanks for letting me know
Didina Gnagnide Angorinie says
Hello Imma,
I’d like to give you a recipe for easy oven-baked fish nuggets, though it can be easily adapted into chicken ones.
It comes from one of Benedetta Parodi’s books, she is a popular Italian writer for easy and family-friendly dinners. I admit her recipes tend to be good, this one in particular she got from a woman named Rosa.
So here are Rosa’s oven-baked fish nuggets: Warm up your oven to 180° C (350 ° F) with fan and put into your mixer
500 gr/half a kg of fish (the original recipe calls for 300 gr white fish and 200 gr shrimps, you can vary this according to your preferences/availabilities)
one egg (this makes the nuggets soft inside and not hard)
one tsp of grated ginger
the juice of half a lemon
3 Tbsp of parmesan cheese
some parsley or basil (amount to your liking)
(my addition) one Tbsp of Worchestershire sauce
some salt (I would say about 1/4 tsp)
a swirl of Extra-virgin olive oil
Mix everything. With a tablespoon, form balls from the mixer, roll them in breadcrumbs (I like to use corn breadcrumbs because of its taste and crunchyness, but any will do) and put them in a single layer on an oven tray over parchment paper. Drizzle some olive oil again and put them into the oven; after 10 minutes, they should have a nicely browned top. Turn them the other side over and cook them for other 10 minutes or so.
They are not crunchy like fried nuggets, but pretty soft inside and won’t resemble cardboard like some more unfortunate baked nuggets do. You can customize them a lot: I made versions adding cumin seeds, soy sauce, chopped up chilis, paprika, Creole spice mix, etc. I also made meat versions using chicken and sausage, marinating them in beer beforehand, and then using Mexican-inspired flavors such as onion, lemon, cumin, chili…they are really versatile.
In my house frying is almost impossible so this recipe helped me a lot! Lol.
Best wishes, Didi
Didina Gnagnide Angorinie says
Sorry, I meant “nicely browned bottom”, that is, the side making contact with parchment paper.
This recipe is for 4 people more or less.
ImmaculateBites says
Fantastic! This is going on my to make list. Still torn between making it with fish or chicken- Arrgh! Maybe I’ll do both and see which one I like best. I know my little man would prefer chicken. Decisions decisions…
THANK YOU SO MUCH! For taking the time to write this up. Happy New Year!
Didina Gnagnide Angorinie says
If you go the chicken route I’d suggest marinating the meat in beer first, and maybe use a bit of sausage or other highly flavored meat, as baking will never replicate the clean but delicious taste of fried chicken :(, so without some help from umami sources you risk getting bland nuggets (or cheat with some Maggi lol). But I bet you already knew that. One huge plus of these baked nuggets is that they reheat well, unlike fried ones, so they make great leftovers.