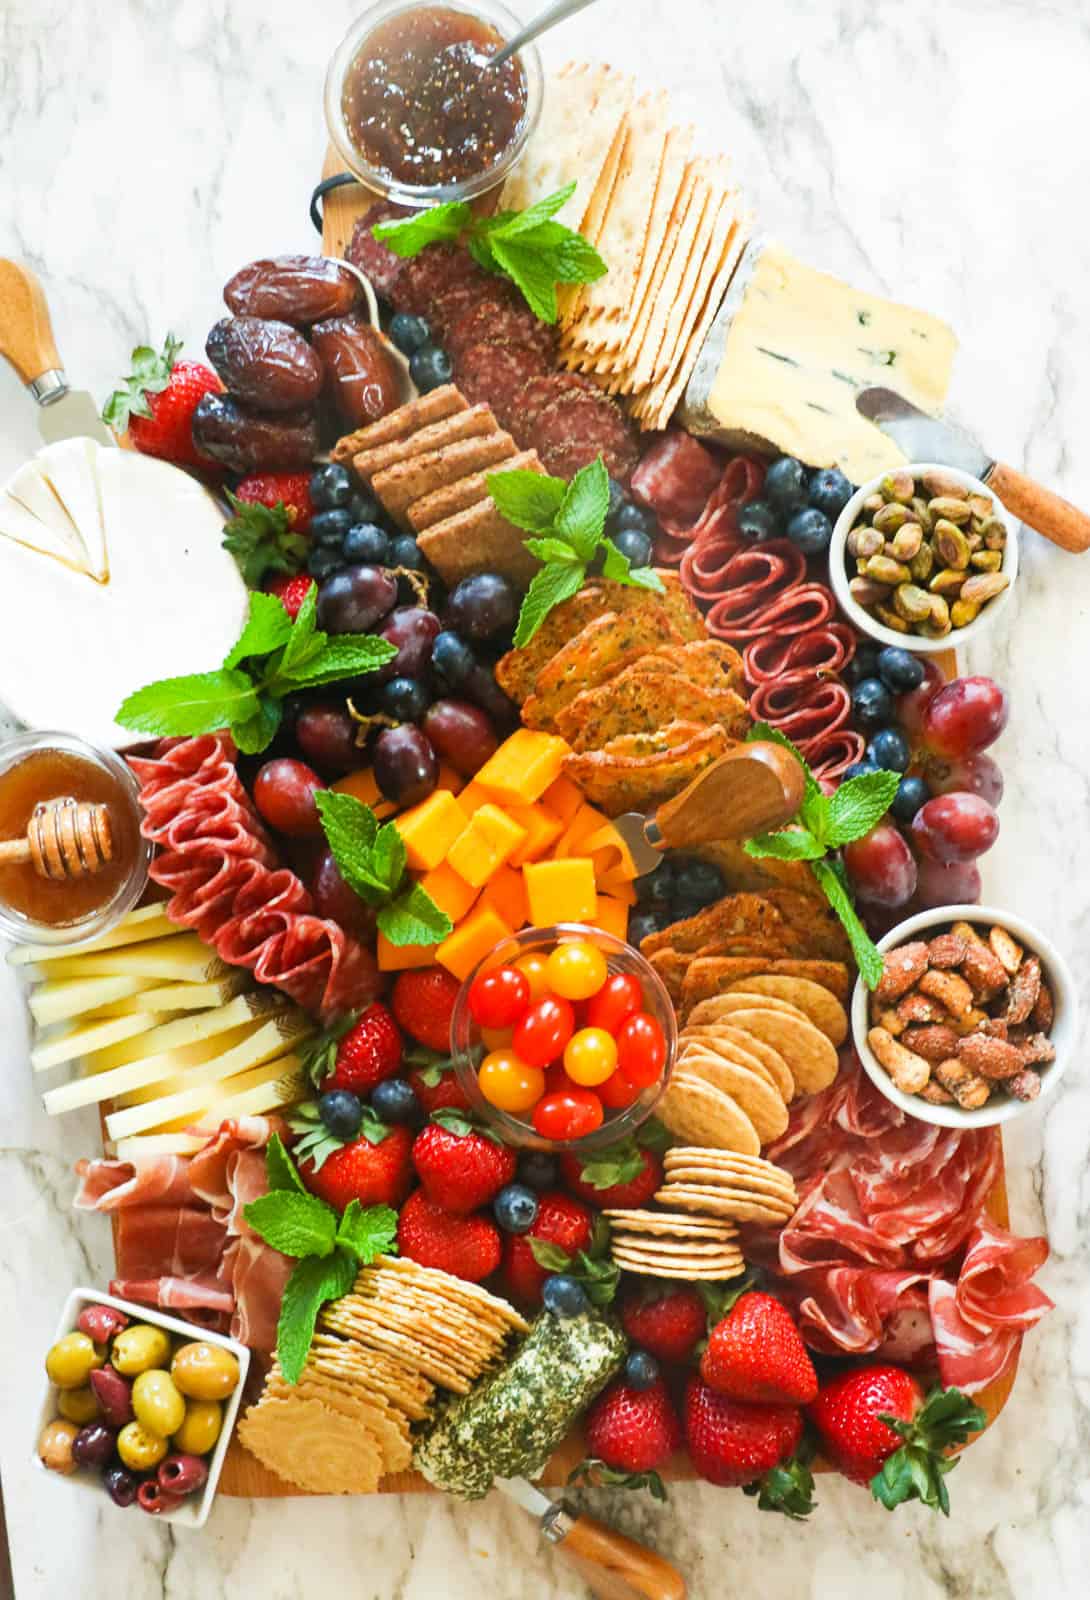
Charcuterie Board Ideas – Delectably savory meats and cheeses balanced with olives, crackers, nuts, and fruits served on a gorgeous wooden board. Talk about the perfect party platter! Not only is it amazingly delicious, but it’s also super attractive.
When I was younger, these were called meat and cheese trays or fancy hors d’oeuvre platters. I loved to stack a slice of salami and provolone on a cracker, then top it with an olive. And I couldn’t stay away from them.
These babies can carry a hefty price tag if you buy them already prepared. I thought it would be a nice gift for a friend’s baby shower, then got sticker shock. Oh no, you know I can do so much better on my own. And, of course, it was a lot cheaper.
What is a Charcuterie Board?
It may be hard to pronounce (shar-KOO-tər-ee), but it’s a breeze to make. It comes from a French word meaning cured meats, and it refers to bacon, ham, salami, sausage, and the list goes on. Then, arrange these savory delicacies with various cheeses, crackers, dried fruits, and nuts, and you have the latest and greatest rage for a fancy appetizer.
Charcuterie Board Tools
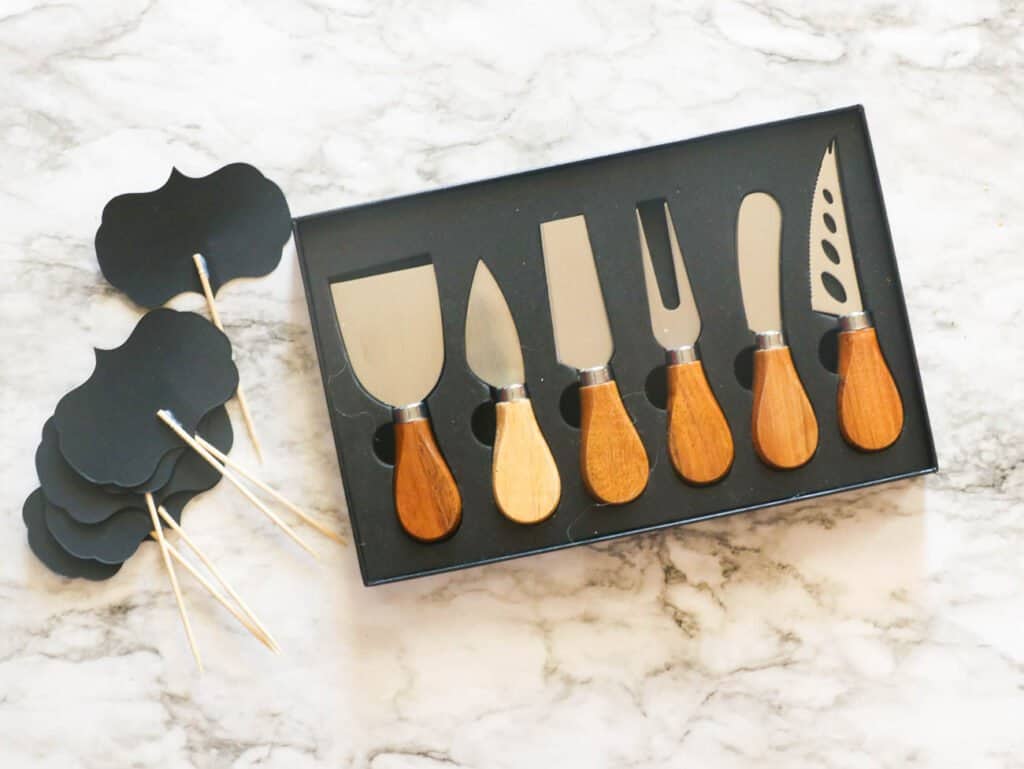
There’s not a lot to put in this section. You need: 1) an attractive wooden board large enough to arrange your ingredient selection. (If you want something more elegant, you can use a marble slab.) You might want some 2) cute little forks and knives so people can grab what they want without touching the food. And some 3) ramekins or small bowls for dips and sauces will make a tidier presentation.
What You Need for a Charcuterie Board
You can get as fancy or as uncomplicated as you want because this versatile platter is much easier than it looks. The following are just suggestions for charcuterie board ideas.
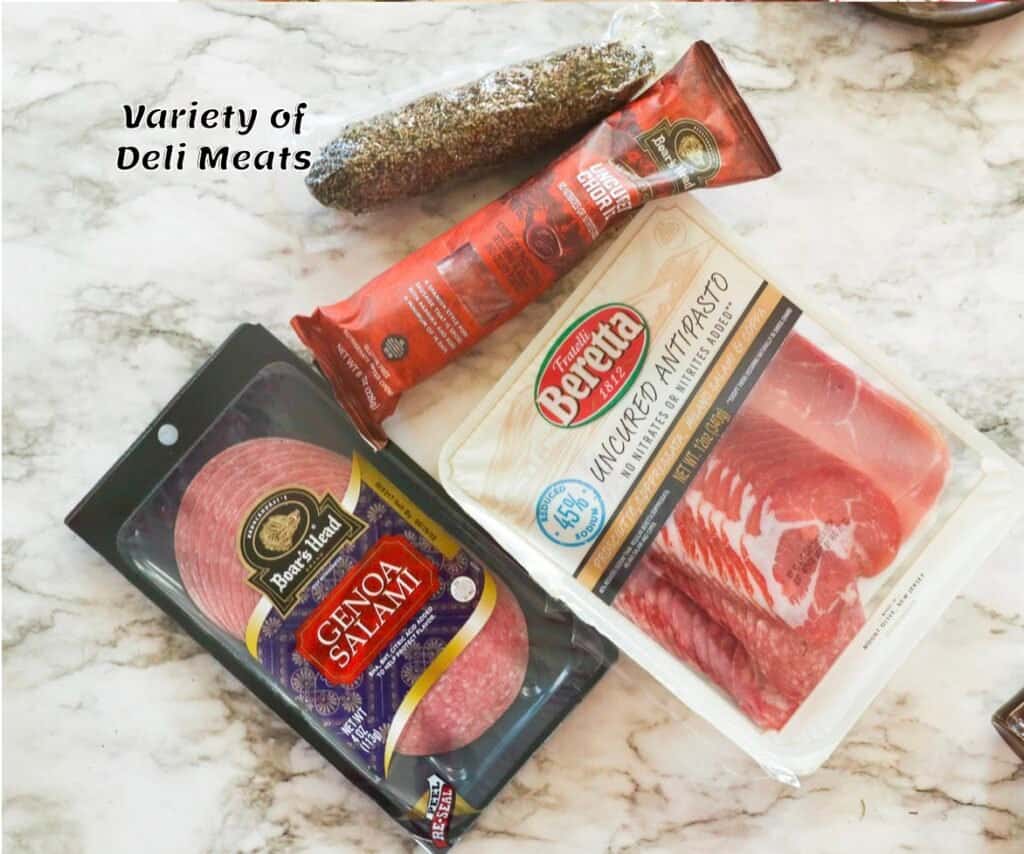
- Meats – Take your pick of salami, pastrami, serrano ham, etc. Use all your faves and try some new ones.
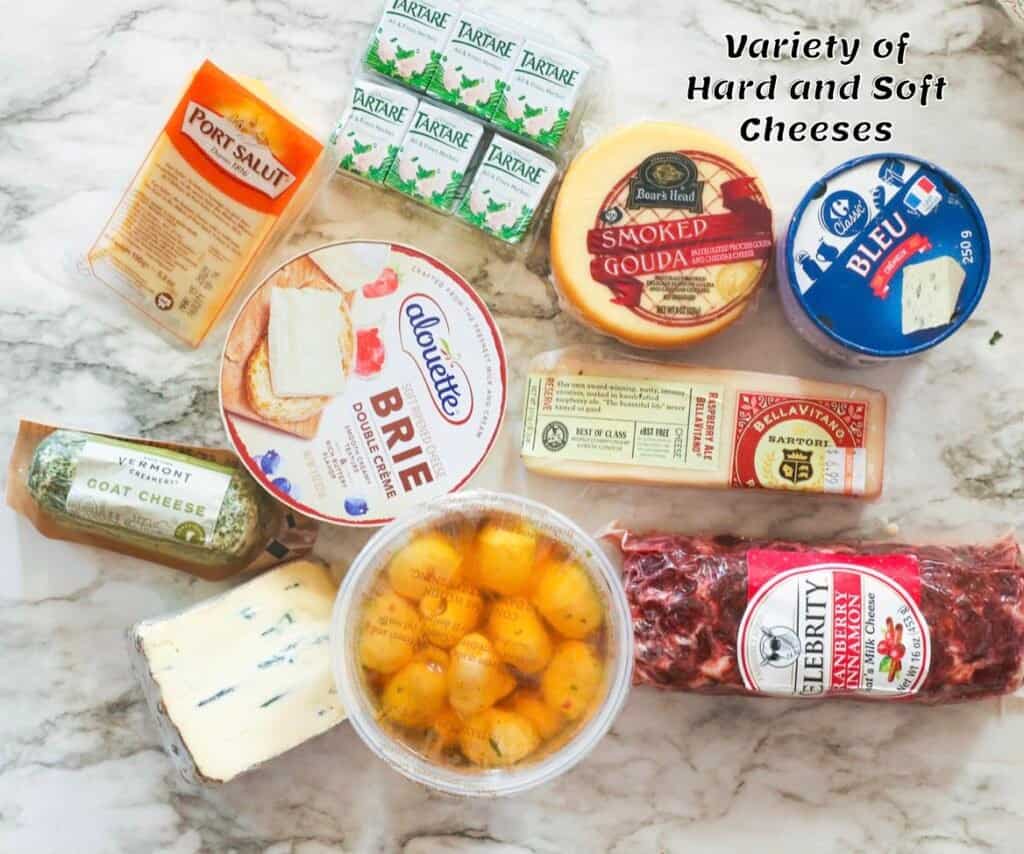
- Cheeses – Provolone, Manchego, blue cheese or Roquefort, etc. Again, use your favorites and take advantage of trying something new.
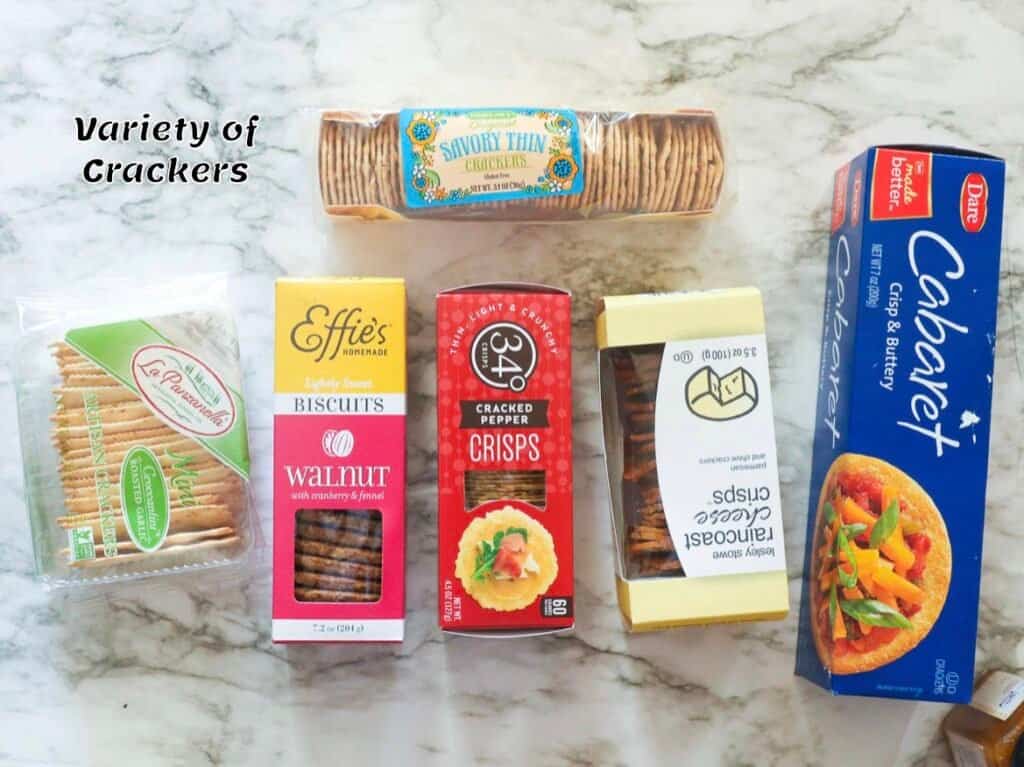
- Crackers and Bread – Butter crackers, water crackers, saltines, small garlic bread slices, you name it. Whatever you like to serve as a base for your meats and cheeses.
- Pickled Items – Olives, gherkins, and pickled veggies are an excellent addition.
- Dried Fruits and Nuts – Almonds are my go-to, but pecans, walnuts, and cashews also work. Dried apricots are addictive, and so are dried figs. Take your pick.
- Crudités – A fancy word for bite-sized veggies. You can use carrots, celery, cucumbers, etc.
- Dips – If you add bite-sized veggies, don’t forget to add something to dip them in.😉
Gather Your Ideas
The planning stage starts with talking to yourself. No, we’re not crazy; we’re getting it together.
- How many people are you serving?
- Will this plate be the star of the show, or will there be more on the table?
- What’s the budget say?
How to Make a Charcuterie Board
Pick a Board
There are different boards to choose from – use whatever you have on hand. Wooden cutting boards, marble boards, serving trays, or even a large plate. If purchasing a charcuterie board, check out the home goods department for the best selections.
Start Assembling
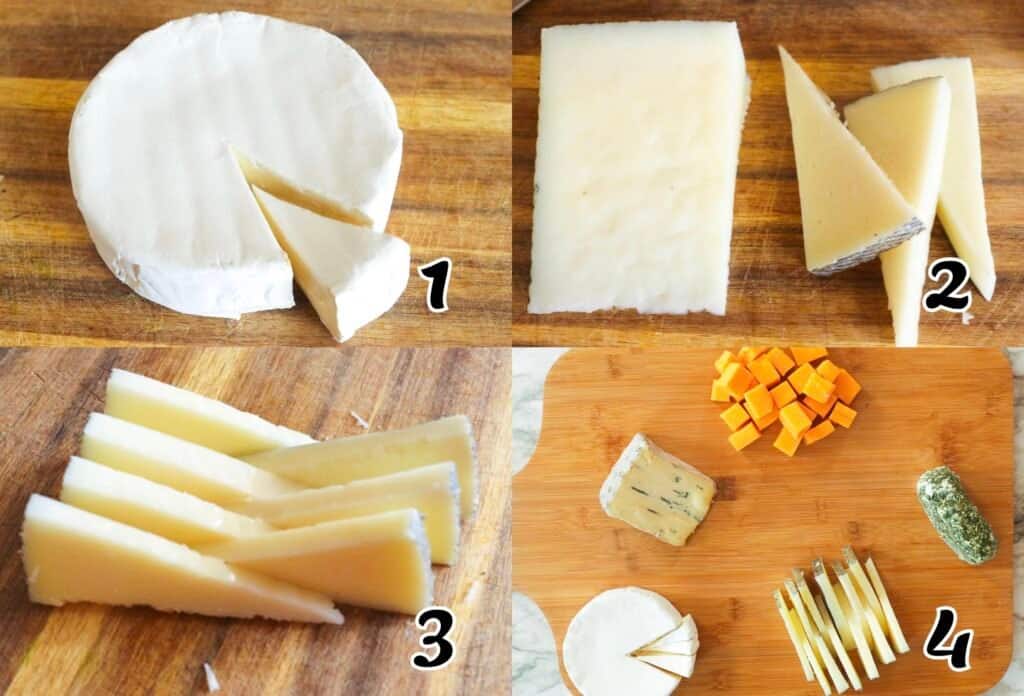
- Start with large items or cheeses. Be sure to place any cheese that needs cutting on the side of the board to facilitate cutting. Continue setting the cheese far apart from each other. (Photos 1-4)
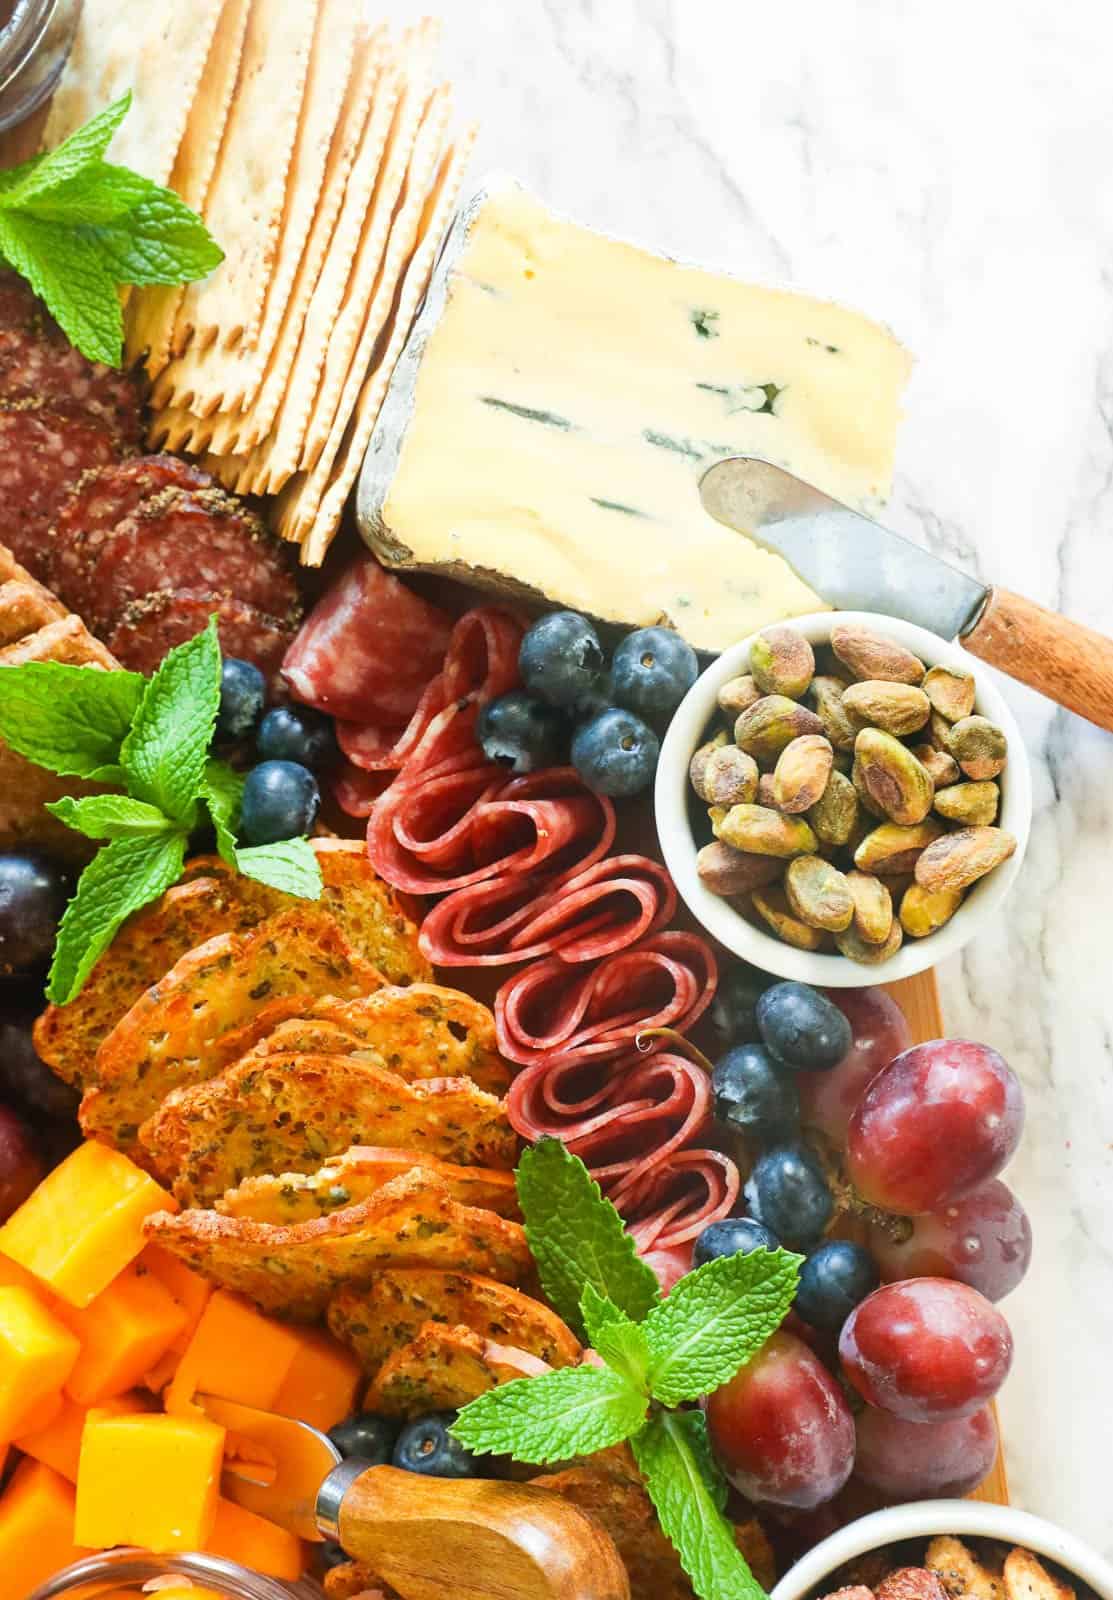
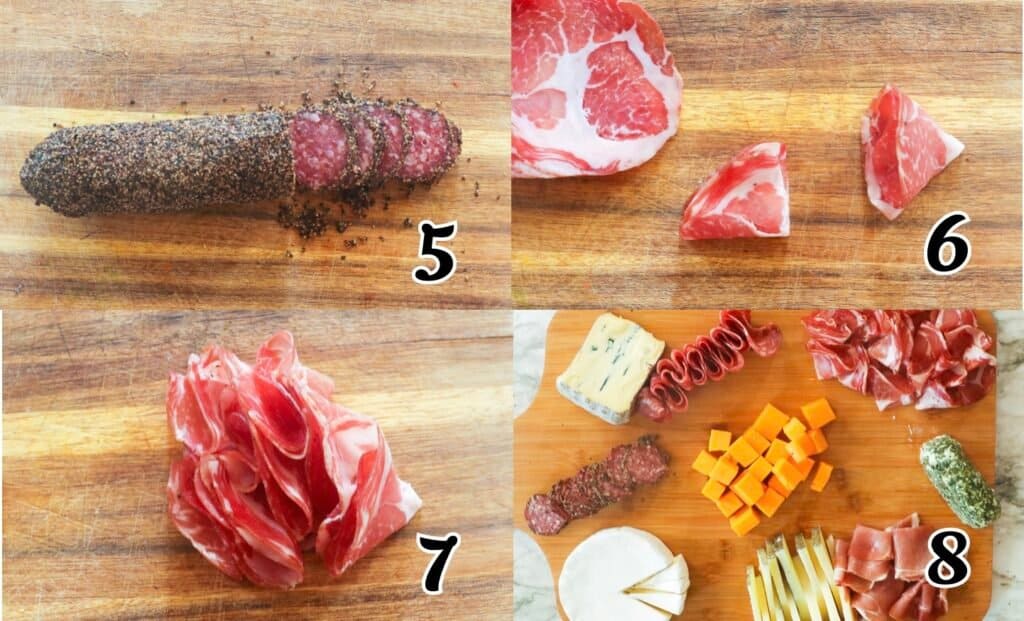
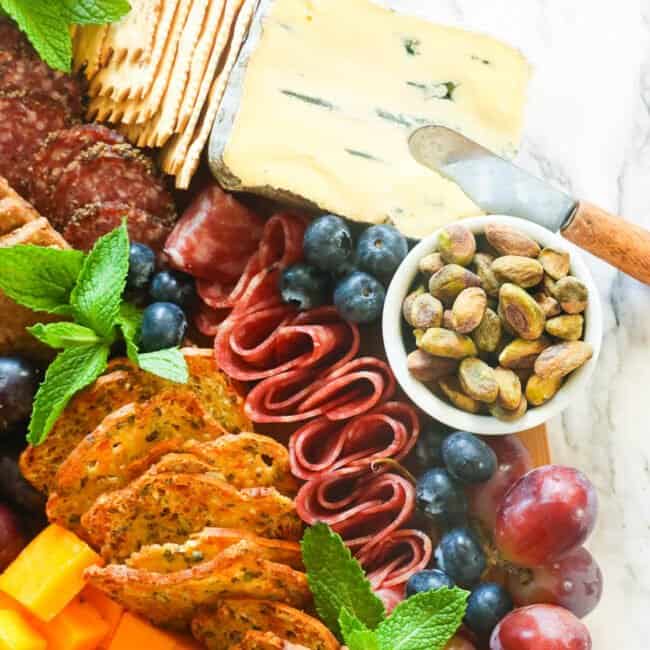
- Thinly slice meat and fold in quarters or decoratively (as shown in the photo). Place on the board, and repeat with the remaining meat. (Photos 5-7)
- Lay crackers on the board, as desired. (See photo for reference)
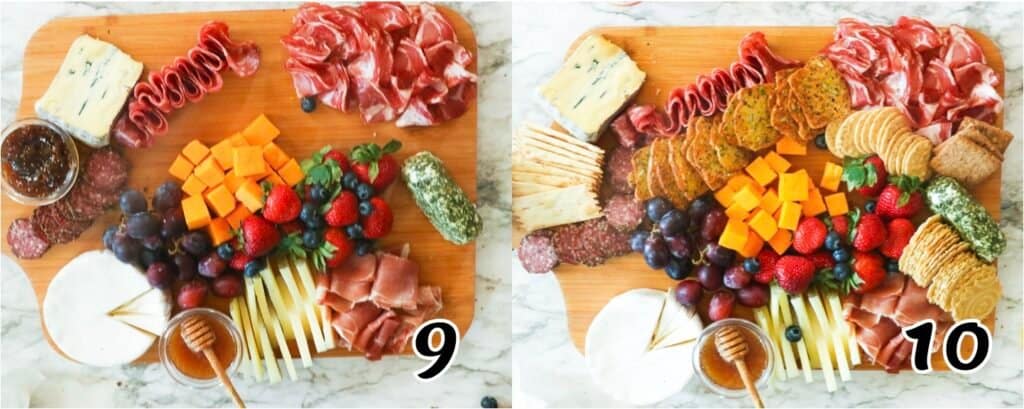
- Proceed with the rest of the ingredients. Place the fruit next to a cheese it pairs well with; no worries if it does not work out perfectly. Put nuts and smaller items like olives in small bowls or cups. (Photos 8-10)
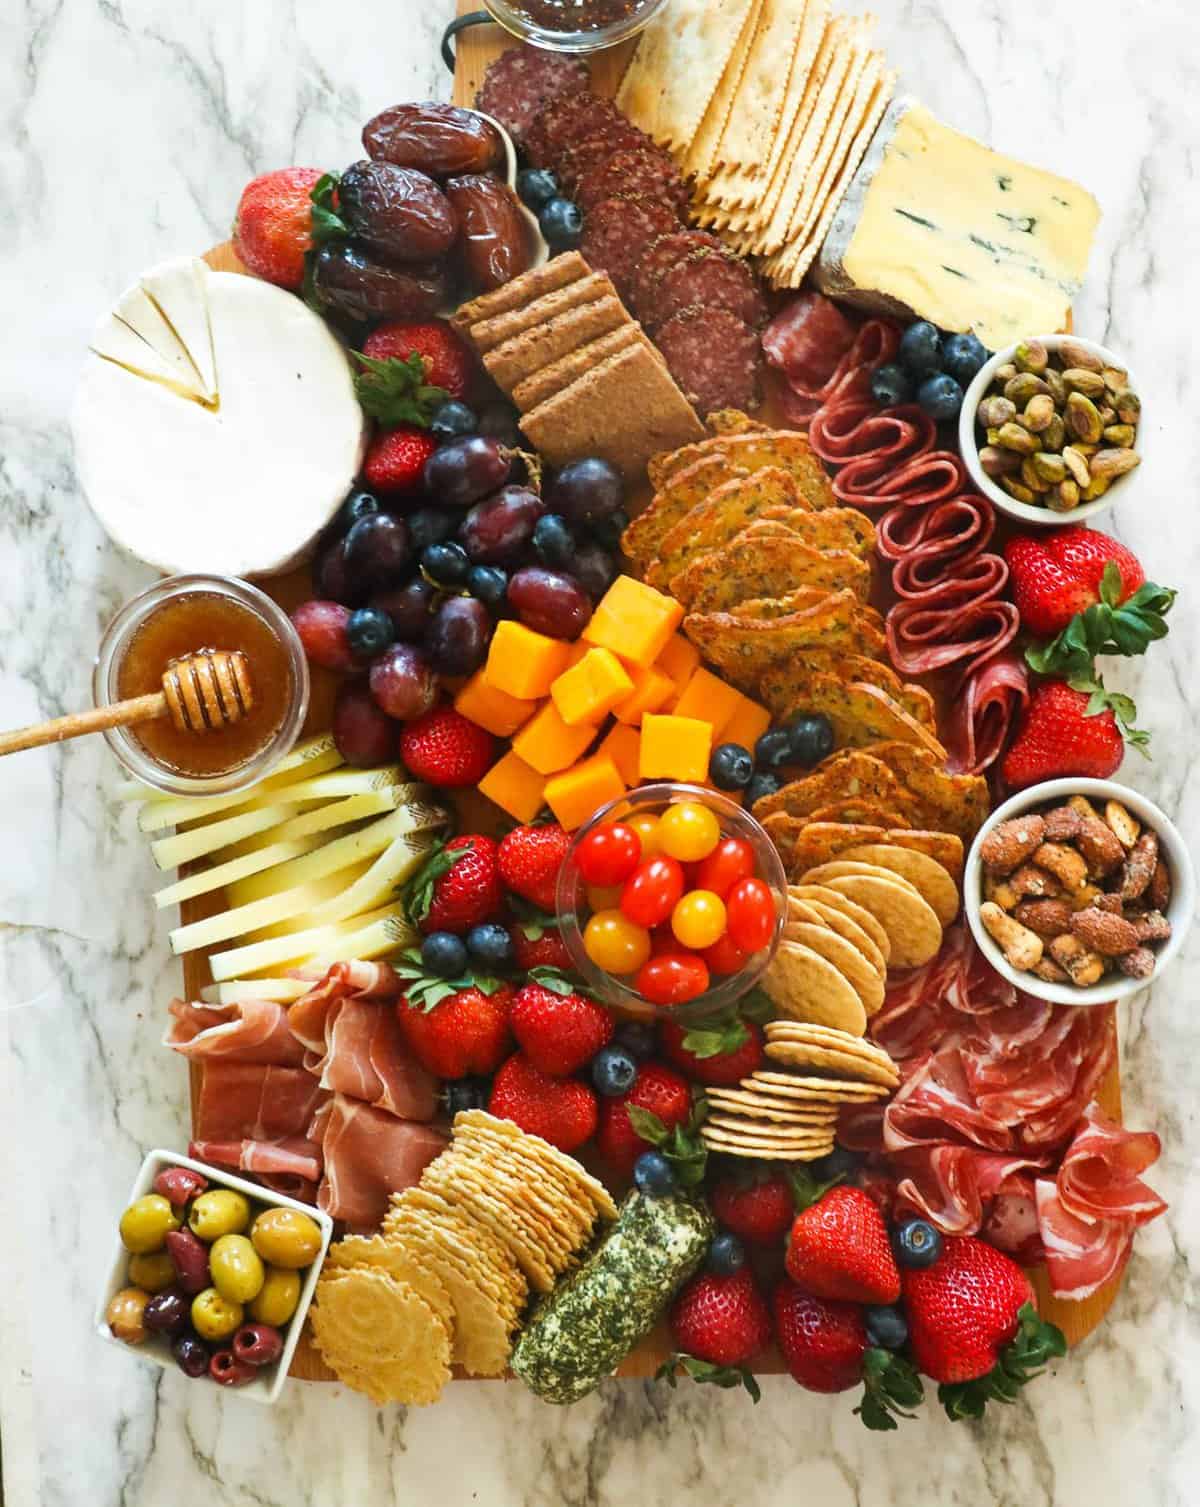
- Fill in the nooks and blank spots with remaining small items (fruits, snacks, crackers, or whatever rocks your boat). Remember, you might have to move a few things around while creating your board. Enjoy!
Tips and Tricks
- Keep it simple! It’s easy to let what you see on social media carry you away, but keep your audience in mind. Design your board based on your guests’ likes and dislikes. There’s no shame in loading up your tray with cheddar and salami if that’s what your guests know and love.
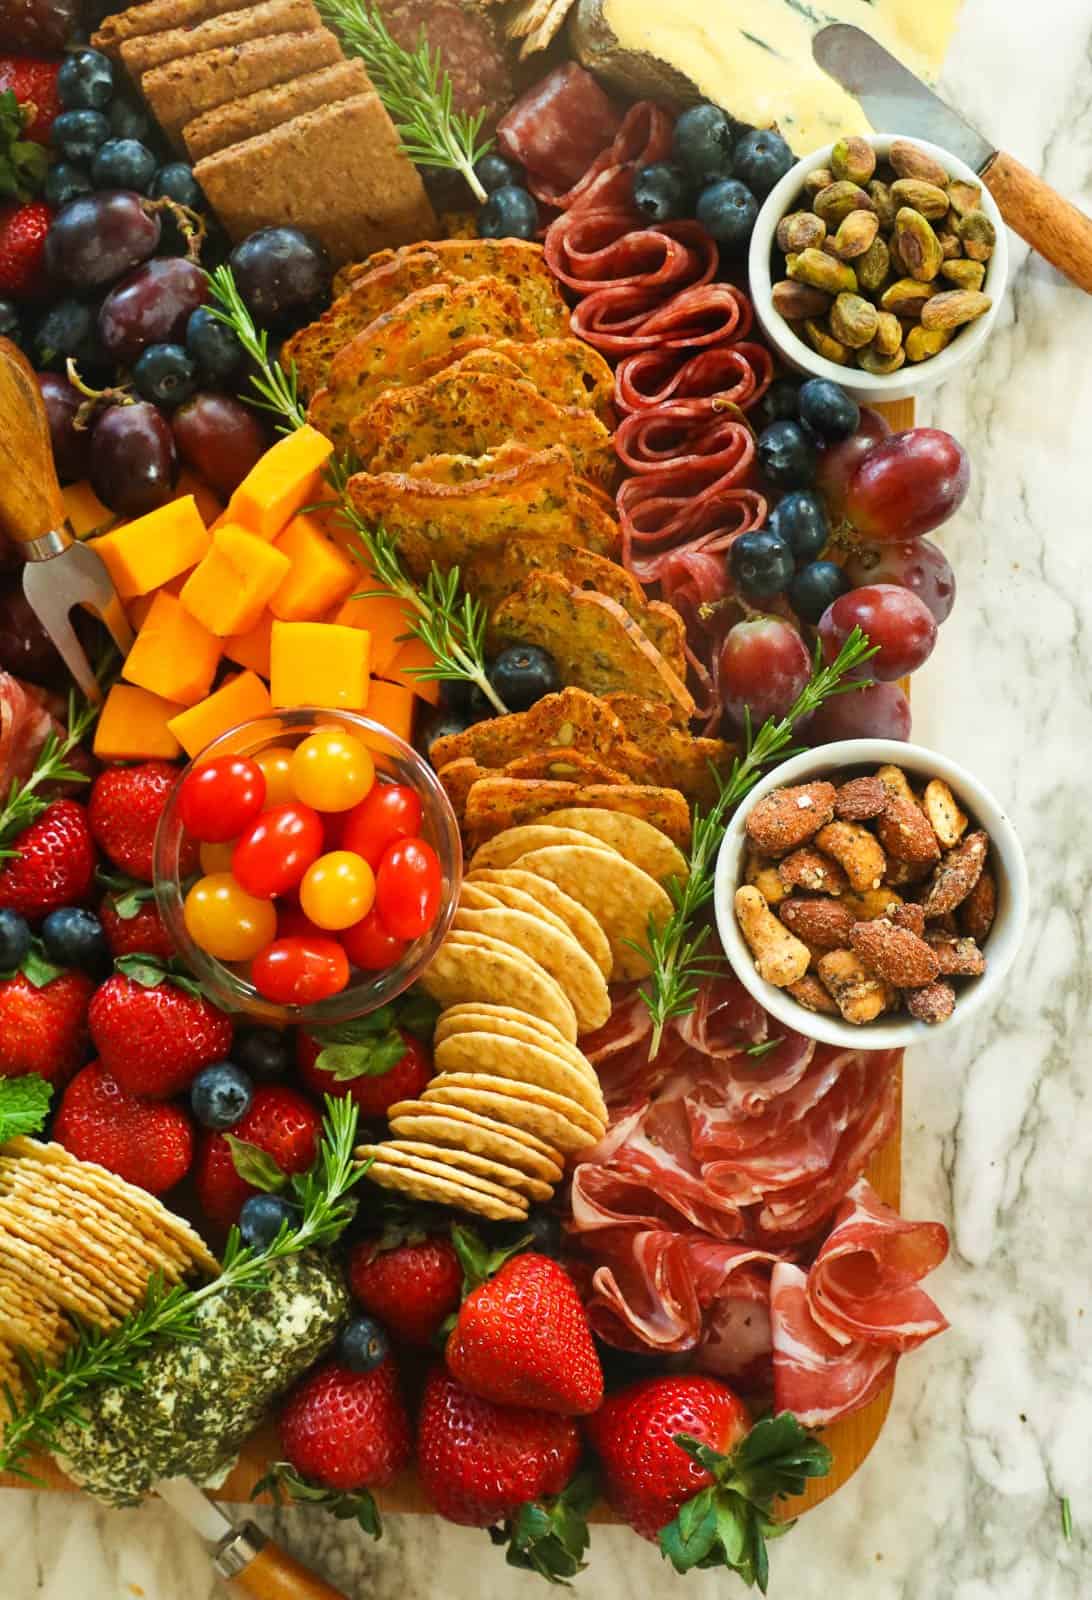
- Add lots of color and texture! I love to add color through bright red apples, green and red grapes, blueberries, red cherry tomatoes, and green and black olives. Raspberries, blackberries, and other fruit are great for creating texture on the board!
- Calculate your meats and cheeses. I usually allow 2 to 3 ounces each of meat and cheese per guest. Some people will eat more, some will eat less, and it always balances out in the end.
Make-Ahead Instructions
I prefer to assemble my charcuterie board as close to serving time as possible. Once you have everything organized, it only takes a few minutes to prepare.
Of course, you can organize everything beforehand, even the day before. I cut up my meats and cheeses and refrigerate them until it’s time to put everything together. Ditto for the fruits and vegetables. They can be cleaned, cut up, and stored the day before.
And, of course, any condiments like jams, spreads, or tapenades can usually be made beforehand and stored in serving dishes to go directly from the fridge to the charcuterie board.
Serving and Storage Instructions
The great thing about charcuterie boards is that there’s no right or wrong way to make them! I start by getting all the ingredients together and then let my imagination and creativity run wild!
- To assemble the charcuterie board, I suggest putting the larger items on the board first. Think large wheels of cheese, bowls of dips or spreads, or a jar of breadsticks.
- Then pile on the meat! Fold and arrange the meat in different ways to create texture on the platter.
- I put the crackers and bread next and try to pair them with the meats and cheeses. Remember not to fill up your board with bread. You can serve extra bread and crackers in baskets on the side.
- Finally, I fill in the gaps with fruits, pickles, nuts, and garnishes. Here your imagination can really go to town! Try to arrange your board so that it is visually appealing and well-balanced.
Storing leftovers is easy! Cheeses, meats, vegetables, and fruits can all be placed into individual containers and stored in the fridge for snacks the next day.
FAQs
The cost varies depending on the size of the charcuterie board and the items you buy for it. You can put together a small charcuterie board for as little as $25 or spend as much as $300 for a larger board with gourmet items. If you’re on a budget, look for seasonal fruit and multi-packs of cured meats to reduce the cost of the ingredients.
Not at all! A large serving plate, tray, or rimmed baking sheet will also work. Just make sure that what you use is food-safe!
Presentation is everything! I like to fold meats like salami and coppa in halves for fun. Pepperoni can be sliced and laid flat on the board in a fan shape. And prosciutto can be laid out in ribbons to add some texture to the board.
What to Serve With a Charcuterie Board
Fancy appetizers call for memorable cocktails! One of my favorites is a Mai Tai, one of the prettiest drinks out there. Peach bellinis are another must-try; they’re elegant, simple, and gorgeous. And what goes better with cheese than wine? Try an awesome mulled wine for something extra-special.
For some non-alcoholic options, mango juice and strawberry watermelon juice are great additions to any party! They’re quick, refreshing, and super delicious.
More Appetizing Appetizer Recipes to Try
You don’t have to serve homemade items on your charcuterie board. But if you’re feeling adventurous, I recommend these goodies to personalize your charcuterie board!
Conclusion
There you have it! All my tips and suggestions for making your own bespoke charcuterie board! Get creative, have fun, and get ready to be showered with compliments at your next cocktail party! How do you plan on personalizing your charcuterie board? Let me know below. ❤️
Charcuterie Board Ideas
Ingredients
Cheeses (soft, medium, and hard)
- Brie
- Goat cheese
- Blue cheese
- Smoked Gouda
- Cheddar cheese
Dried Cured Meats
- Salami
- Chorizo
- Capriola
- Soppressata
- Summer sausage
- Prosciutto
Crackers and Breads
- Baguette, thinly sliced and pan toasted
- Pita chips
- Pretzel crisps
Fruit and Sweets
- Berries (strawberries, blueberries, blackberries, and raspberries)
- Fresh grapes
- Apples
- Figs
- Dates
- Cranberries
- Marmalade or fruit preserves
Savory Options
- Mustard, spicy and/or stone-ground
- Grape tomatoes
- Roasted bell peppers
- Cocktail pickles
- Olives
- Almond
- Roasted nuts
Instructions
- Pick a Board – There are different boards to choose from – use whatever you have on hand. Wooden cutting boards, marble boards, serving trays, or even a large plate. If purchasing a charcuterie board, check out the home goods department for the best selections.
- Start with large items or cheeses. Be sure to place any cheese that needs cutting on the side of the board to facilitate cutting. Continue setting the cheese far apart from each other.
- Thinly slice meat and fold in quarters or decoratively (as shown in the photo). Place on the board, and repeat with the remaining meat.
- Lay crackers on the board, as desired. (See photo for reference)
- Proceed with the rest of the ingredients. Place the fruit next to a cheese it pairs well with; no worries if it does not work out perfectly. Put nuts and smaller items like olives in small bowls or cups.
- Fill in the nooks and blank spots with remaining small items (fruits, snacks, crackers, or whatever rocks your boat). Remember, you might have to move a few things around while creating your board.
Tips & Notes:
- Keep it simple! It’s easy to let what you see on social media carry you away, but keep your audience in mind. Design your board based on your guests’ likes and dislikes. There’s no shame in loading up your tray with cheddar and salami if that’s what your guests know and love.
- Add lots of color and texture! I love to add color through bright red apples, green and red grapes, blueberries, red cherry tomatoes, and green and black olives. Raspberries, blackberries, and other fruit are great for creating texture on the board!
- Calculate your meats and cheeses. I usually allow 2 to 3 ounces each of meat and cheese per guest. Some people will eat more, some will eat less, and it always balances out in the end.
- Please keep in mind that the nutritional information is a rough estimate and can vary significantly based on the products used in the recipe.
Leave a Review