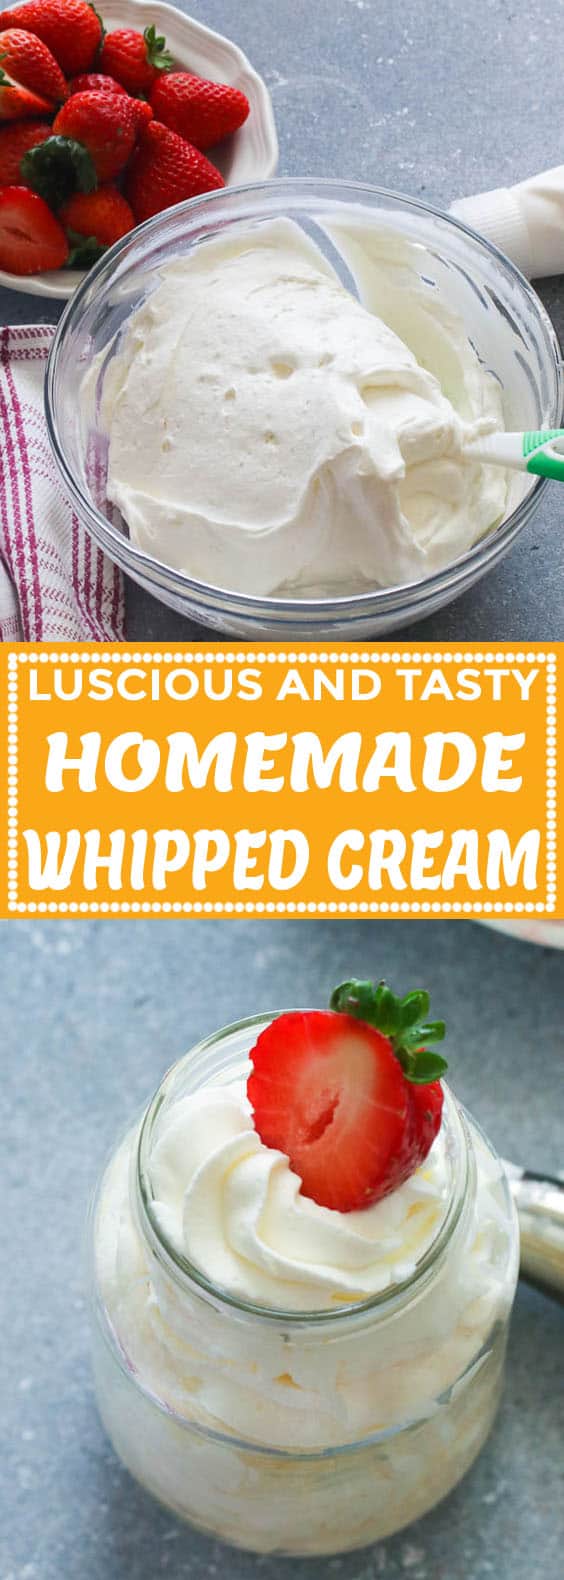
Richer, fresher, and tastier Homemade Whipped Cream using just a handful of ingredients in about 5 minutes. You’ll be ditching the store-bought and be making this light, stabilized, and pipeable homemade one more often than you can imagine. Perfect topping for waffles, pancakes, cupcakes, and more!
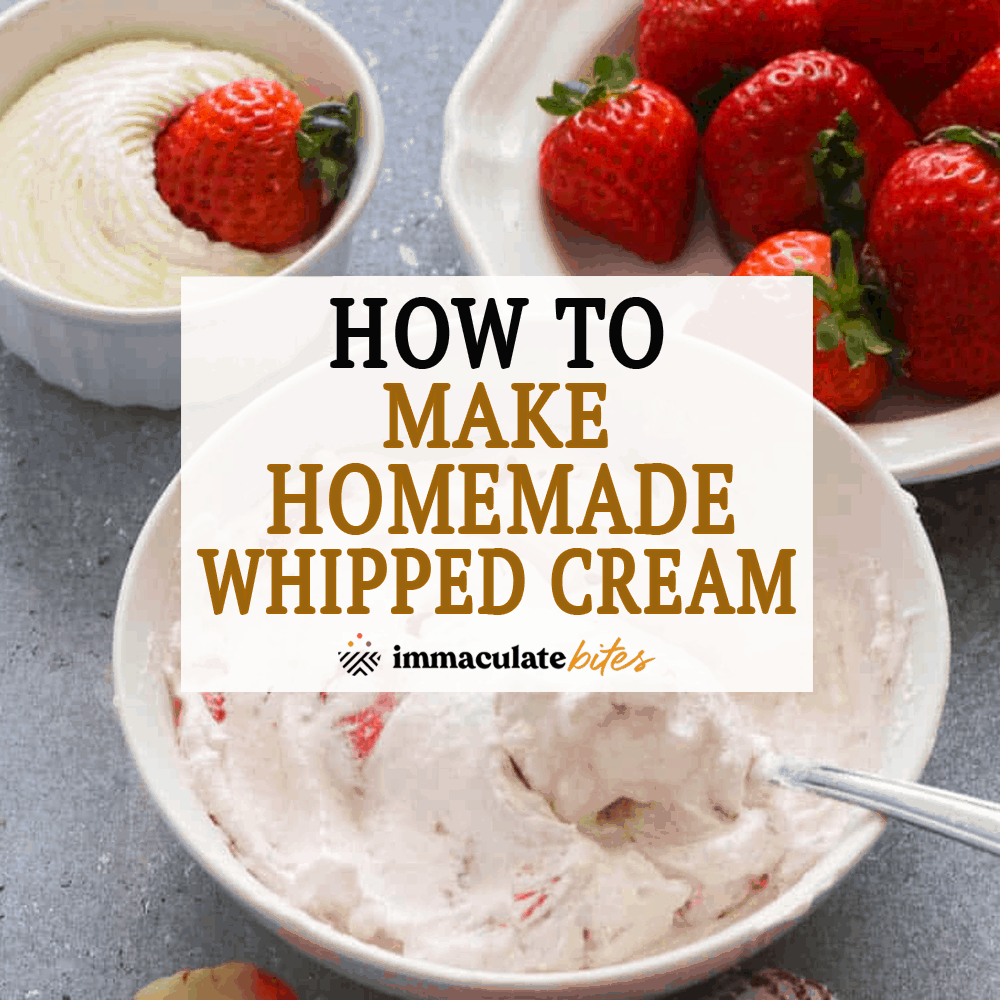
I have been making homemade whipped cream for years now and it’s always better than its store-bought counterpart. You can actually really taste the difference. Once you try it, you will be a convert and an avid fan. Truly a game-changer!
HUGE PLUS – it’s customizable.
And with today’s Valentine’s Day, you’ll be needing it more than you can imagine as toppings to your favorite desserts or waffles. Don’t worry, this won’t take much of your time and it’ll be ready before you know it. 😉
Heavy Cream vs Whipping Cream
These two may be similar and sometimes used interchangeably, but they’re actually different in some ways. It turns out that the major distinction between the two is its fat content. Heavy cream and “heavy” whipping cream both contain at least 36% or more milk fat while whipping cream (without the “heavy” word) is lighter compared to the first two with just about 30-35% milk fat.
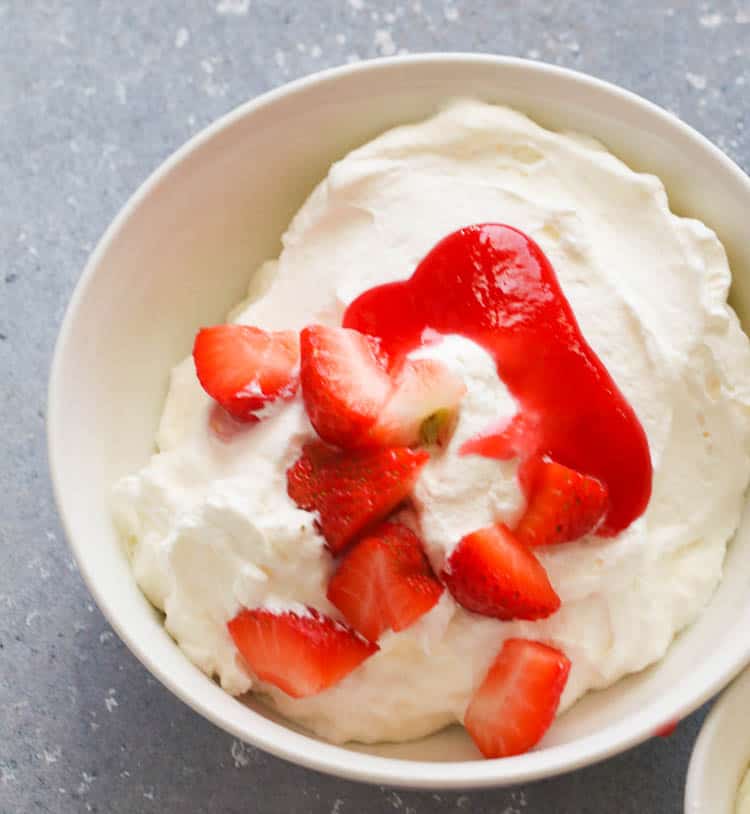
Given just how small the difference is between those them, you may use either heavy cream or whipping cream, HOWEVER, heavy cream/heavy whipping cream’s higher fat content makes it hold its shape for a longer period of time. Whipping cream, on the other hand, will still whip well but comes liquid again after some time.
So if you’re piping it as whipped cream frosting for cakes, cupcakes, or pies, you’ll have to stock more heavy cream or heavy whipping cream in your fridge.
Whipped Cream Ingredients
This easy homemade whipped cream recipe requires mainly just three (3) simple ingredients – cold heavy whipping cream, sifted confectioner’s sugar, and vanilla extract for flavoring.
- Cold Heavy Whipping Cream – it holds its shape much better and yields a creamier texture with its fat content
- Confectioner’s Sugar – some claim to use granulated sugar, but I prefer to use the confectioner, powdered-like sugar as it has the most neutral sweetness and helps along in stabilizing the whipped cream
- Vanilla Extract – it could actually be any flavor profile you want. But this time, I prefer to stick to the classic ingredient using Vanilla Extract. (see recipe box below for other flavor options)
How to Stabilized Whipped Cream?
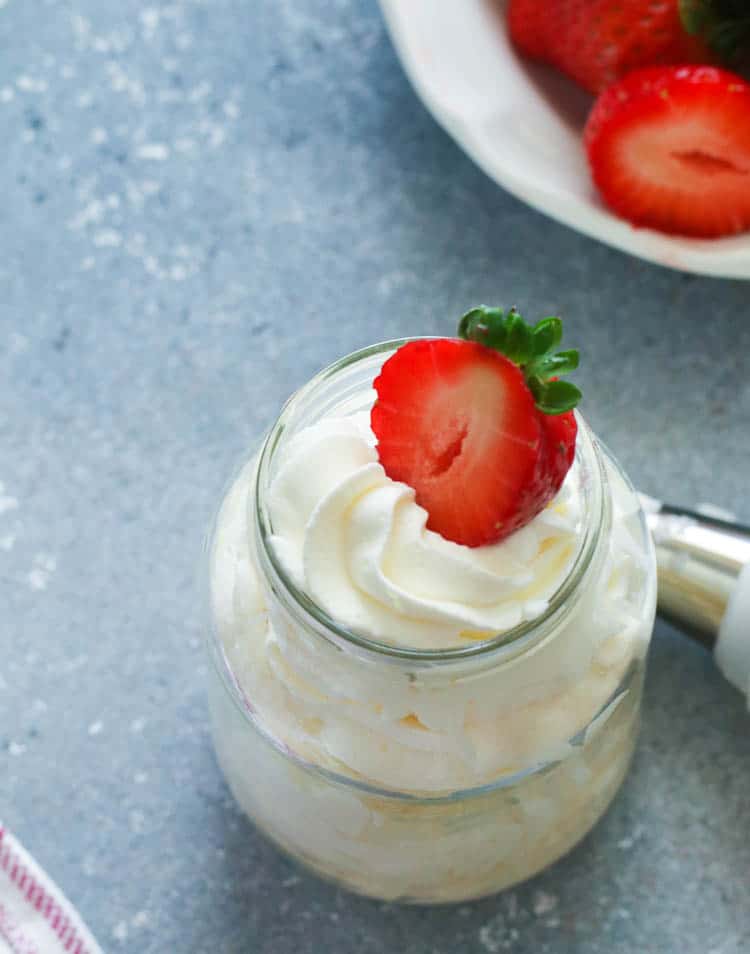
Stabilized whipped cream is another way of saying to make it last longer in the refrigerator in case you’ll be making it advance of serving. I like to use unflavored gelatin dissolved in a tablespoon of cold water. This method helps you when piping your whipped cream onto a cake or cheesecake as it stays exactly as you left it.
Another reason why my stabilized whipped cream lasts longer than the other is that it uses confectioners or powdered sugar instead of granulated sugar without making it too overly sweet.
Remember, make sure that the mixing bowls and beaters that you’ll be using are super cold before you use them so it won’t take you that long to achieve soft peaks.
How to Store Homemade Whipped Cream?
Store unused stabilized whipped cream in an airtight container in the fridge. It’ll be fine for about 2 days, but I’ve tried using it at max for 3 days without the need to whisk it back.

Can You Freeze Homemade Whipped Cream?
Well, actually, you can. Leftover whipped cream somehow freezes well. What I do is drop mounds (or pipe them in small mounds) of it onto a parchment-lined baking sheet and freeze overnight. Then when they’re hard enough to touch the next day, peel them off and transfer them to a freezer bag or container and freeze for longer shelf life.
Frozen mounds of whipped cream make a perfect topping to hot choco or coffee. You wouldn’t dare throw away those leftover whipped cream once you try topping them on your favorite hot drink or even on a slice of pie.
What to Serve with Whipped Cream Desserts?
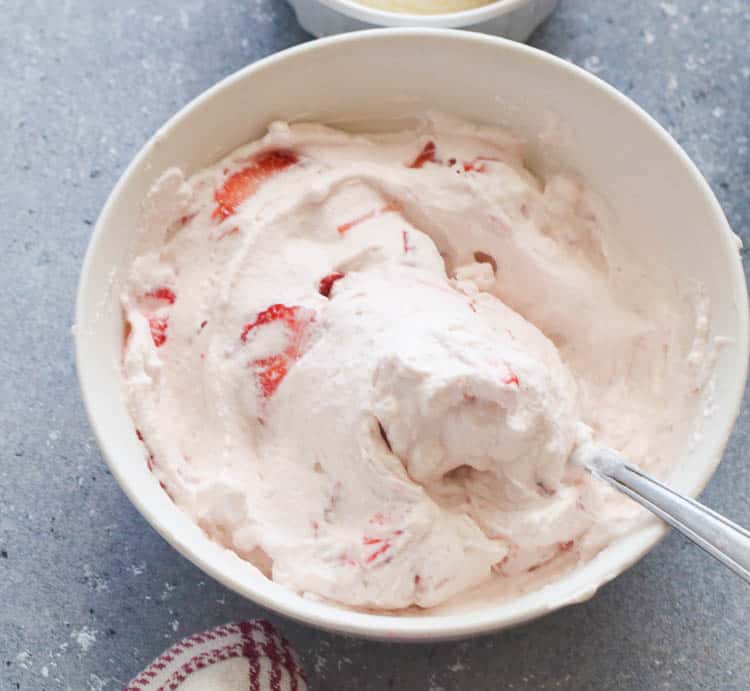
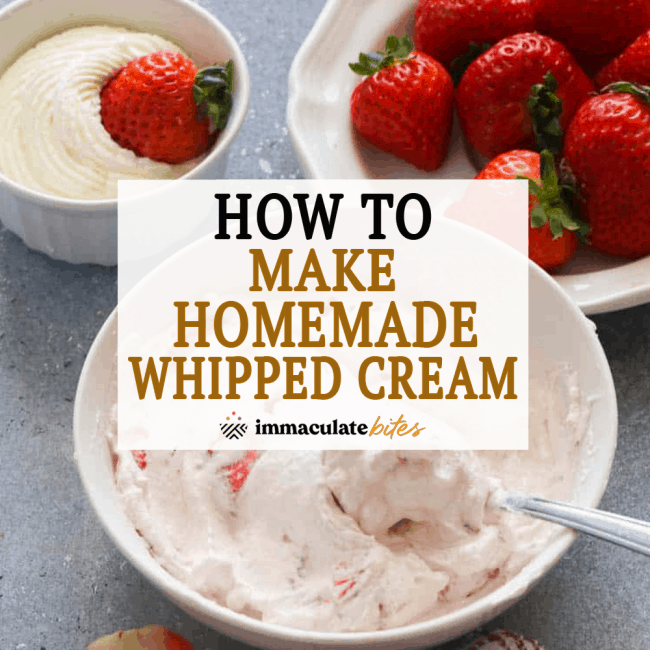
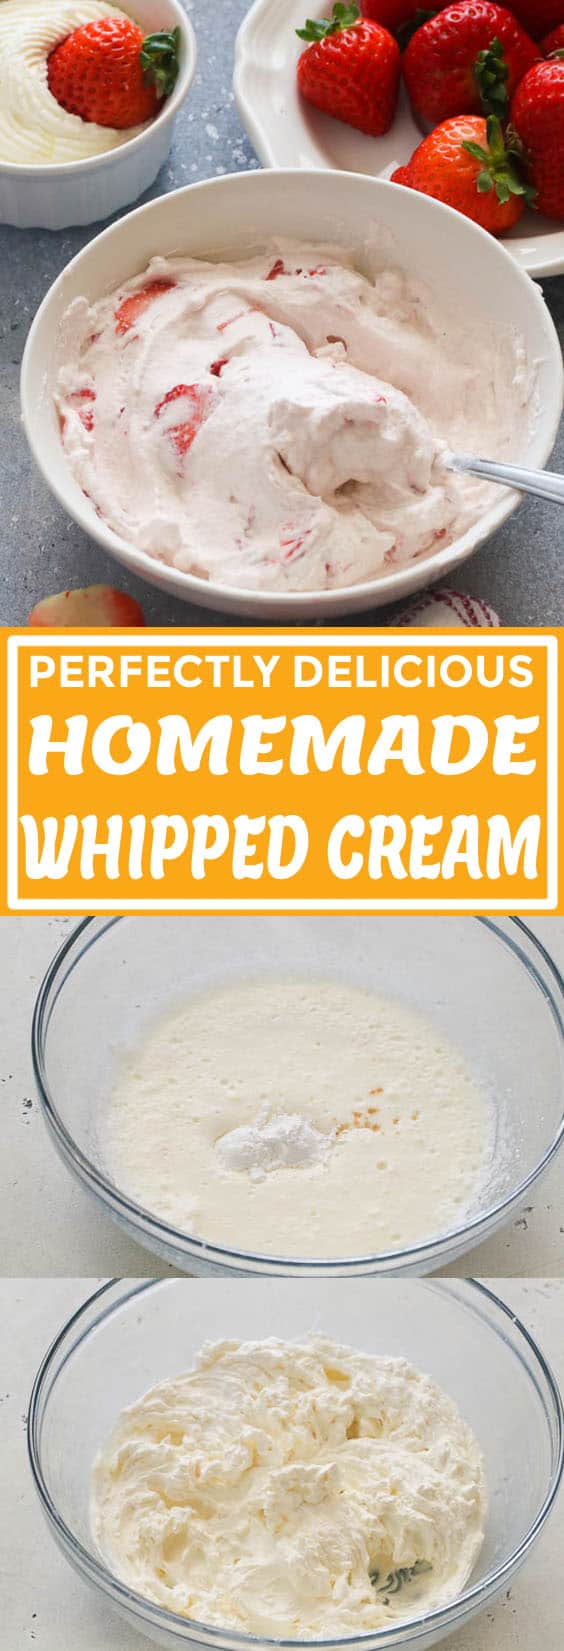
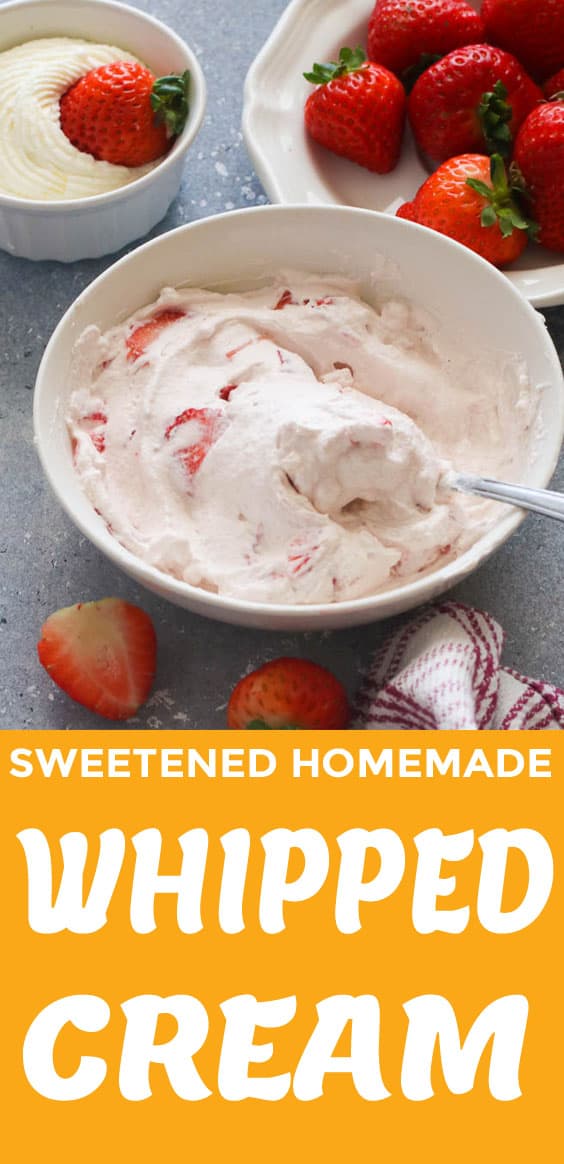
There are so many ways to make use of this homemade whipped cream (either the plain one or with some sliced strawberries in it just like the one below). I honestly love them served with:
- Homemade Waffles
- Flourless Chocolate Cake
- Fluffy Pancakes
- Coconut Cream Pie
- Lemon Sour Pound Cake
- Chocolate Chess Pie
- Strawberry Shortcake
- Chai Tea Latte
- Watergate Salad
And a whole looot more… It is perfect with just about anything – be it a dessert, a drink or as simple as pancakes. Now you know why it’s a must-have especially during Valentine’s Day with all the sweet treats going on.❤️ 😉
How To Make Whipped Cream
This is optional to keep it longer.
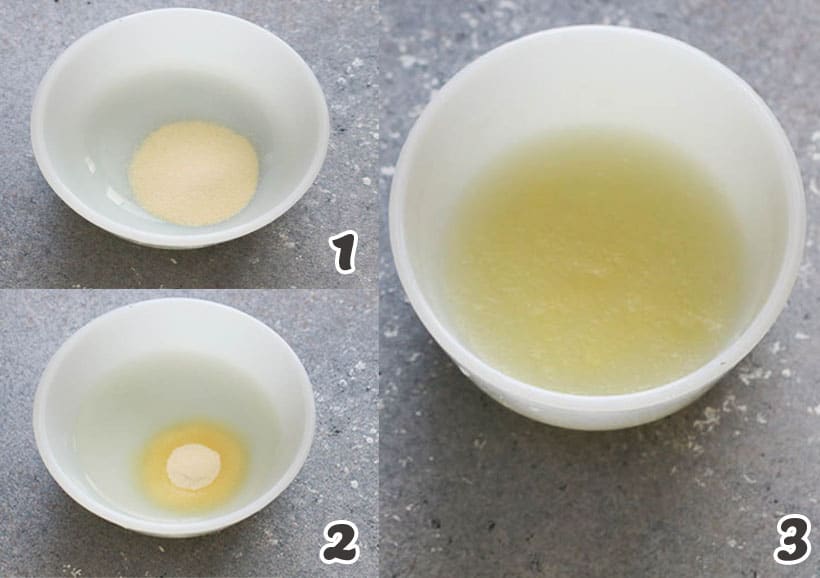 To start, place a medium mixing bowl and beaters in the fridge, until ready to use. In a small microwave-safe bowl or cup mix together unflavored powdered gelatin and water. Let it sit for about 20-30 seconds. Microwave the mixture in 5-second increments until the gelatin is dissolved and turns into liquid.
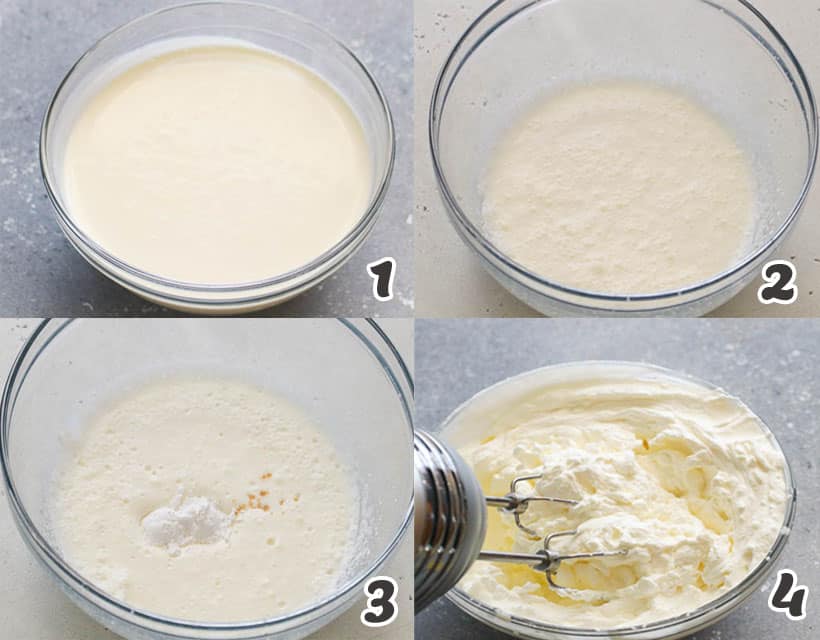 Remove beaters and bowl from the fridge add cream and start mixing the cream on low using beaters – (alternatively these can be made in a stand mixer too). As soon as bubbles form, switch to medium speed. Add flavoring and sugar and beat until a trail forms. If using gelatin add it here and continue whipping.
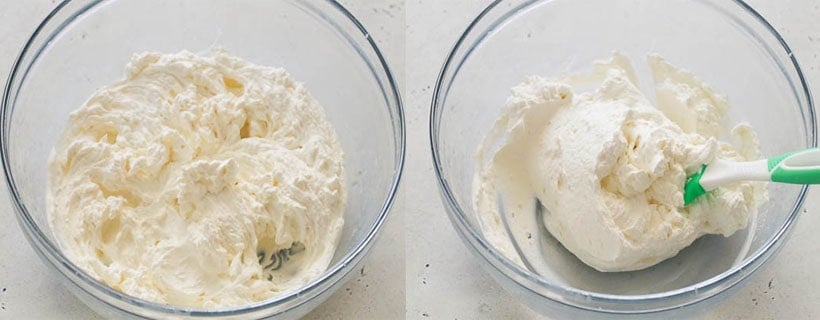 Cream is whipped when soft peaks form. Do not over mix. Cover and let it sit in the fridge for about 1-2 hours without gelatin and up to 48 hours with gelatin.
Homemade Whipped Cream
Ingredients
- 2 cups (476 g) heavy whipping cream (cold)
- 3-4 tablespoons (24- 32 g) sugar (confectioners, sifted)
- 1 teaspoon (4.2 g) vanilla extract or other flavorings (almond extract, coconut extract, rum extract)
Stabilize Whipped Cream
- 1 teaspoon (3.08 g) unflavored gelatin
- 1 tablespoon (15 ml) water (cold)
Instructions
- To start, place medium mixing bowl and beaters in the fridge, until ready to use.
- In a small microwave-safe bowl or cup mix together unflavored powdered gelatin and water. Let it sit for about 20-30 seconds.
- Microwave the mixture in 5-second increments until the gelatin is dissolved and turns into liquid.
- Remove beaters and bowl from the fridge add cream and start mixing the cream on low using beaters - (alternatively these can be made in a stand mixer too). As soon as bubbles form, switch to medium speed.
- Add flavoring and sugar and beat until a trail forms. If using gelatin, add it here and continue whipping.
- Cream is whipped when soft peaks form. Do not over mix.
- Cover and let it sit in the fridge for about 1-2 hours without gelatin and up to 48 hours with gelatin.
Tips & Notes:
- Please keep in mind that nutritional information is a rough estimate and can vary greatly based on products used.
Nutrition Information:

Jaleesa says
I bought whipping cream and not heavy whipping cream and it never “whipped”. I don’t think there was heavy whipping cream at the store, is there a alternative solution?