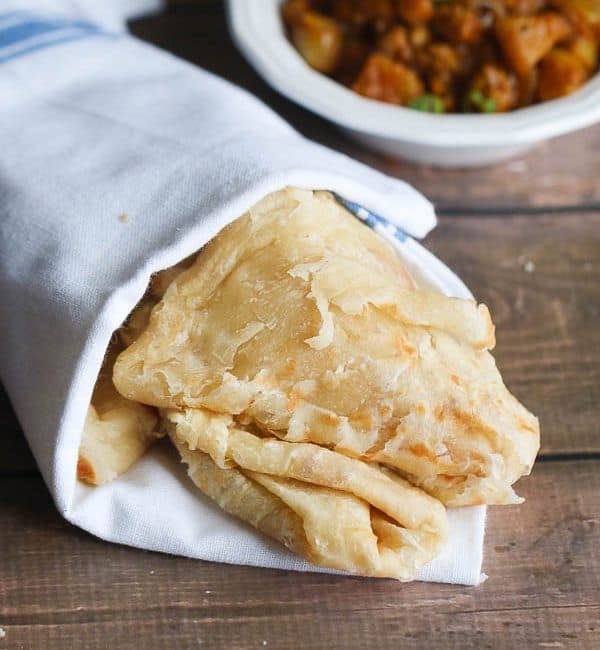
Buss up shut paratha roti- A Trinidad version – Super Soft, Messy and Tasty . Pair it with Channa Curry and Aloo or Trinidad chicken roti.

First, a little linguistics lesson, Buss up shut refers to tattered and torn up shirt. Now that is out of the way let’s talk about this amazing tender flat bread.
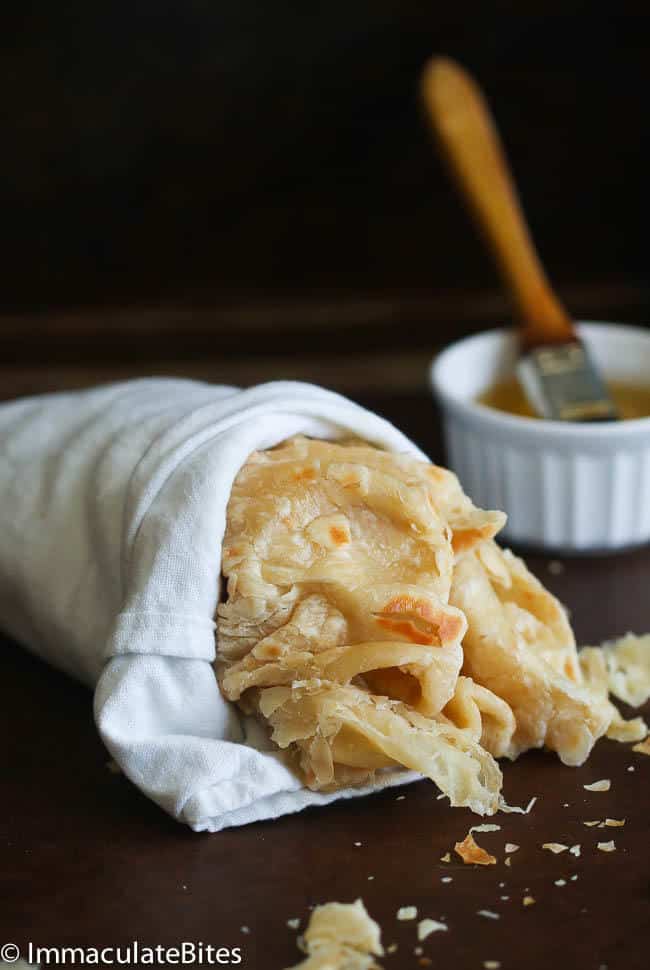
So after making chicken roti, I knew I just had to give Buss up shut paratha roti a go (taste similar to this East African Chapati here) but is quite tender and somewhat buttery. I also knew that I wanted it to be practical and should be easy to make.
So I goggled any and everything on Buss up shut paratha roti and even watched you tube videos to make it come out just right, this is it guys! Quite easy and not scary at all.
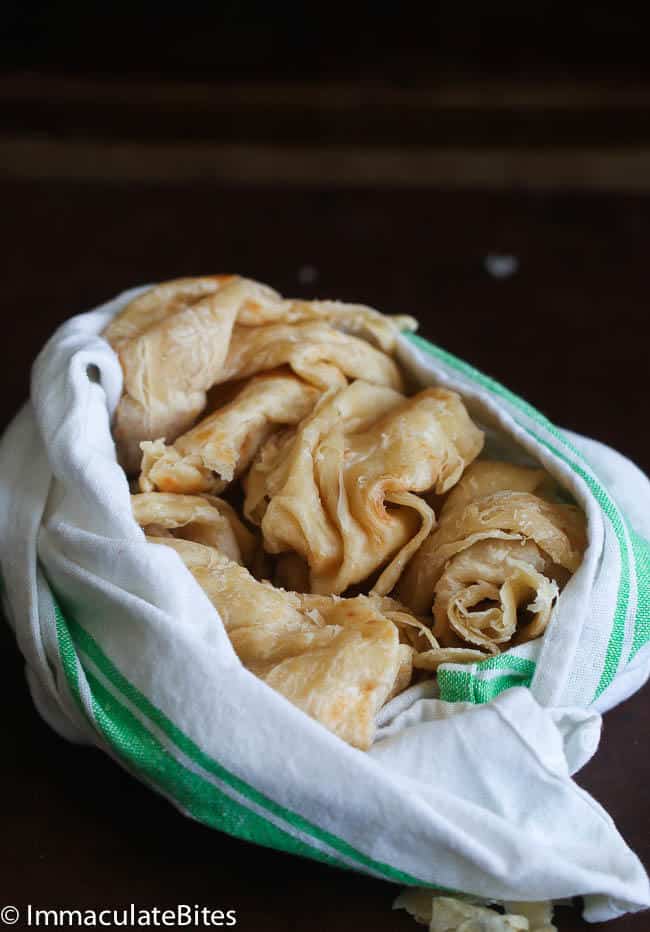
Paratha is synonymous with Buss up Shut a layered, tender and buttery flatbread which is shattered or beaten to pieces, while still on the griddle or immediately after it is cooked to resemble a torn shirt. This can be achieved in various ways. The Guyanese use their hands (clap roti), or an enclosed container to beat the heck out of it. While in Trinidad it is done using two spatulas while it is still hot and just about to be taken off the tawa (a round flat griddle used in Indian cooking). Though an import of the Indians it is quite different with the Indian roti and has now become part of the Trinidad Culinary heritage.
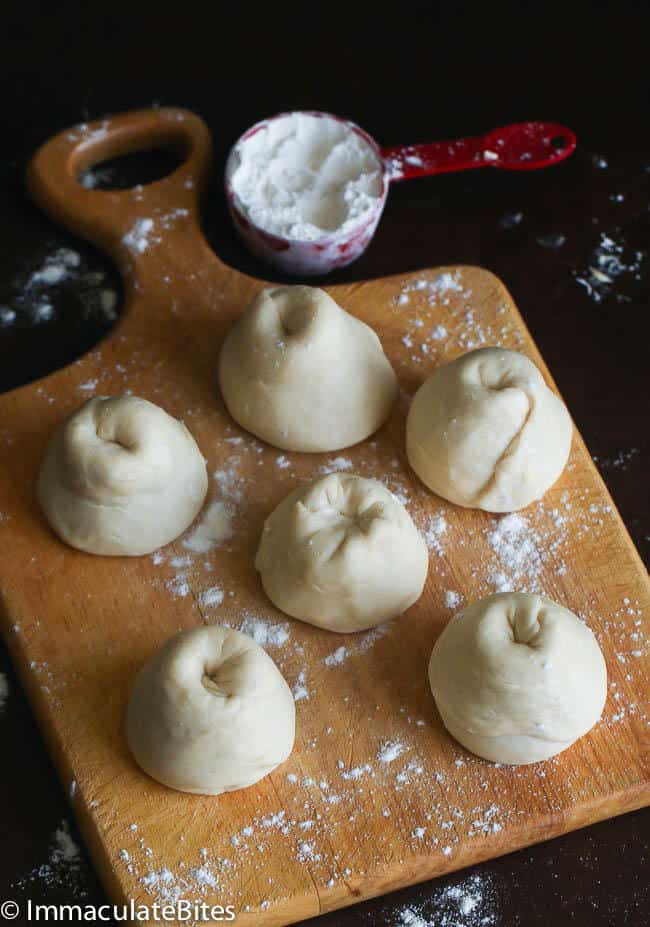
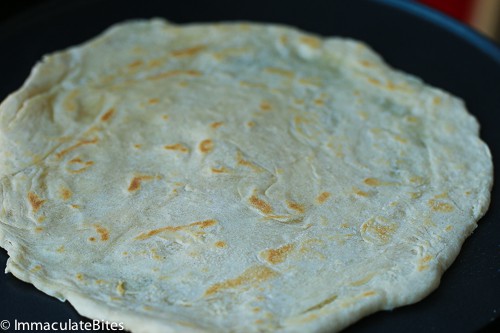
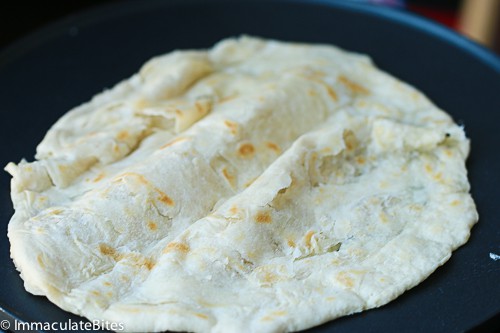
The goal while making this is achieve a slightly crisp exterior, with small patches of light browning
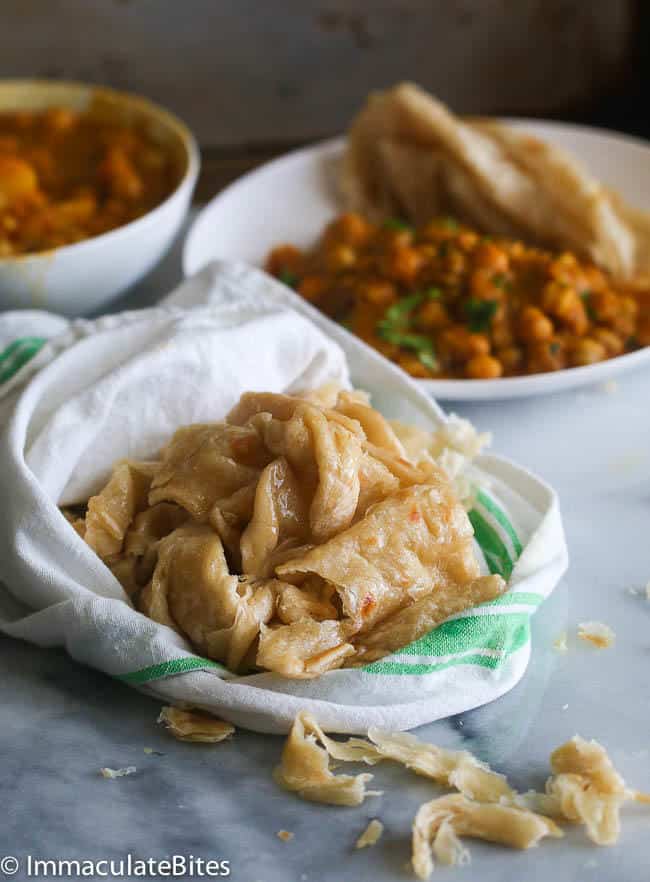
There are two vital parts in making paratha, folding the dough with shortening/butter and letting it rest for not less than 2 hours and up to 4 hours.
These vital processes do not only render the dough tender but to give it layers. So don’t skip out on this step- speaking from experience.
Paratha is often enjoyed with almost any meal. However, it is mostly eaten with curries and stews. For an ultimate meal serve with this Curry Channa and Aloo
Enjoy!
Buss Up Shut Paratha Roti Recipe
Ingredients
- 3 cups all purpose flour
- 1 teaspoon sugar
- 2 teaspoons baking powder
- 1 1/2 teaspoon salt
- 1 tablespoon ghee butter or oil
- 1 1/4 cup warm water or slightly more
- 1/3 cup shortening /butter
- ¼ cup oil/ghee / melted butter for basting /oiling paratha
Instructions
- In a large bowl mix together the flour, sugar, baking powder and salt.
- Then make a well then add oil, followed by warm water, knead dough for about 30 seconds to 1 minute to form soft and sticky dough.
- Divide dough into 6 equal pieces. Set aside and let it rest for 15- 30 minutes
- The resting of the dough helps to relax the gluten and make it not only easier to work with but also produces tender paratha.
- Place each one piece on a heavily floured board and roll out dough into a circle. They do not have to be perfect circles.
- Using your fingers or knife rub shortening/ butter (about a tablespoon) on the surface of the dough, lightly sprinkle with flour.
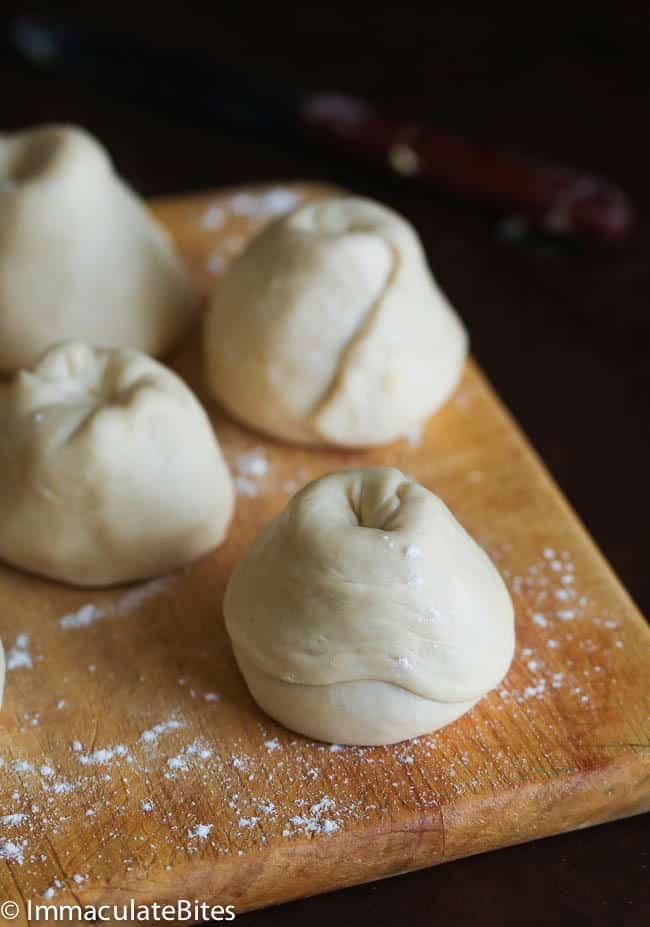
- Using a knife make an opening from the center of the dough roll dough clockwise to form a cone.
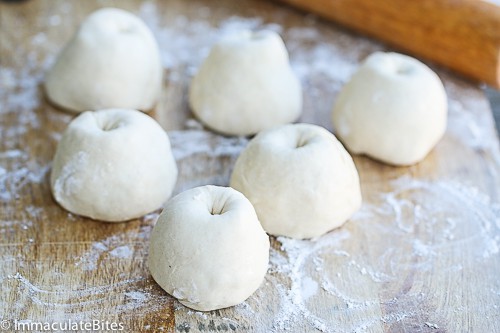
- Pleat the ends into bottom of cone and push cone tip inwards. Place in an oil pan and cover with damp clothe.
- Repeat this process for other 5 pieces of dough. Oil each piece to prevent dough from drying out.
- Let it rest for about 2 hours or more covered.
- When ready to cook, heat up griddle, crepe pan or tawah to medium heat.
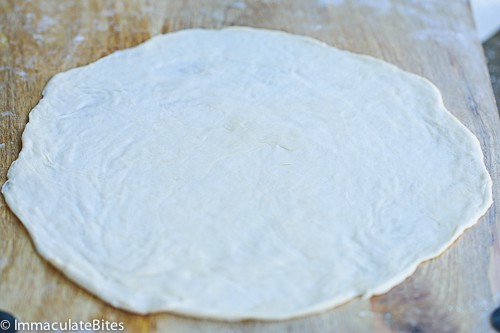
- Gently flatten out each cone and roll out. Begin rolling out the dough from the center working outwards.
- Rotate the dough out each time you roll it. This helps to make a perfect circle, about 10 inch circles, make sure they are thin at the edges.
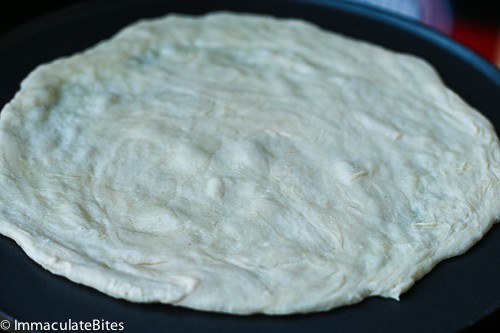
- Gently place dough on the griddle (I used crepe pan to make paratha- a skillet will work as well).
- Heavily oil the other side of the dough making sure you oil the edges too.
- Cook until tiny bubbles / air pockets appear on the top of the roti, then flip dough.
- Making the torn up shirts can be achieved in several ways
- Crush paratha with two spatulas while still on the griddle
- Place paratha in a large bowl with a lid and shake the heck out of it
- Place in a clean cloth cover and shake it up.
- Serve warm.
Nutrition Information:





MiMi says
Thanks for sharing
Imma says
You are welcome, Mimi! 🙂
Evelyn Simmonds Keith D Simmonds says
I live in Connecticut, where can I buy the authentic Trinidadian roti?
Imma says
Sorry, I really don’t know where in Connecticut. And it’s super easy to make your own. However, you could do a Google search “Trinidad roti in [my city], and see what comes up. You may find a local restaurant that has it, too. Hope that helps:)
Valerie Barnes says
Without fail I do this recipe every other week. My family says it may be a bit better than grammars…shhhh can’t believe I wrote that down!
Imma says
You are so sweet, thank you! I am sure you would love all recipes once you try them. Keep loving:)
Jess says
Hello! I’m so excited to make this recipe! Can I rest the dough overnight rather than 2 hours if I want to prep these a day in advance?
Imma says
You sure can. Please let me know how it goes.
Holly says
This recipe is delicious! We served it with the Channa Curry and Aloo, and it brought back memories of living in the Caribbean!
Imma says
Yeah, a great combo you try. I would also try it as well, thank you so much for sharing with me and my audience:)
jana says
Is it possible to use these to make roti wraps?
Imma says
Yes, I think they would make a great roti wrap. Thanks for trying the recipe. Let us know how it goes.❤️
jana says
They worked very well for roti! I made these with your chicken roti recipe and rice and it was one of the best curries i’ve made so far!
All the recipes i’ve made from your site so far are very tasty! And my partner rates these paratha 10 out of 5 stars
Imma says
Awww great to read about your love and affection for my recipes ❤️. Thank you so much, you made my day Dear ❤️❤️. Stay tuned to have more collection:)
Kat says
These are awesome. I’ve made this recipe over a dozen times the last few years, it works perfectly every time and it’s not at all complicated. I often use 1/3 Indian atta flour for a more nutty taste.
Amina says
Whao, Amazing to hear your compliment. Thank you for your love!!!
Anne says
Really good and easy to do. For those who wonder, you can freeze them just after step 13. I put a parchment paper between each one so I can cook only one or two at a time when needed.