Mini Pecan Pies – This recipe packs everything you love about an iconic Southern dessert into a two-bite, handheld mini pecan pie! These tiny beauties are the perfect dessert for holidays, baby showers, afternoon tea, or any other occasion that calls for a fun treat. 😋
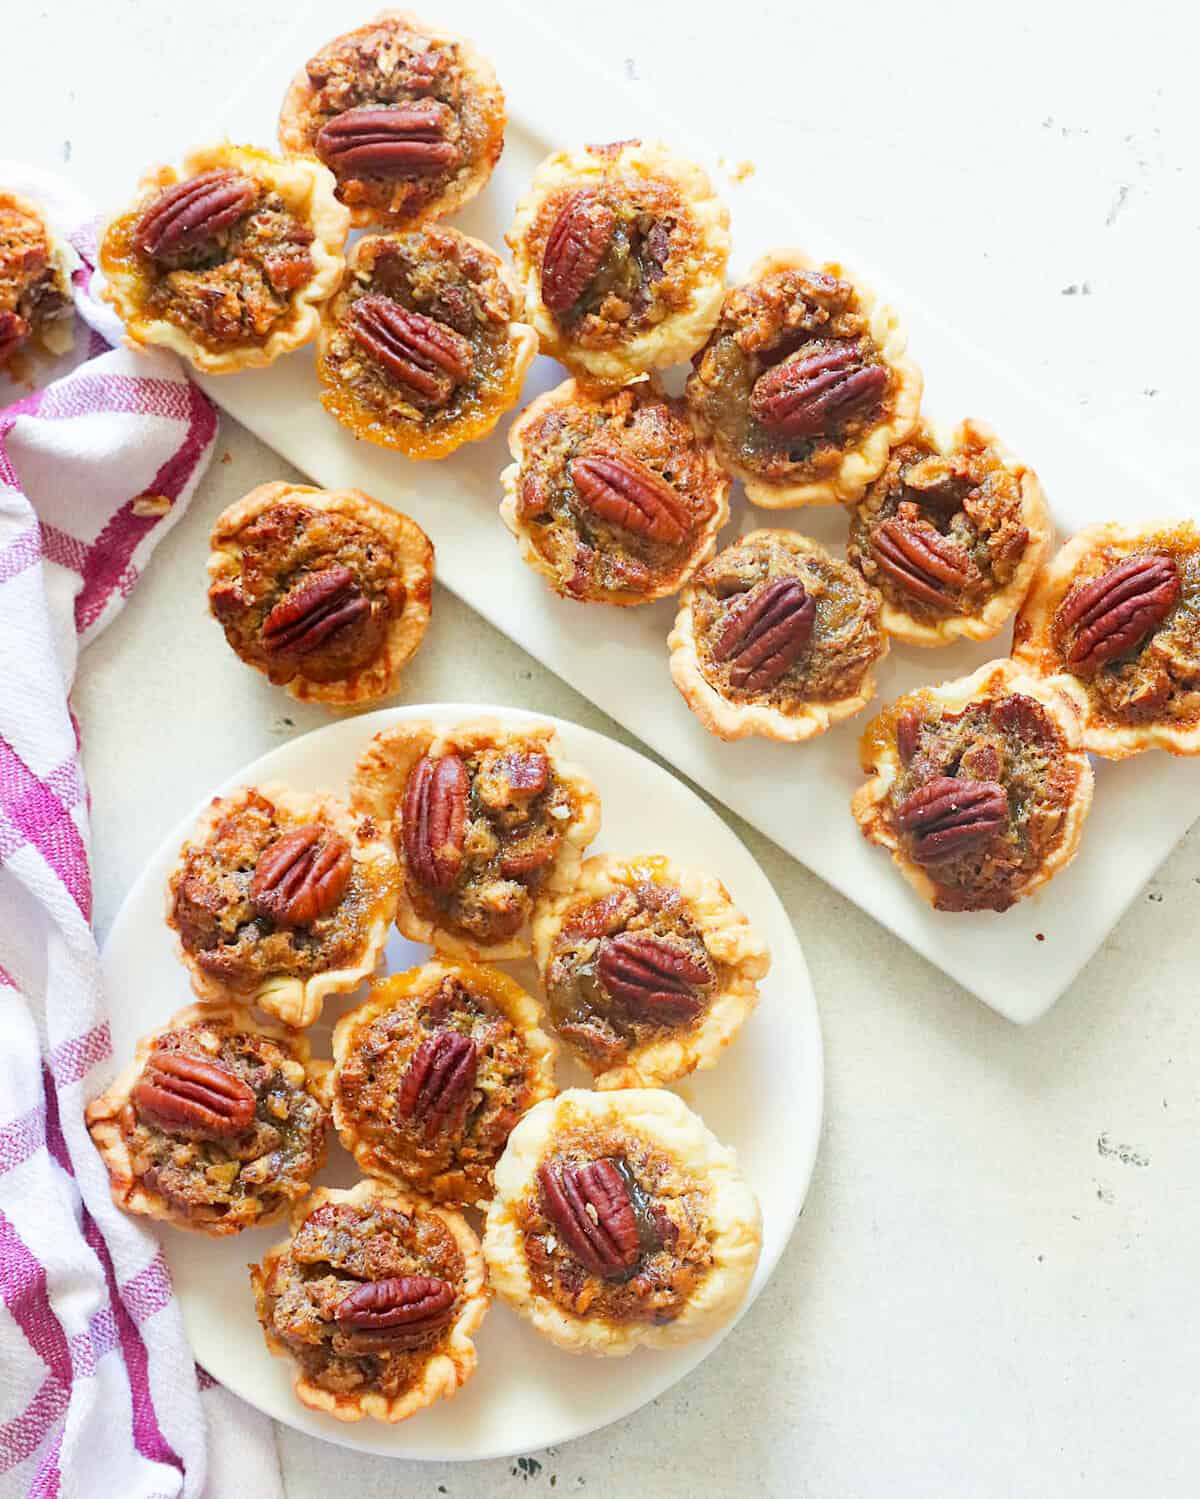
Love sampling all the desserts on the dessert table? You’re not alone! I do too, which is why these little guys are ideal. Now there’s no need to choose between pecan and apple pie. Have both! After all, these mini pecan pies are only a couple of bites.
Besides being scrumptious, these tiny pies are absolutely a breeze to make. You can make a homemade pie crust for them, but if you go with a pre-made crust, this recipe can come together in under half an hour. Easy, delicious, and fun – I mean, really, what’s not to love? 🤩
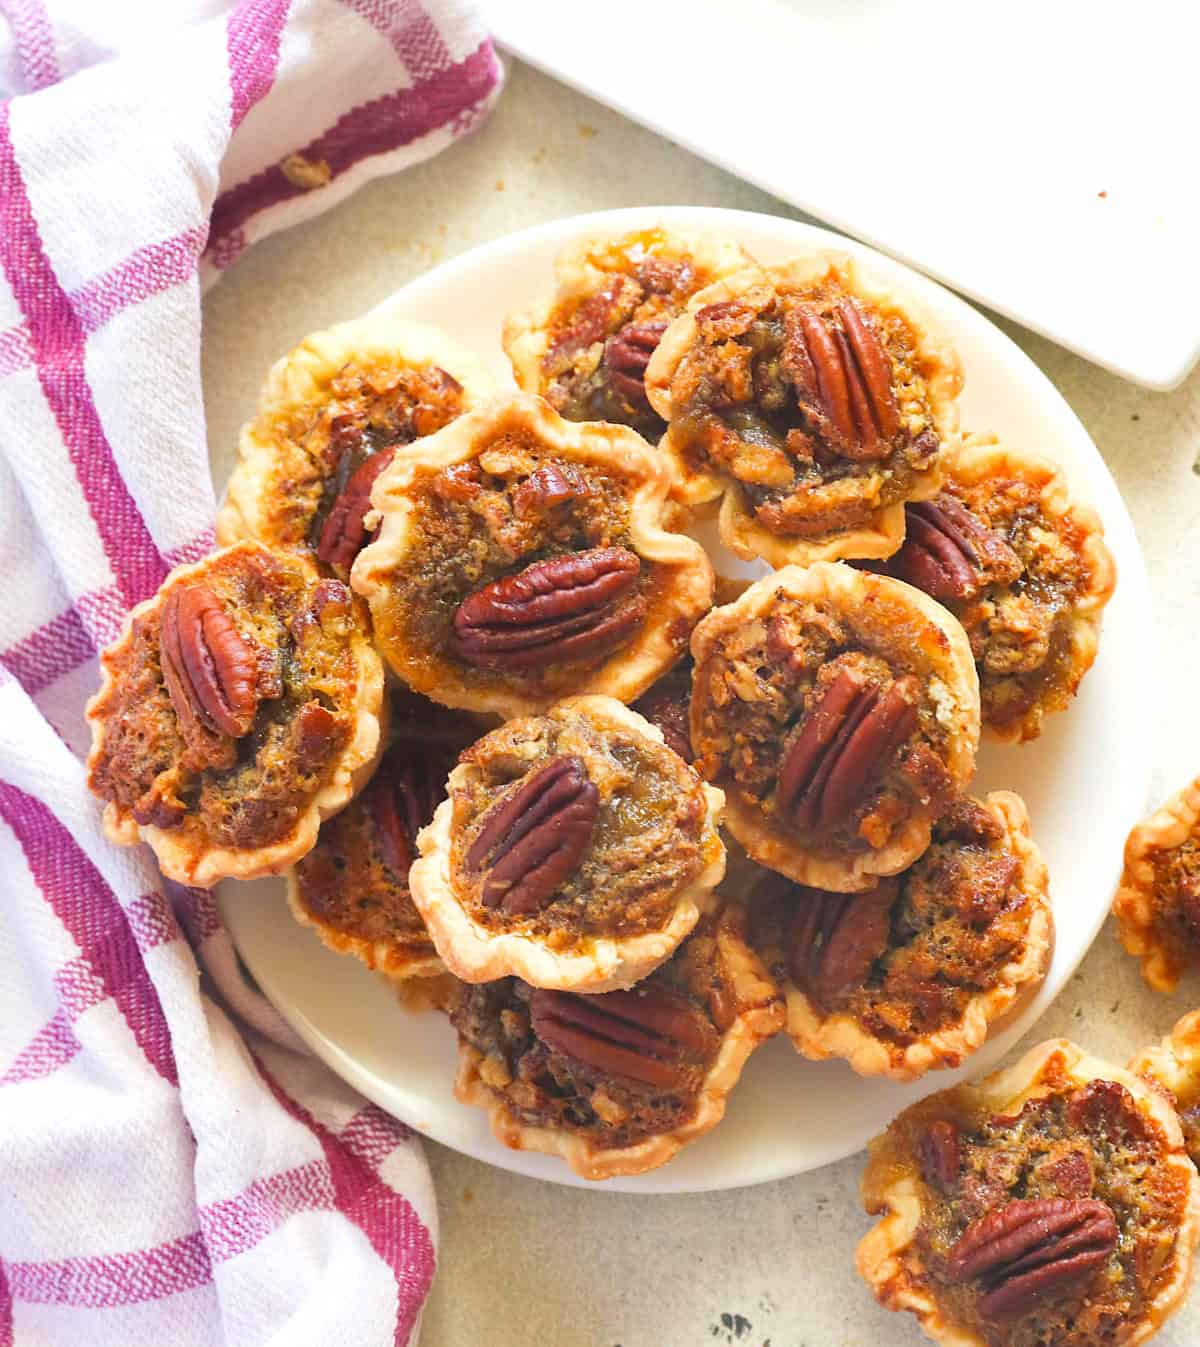
The Absolute Best Mini Pecan Pies Are Classics
Personal opinion here, but the classic pecan pie recipe makes the best mini pecan pies. And that’s why my recipe calls for light corn syrup instead of other sweeteners. It just delivers that unbeatable traditional pecan pie taste. But if you’re worried that corn syrup is bad for you, remember that we’re using regular old corn syrup here, not high fructose. You can rest easy knowing that regular corn syrup is no worse health-wise than sugar, honey, maple syrup, or other traditional sweeteners.
Recipe Ingredients
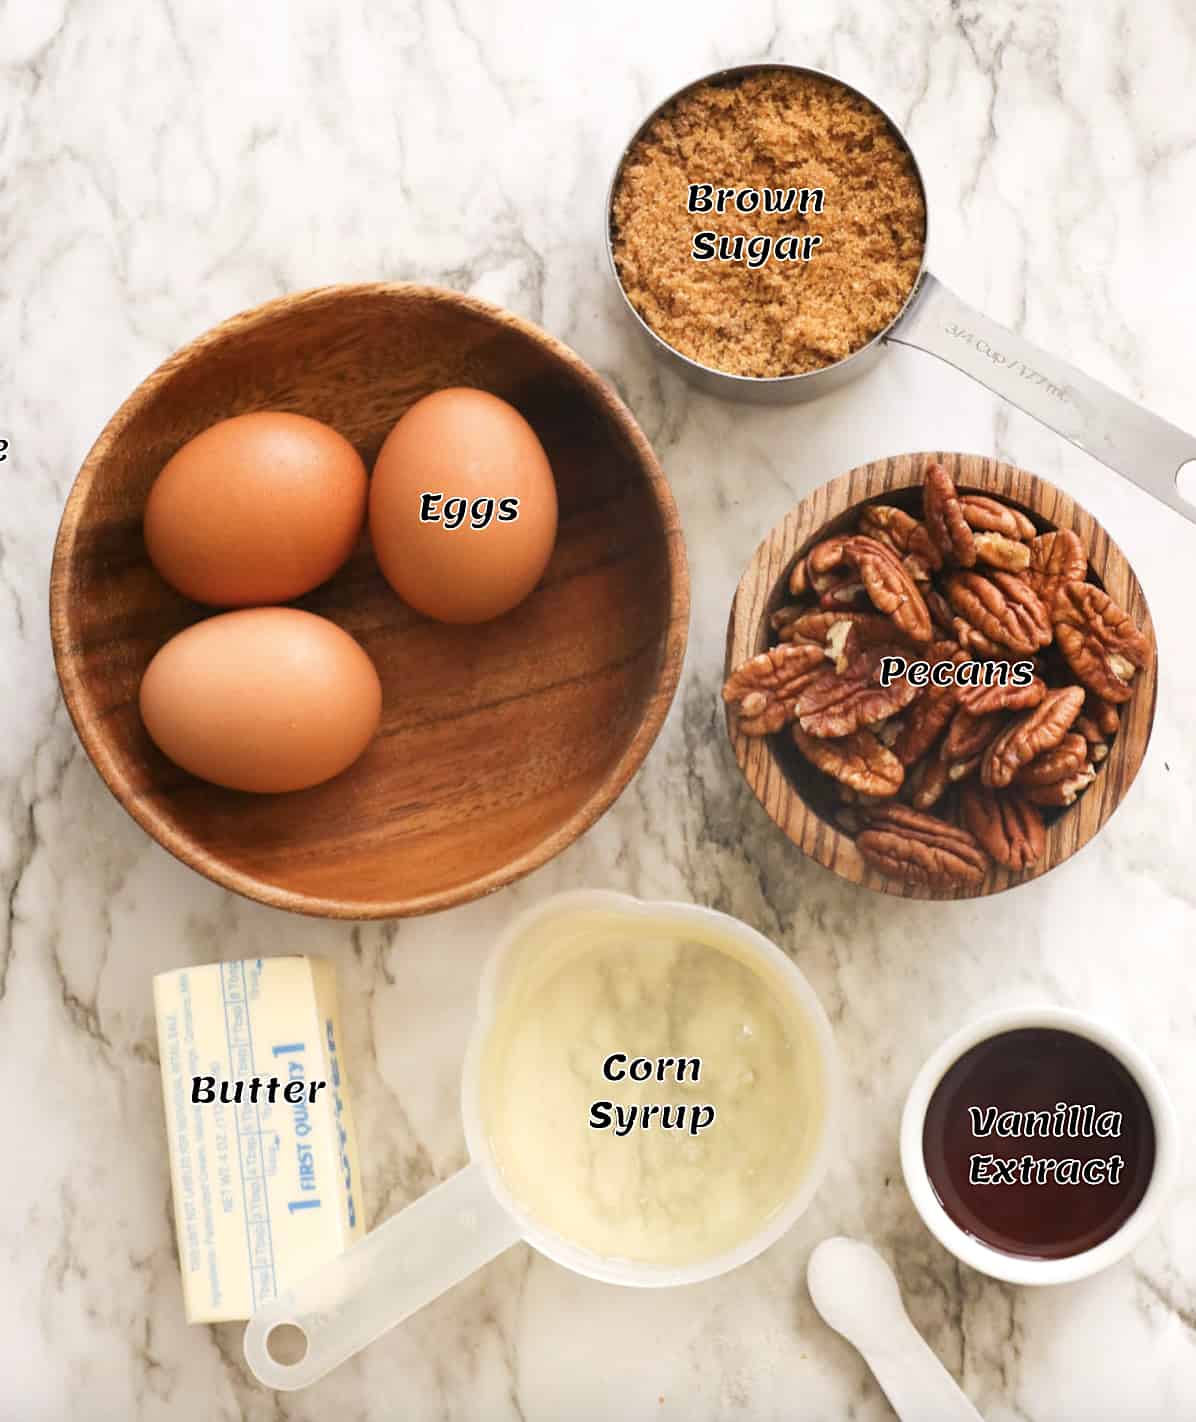
- Pie Crust – One whole unbaked pie crust will get you started. You can use the dough from a store-bought or homemade pie crust. It’s totally up to you!
- Pecans – Of course, coarsely chopped pecans are the stars of this mini pie show.
- Filling Ingredients – Besides pecans, eggs, light corn syrup (organic works well), brown sugar, vanilla extract, butter, and salt make the most amazing pecan pie filling you’ve ever dreamed of. ✨
How to Make Mini Pecan Pies
Prep the Mini Pie Crusts
- Prep Muffin Pan – Spray a mini muffin pan or cupcake tins with baking spray.
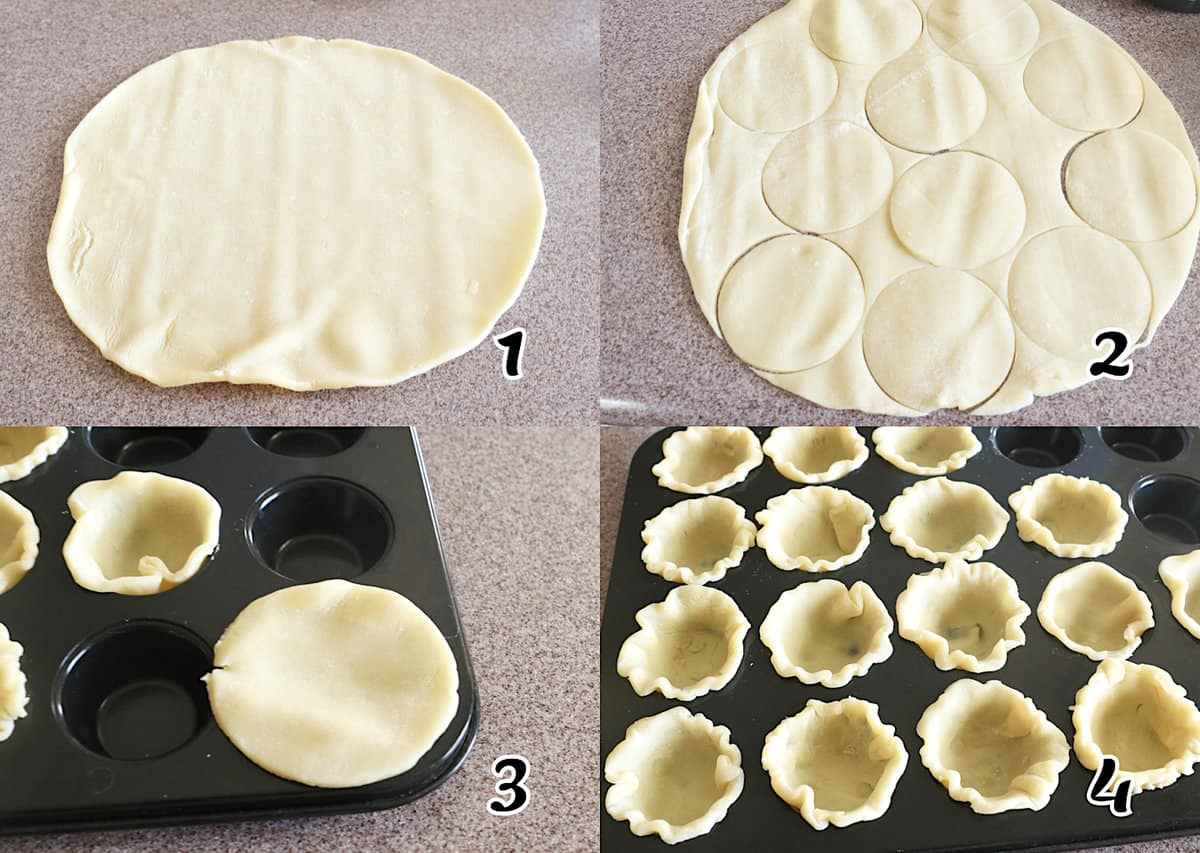
- Form Pie Crusts – Unroll the pie crust on a hard surface, then use a 3-inch cookie cutter to cut pie dough circles, rerolling as needed. (Photos 1-2)
- Line Muffin Pan – Press each circle in the bottom of the prepared muffin pan, then crimp decoratively, if desired. (Photos 3-4)
- Chill – Let it chill in the fridge while you make the pecan mixture.
Make the Filling
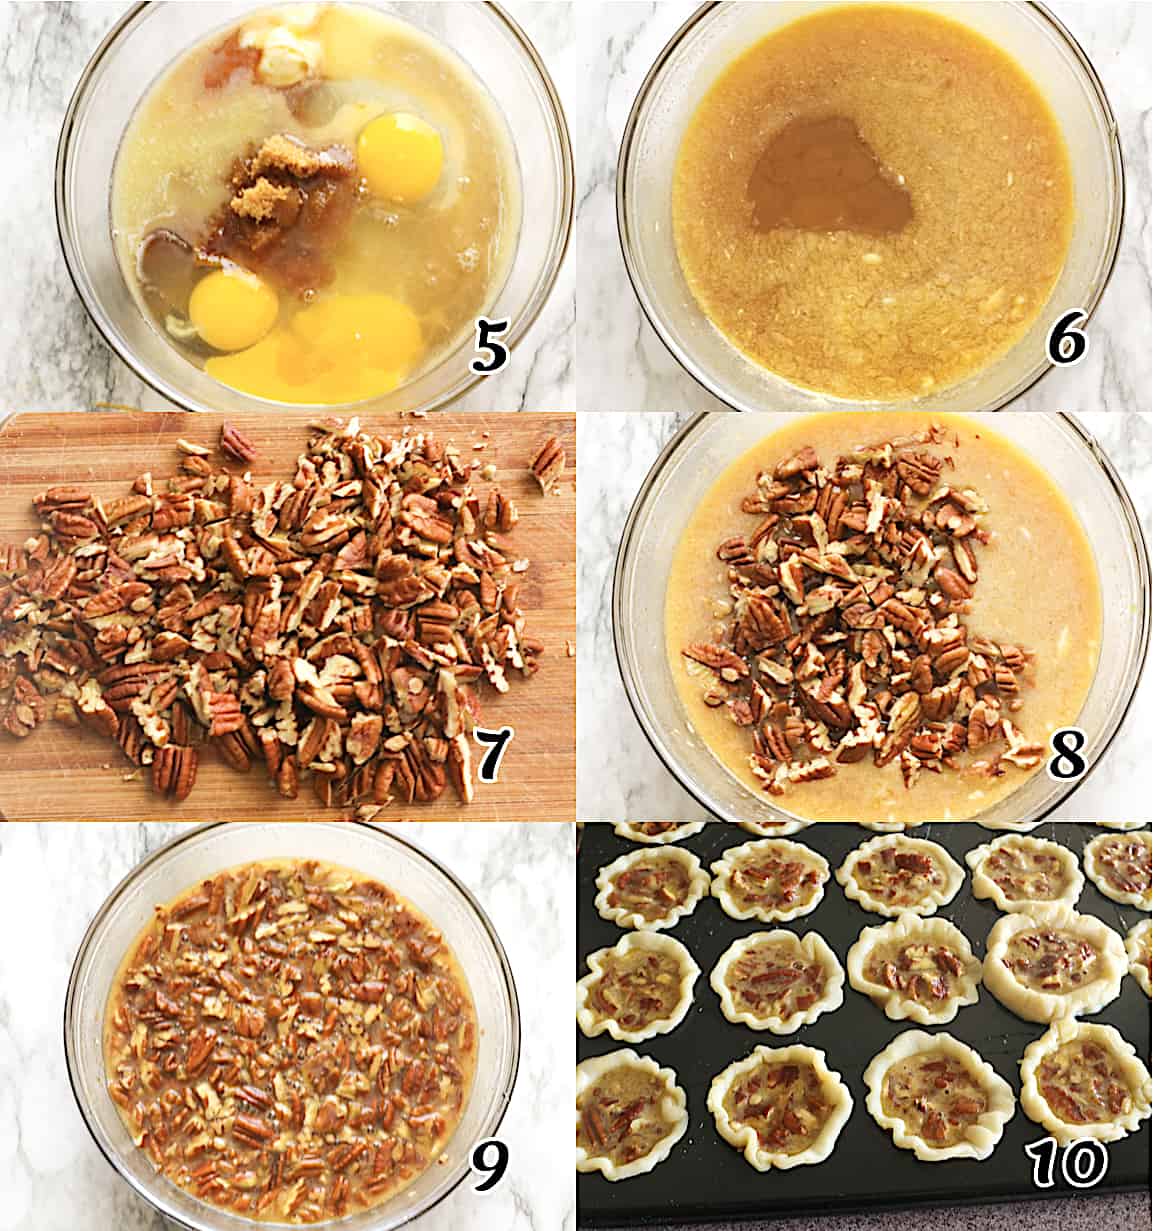
- Mix the Filling – In a medium bowl, whisk together eggs, corn syrup, brown sugar, vanilla extract, melted butter, and salt until blended. (Photos 5-6)
- Add Nuts – Add the pecans and mix. (Photos 7-9)
- Fill Pie Crusts – Spoon pecan mixture into the prepared muffin pan, do not overfill. (Photo 10)
- Top each mini pie with one pecan half.
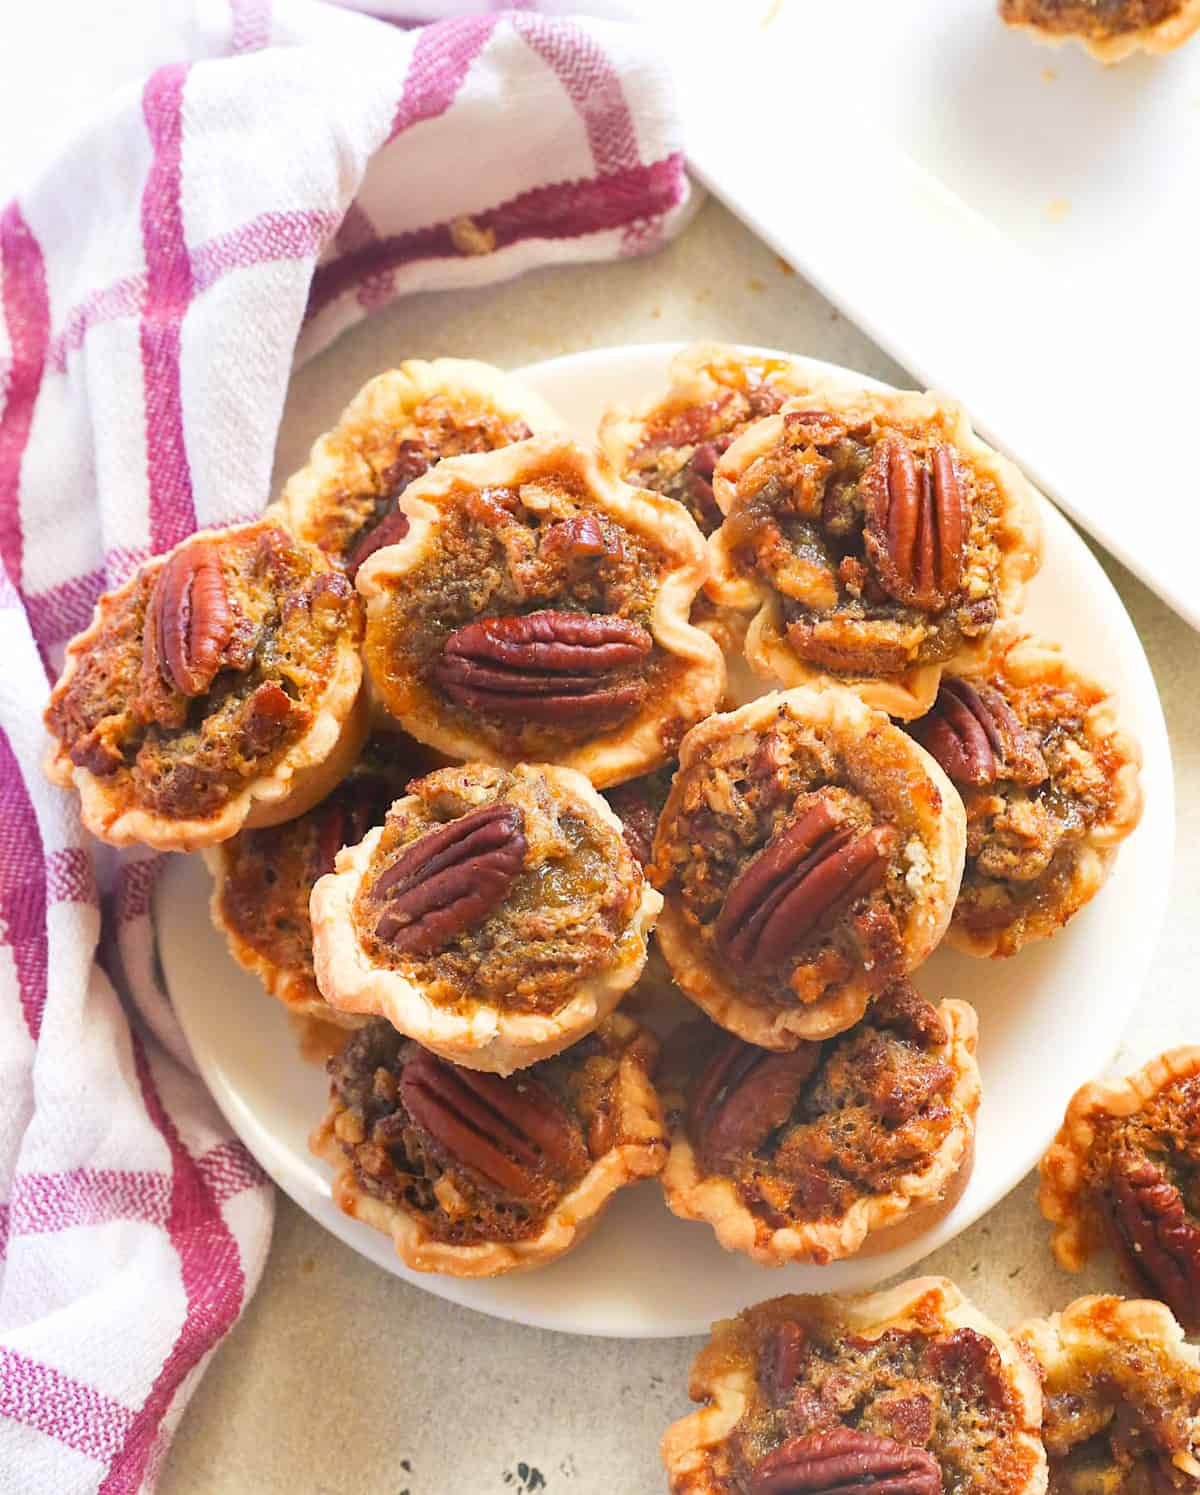
- Bake for 15-20 minutes or until the topping is set.
- Cool in the pan for about two minutes. Then, place the pies on a wire cooling rack to cool completely.
Recipe Variations
- Make your mini pecan pies extra rich by adding a cup of chopped chocolate chips or toffee chips to the filling.
- Make mini bourbon pecan pies by adding a couple of tablespoons of bourbon to the filling ingredients. Yummy! 🤤
Tips and Tricks
- Avoid sticky situations by using a nonstick muffin or cupcake pan and coating it liberally with baking spray. Coat the muffin wells and the top of the pan in case your mini pies overflow a bit. Speaking of which…
- Don’t overfill your mini pies! Leave a little room between the filling and the top of the pie crust. If you overfill them, they’ll spill over during baking, and all that liquid on the outside of the pie crust can mess with the crust’s texture, make them super hard to remove, and make a mess in your oven.
- Another just-in-case is to put a baking sheet under your muffin pan in the oven to catch the drips and keep your oven clean. Even the best of us spill sometimes.
- Make sure each mini pie crust is perfectly intact with no rips or tears before adding the filling because they’ll let filling through the bottom or sides of the crust as it bakes, making them challenging to remove from the pan. (This is the voice of experience here. 🤦🏿♀️)
Make-Ahead Instructions
Can you freeze mini pecan pies? Absolutely! That means you can make them as far ahead of time as you want. These little pies will keep in the fridge for 5 days or in the freezer for 3 months. Thaw frozen mini pies in the refrigerator overnight, and since you can serve these chilled, there’s no need to reheat them!
Serving and Storage Instructions
These pies are delicious still warm (after they’ve cooled enough not to burn your mouth) or at room temperature. You can even serve them chilled! It’s totally up to you.
Store leftover pies in an airtight container in the fridge for 3-5 days. If you want them warmed up later, pop each pie in the microwave for a few seconds. They don’t take long to heat up at all!

FAQs
First, make sure you bake them long enough. They should only slightly jiggle when they are cooked through. Second, give them time to cool. If they’re still too hot, the filling might run (and possibly burn you!) when you take a bite. 😳
Still not a fan of corn syrup? No problem, but I recommend subbing it with maple syrup to keep the flavors and textures as pecan pie-like as possible, warm, and fall-ish.
Ok, it’s common to see pecan pie sitting out on a Southern countertop, but it’s an egg-rich dessert, so I wouldn’t recommend it. (Sorry, Grandma.)
What Goes With Mini Pecan Pies
A good cup of coffee, obvs. But other hot drinks are also super good with these little pies. Try them with a cup of ginger tea or a chai tea latte. Just heavenly. 😇
Since these pecan pies are miniatures, they even go great with other desserts. I like to put them on a dessert table with red velvet cheesecake, sweet potato casserole with marshmallows, and some peach cobbler. Now that’s my kind of dessert bar!
More Perfect Pie Recipes to Try
Conclusion
Mini desserts for the win! Super easy, super scrumptious, super adorable. 🥹 What’s your favorite mini dessert? I’d love to hear about it in the comment section below! 😁
Watch How to Make It
[adthrive-in-post-video-player video-id=”vfxrRmZr” upload-date=”2023-04-05T16:52:26.000Z” name=”MINI PECAN PIES.mp4″ description=”Mini Pecan Pies pack everything you love about an iconic Southern dessert into a two-bite, handheld mini pecan pie! ” player-type=”collapse” override-embed=”false”]
Mini Pecan Pies
Ingredients
- 1 whole pie crust, unbaked
- 3 large eggs
- ¾ cup (178ml) light corn syrup
- 1 cup (213g) brown sugar, firmly packed
- 1½ teaspoon (7ml) vanilla extract
- ¼ cup (57g) butter, melted
- ½ teaspoon (3.5g) salt
- 1½ cups (190g) pecans, coarsely chopped
- ⅓-½ cup (60g) pecan halves, for topping (optional)
- Ice cream for serving
Instructions
- Preheat oven to 350°F/175℃.
- Spray a mini muffin pan or cupcake tins with baking spray.
- Working with one pie crust at a time, unroll it on a hard surface, then use a 3-inch cookie cutter to cut circles of pie dough, rerolling as needed.
- Press each circle into the bottom of the prepared muffin pan, then crimp decoratively, if desired. Chill it in the fridge while you make the pecan mixture.
- In a medium bowl, whisk the eggs, corn syrup, brown sugar, vanilla extract, melted butter, and salt until blended. Stir in the pecans.
- Spoon the pecan mixture into the prepared muffin pan, careful not to overfill. Top each pie with a pecan half.
- Bake for 15-20 minutes or until the topping is set. Cool in pan for 2 minutes. Remove to wire racks, and cool completely. Enjoy!
Tips & Notes:
- Avoid sticky situations by using a nonstick muffin or cupcake pan and coating it liberally with baking spray. Coat the muffin wells and the top of the pan in case your mini pies overflow a bit. Speaking of which…
- Don’t overfill your mini pies! Leave a little room between the filling and the top of the pie crust. If you overfill them, they’ll spill over during baking, and all that liquid on the outside of the pie crust can mess with the crust’s texture, make them super hard to remove, and make a mess in your oven.
- Another just-in-case is to put a baking sheet under your muffin pan in the oven to catch the drips and keep your oven clean. Even the best of us spill sometimes.
- Make sure each mini pie crust is perfectly intact with no rips or tears before adding the filling because they’ll let filling through the bottom or sides of the crust as it bakes, making them challenging to remove from the pan. (This is the voice of experience here.
- Please remember that the nutritional information is a rough estimate and can vary significantly based on the products used in the recipe.

Leave a Review