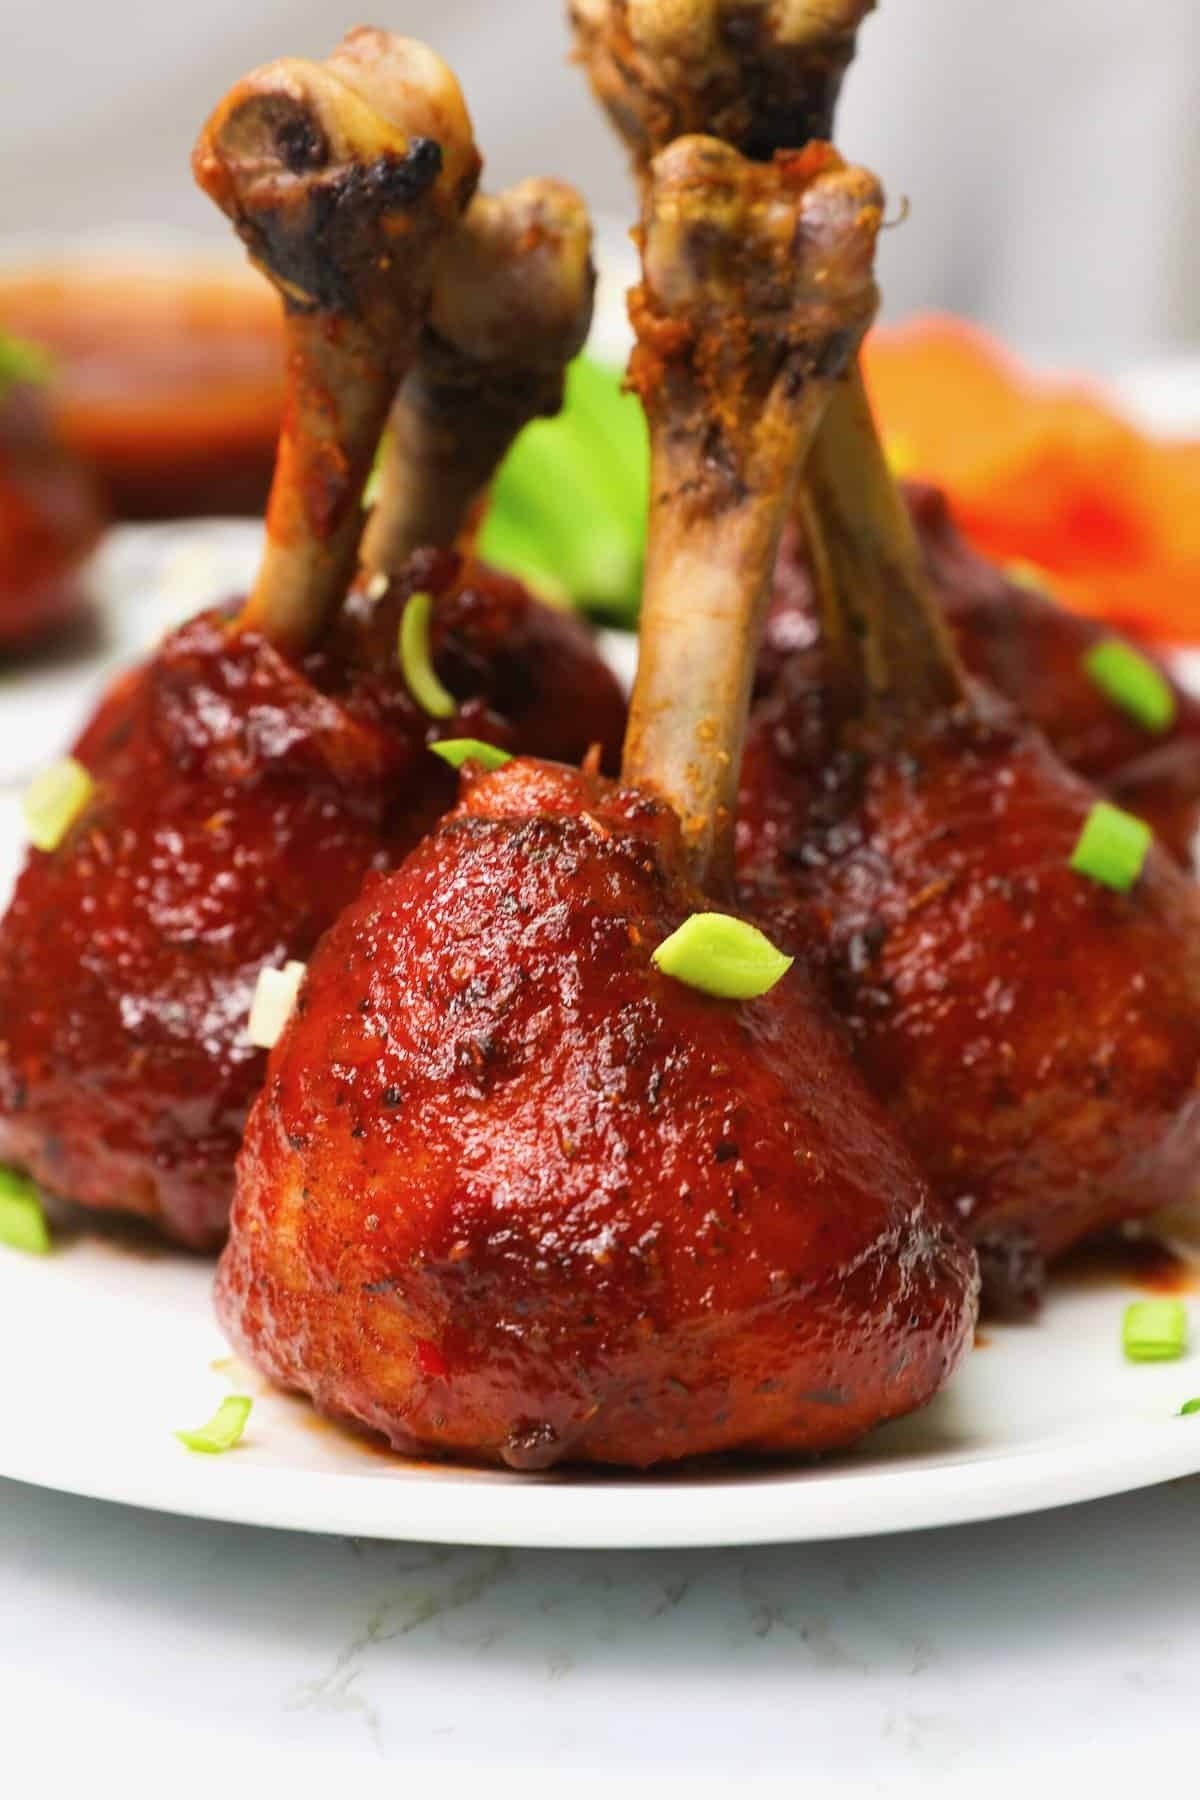
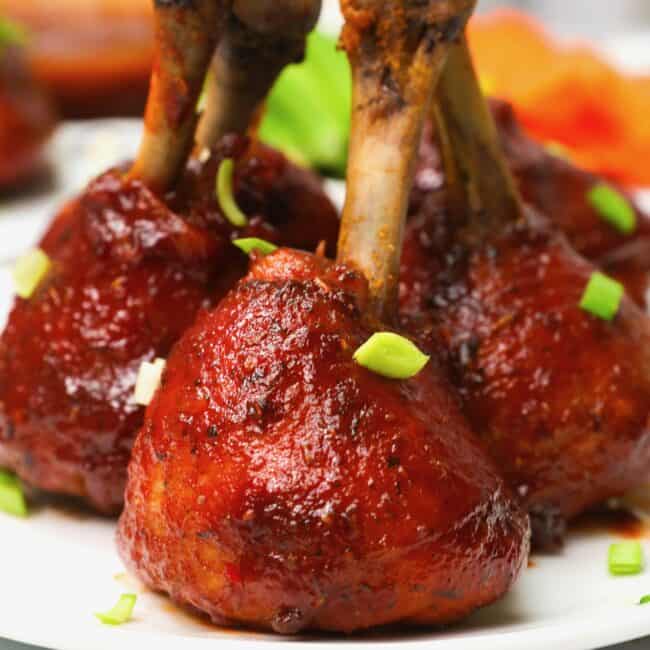
Lollipop Chicken Legs – Here’s an insanely delicious recipe, one hundred percent kid-friendly and just plain fun to make! Get ready to serve up some perfectly tender chicken legs with crispy BBQ skin as a crowd-pleasing alternative to regular old chicken legs. 🤩
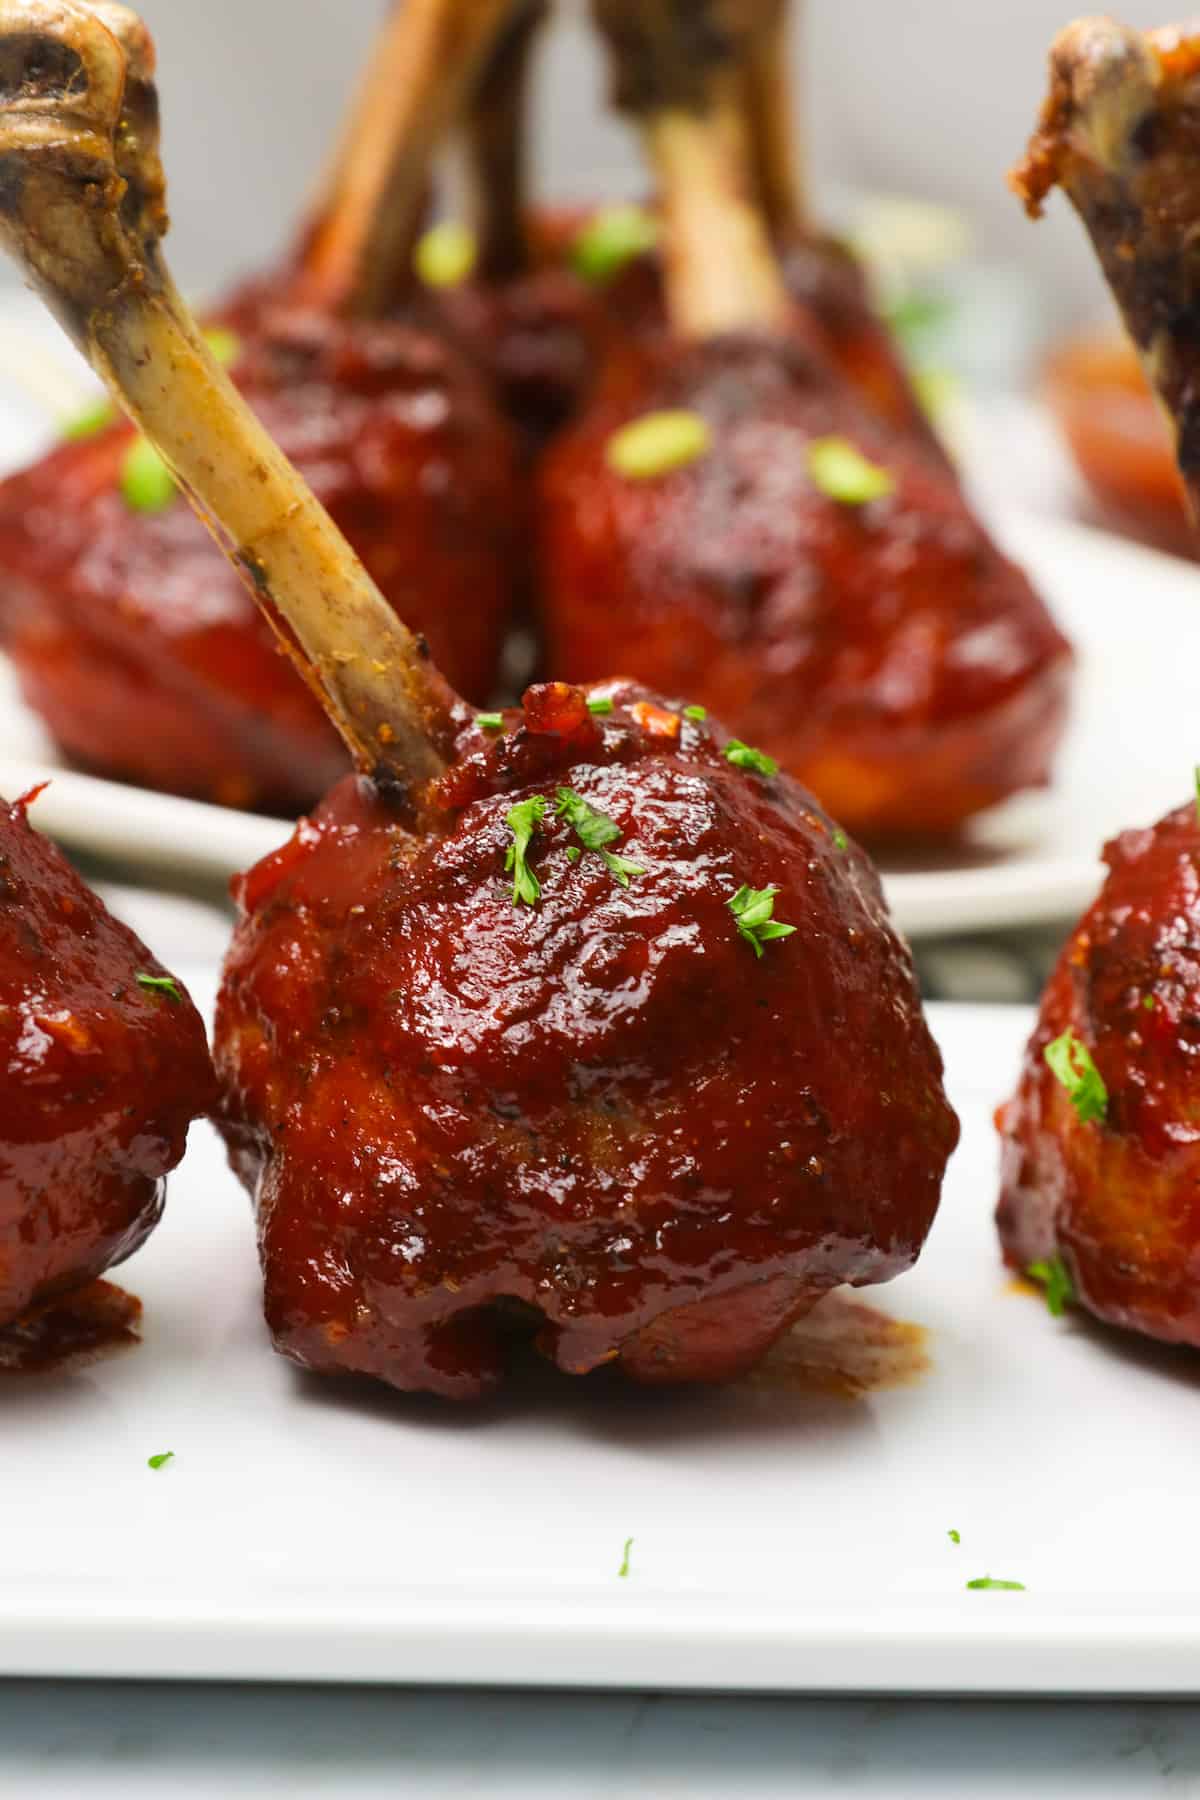
Sure, lollipop chicken legs look fancy (it’s what makes them an ideal appetizer, IMO), but they’re so much more than a pretty face. First of all, kids love these! After all, it’s chicken with BBQ sauce. But with the funny name and the easy eating to boot, why wouldn’t they?
But adults love them, too, TBH. They’re fun to look at and less messy than a regular chicken leg. Plus, with my homemade BBQ sauce, it’s really hard not to go back for seconds…and thirds. 😆
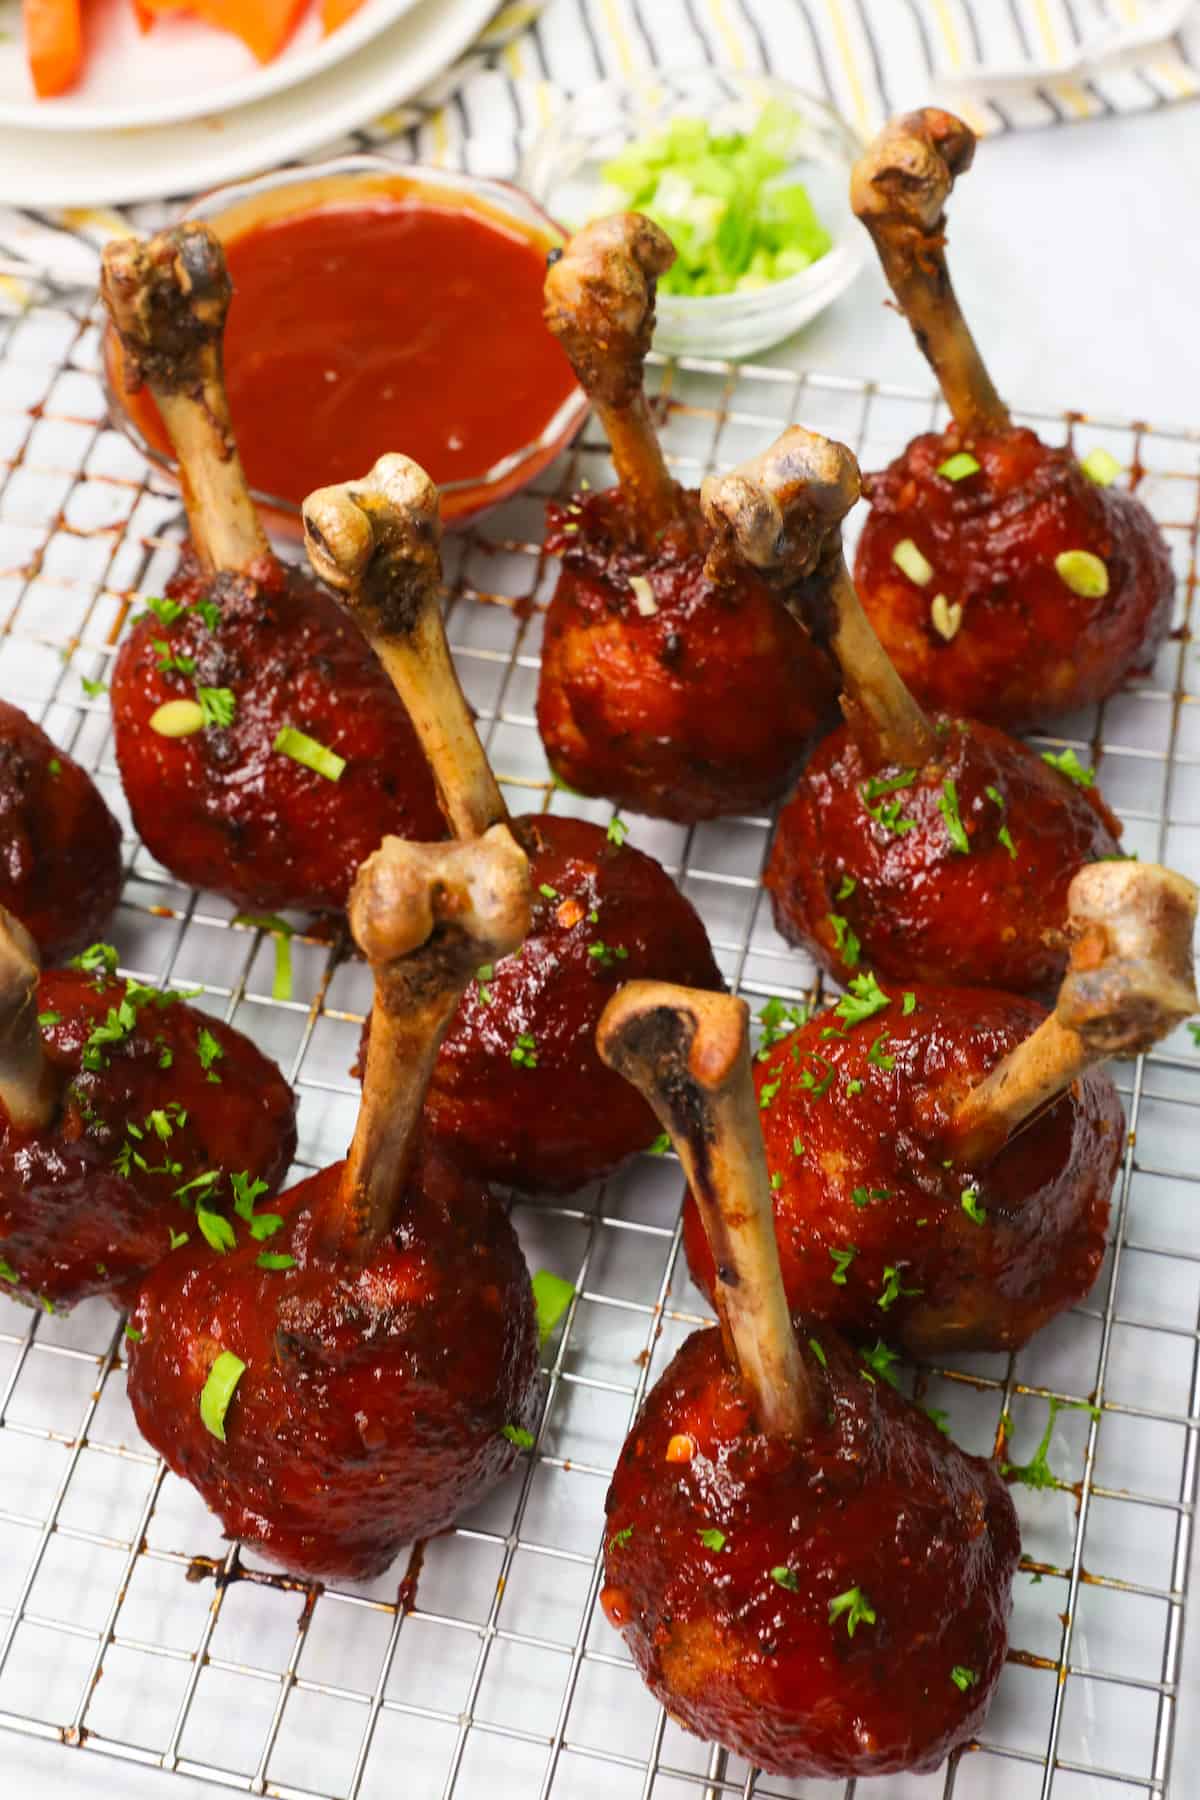
How Do You Turn Chicken Legs Into Lollipops?
Chicken legs as lollipops – sounds weird, right? It’s actually achieved with a cooking technique called frenching, where you trim part of the leg, remove the meat and gristle from the tip of the bone, and leave it exposed. You can use frenching with many different kinds of meat to make it easier to eat and more aesthetically pleasing.
Sound complicated? Don’t worry because it isn’t hard at all. Besides, I give you easy-to-follow step-by-step instructions below so you can master this super useful cooking technique in no time.
Recipe Ingredients
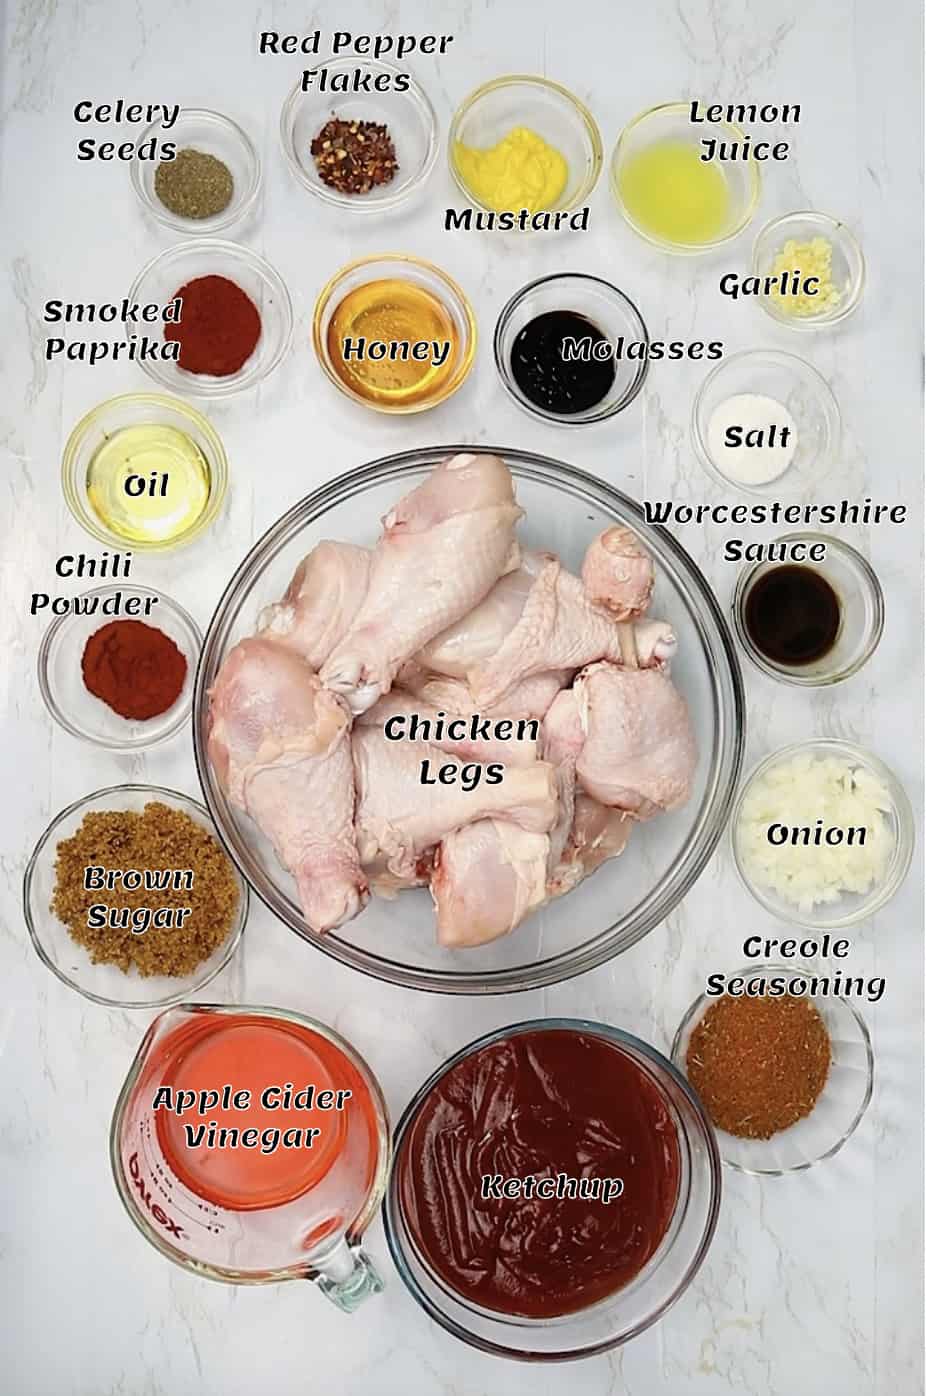
- Chicken Legs – Obvs. But you could use the same techniques on chicken drumettes if you’d like mini lollipop-style chicken.
- Oil – Oil gets your spices to stick to the chicken, plus it makes the chicken skin nice and crispy. 🤤
- Seasonings – You don’t need to get too fancy here. I use salt and Creole seasoning, but you can use poultry, taco, jerk, or any seasoning you want.
- Barbeque Sauce – Ok, maybe my favorite part is the homemade BBQ sauce, but I’ll admit the store-bought kind will work. However, going the extra mile is worth it. All you need is minced onion and garlic, ketchup, apple cider vinegar, lemon juice, honey, molasses, Worcestershire sauce, Dijon mustard, brown sugar, smoked paprika, chili powder, crushed red pepper flakes, and celery seeds. Whew, that sounds like a lot, but they’re all pantry staples if you think about it! 🤔
How to Make Lollipop Chicken Legs
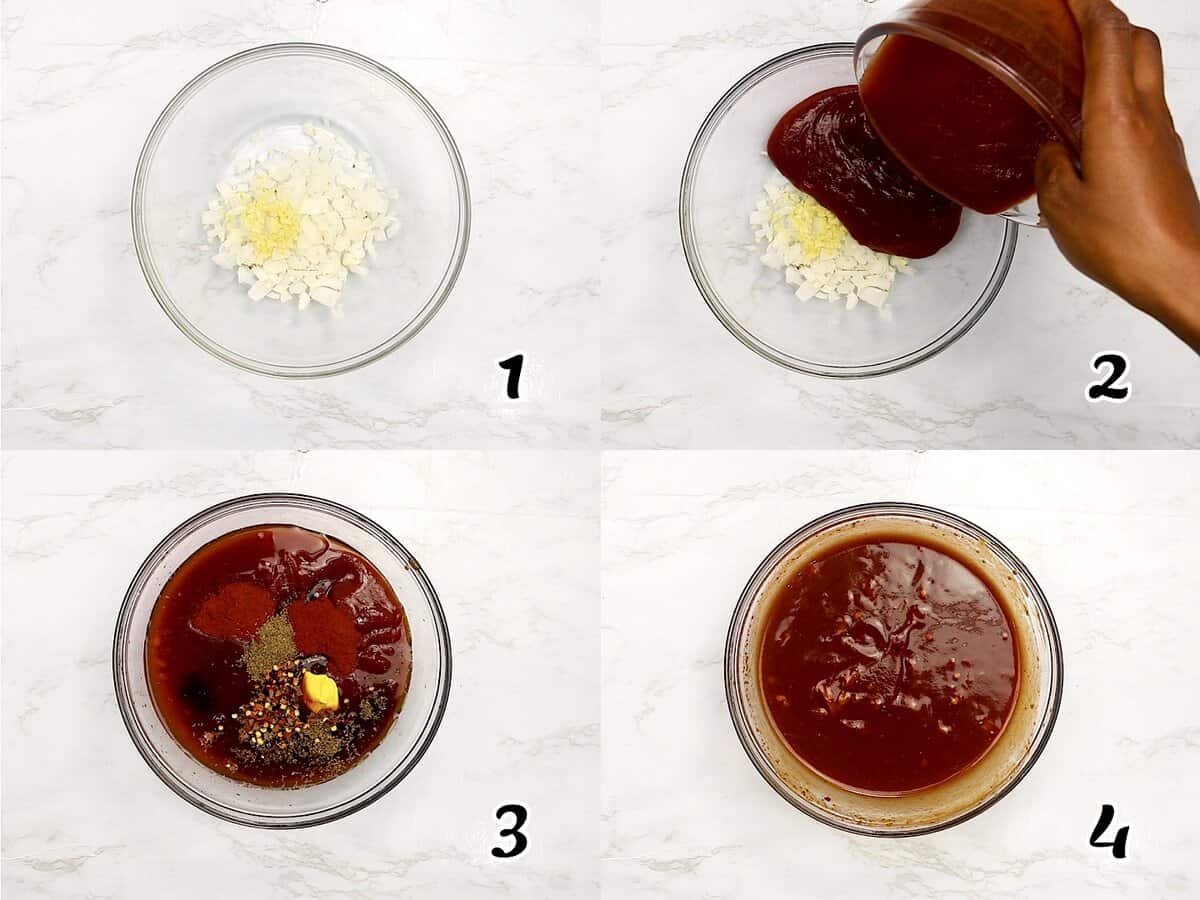
Make the Barbecue Sauce
- Cook Onion & Garlic – In a small microwave-safe bowl, combine onions and garlic and microwave for about a minute or two until the onions are soft and translucent. (Photo 1)
- Add Seasonings – Then, add the ketchup, vinegar, lemon juice, chili, brown sugar, honey, Worcestershire sauce, mustard, paprika, molasses, pepper flakes, and celery seeds to the bowl. (Photo 2-3)
- Mix everything together until thoroughly combined. (Photo 4)
- Divide the barbecue sauce in half. You’ll use half for basting and the rest for serving.
French the Chicken Legs
- Prep Drumsticks – Rinse the drumsticks and pat them dry with paper towels.
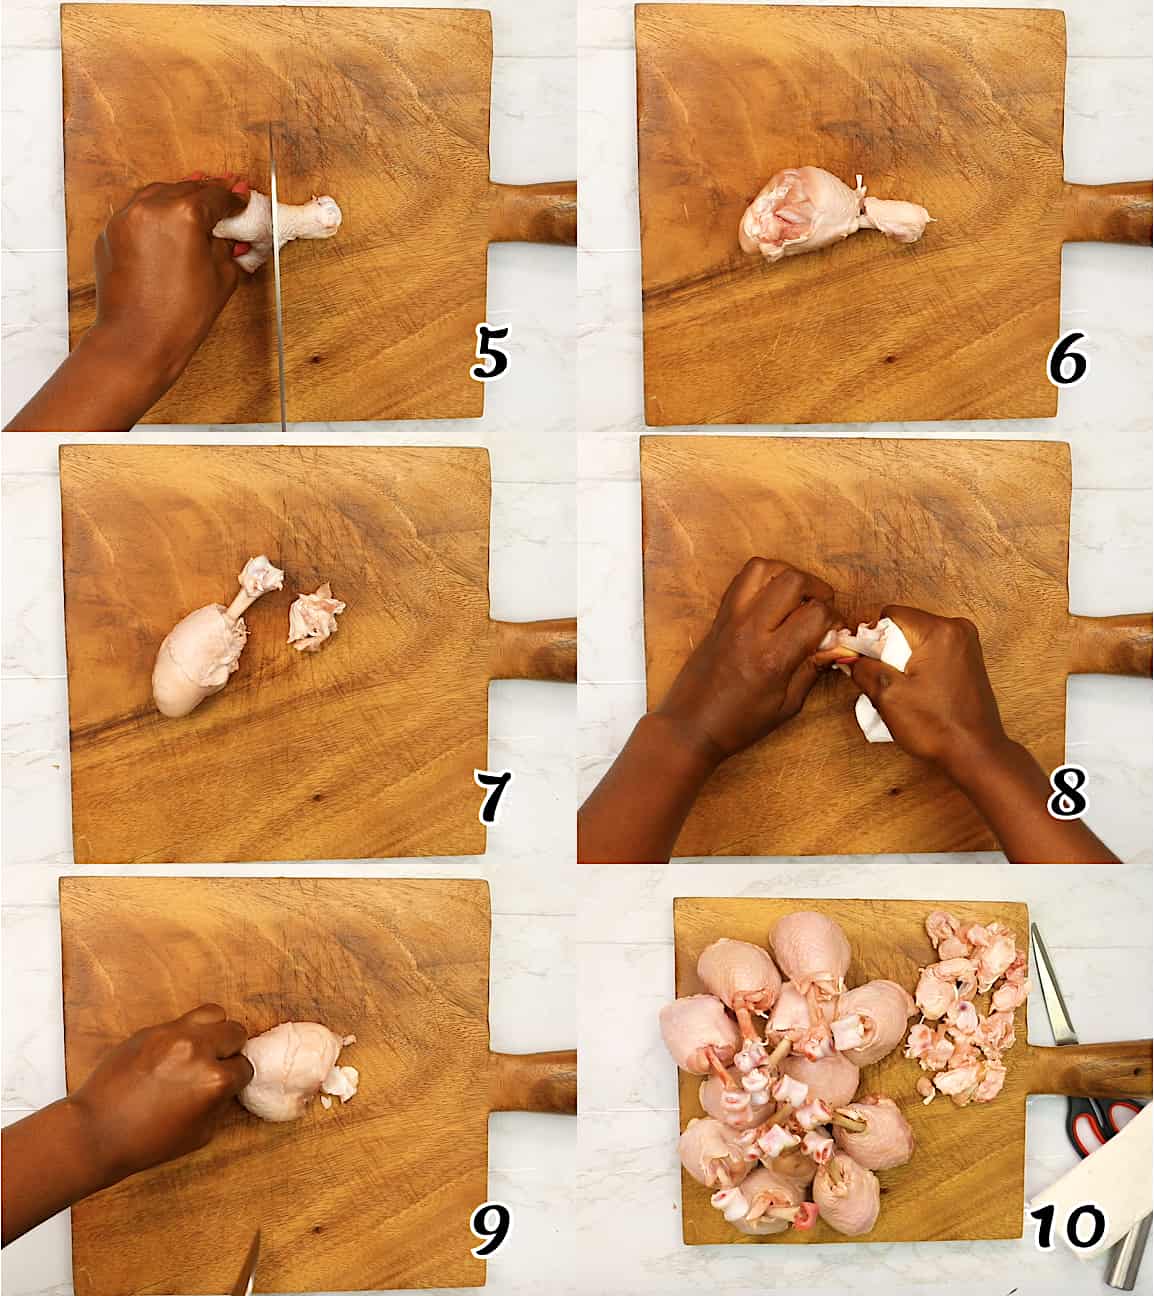
- Start Frenching – Place each chicken drumstick on a cutting board. Using a sharp knife or a pair of kitchen shears, cut right through the tendons around the bottom end of the bone. (Photos 5-6)
- Finish Frenching – Next, push the meat down towards the top end of the drumstick and then remove the joint by bending it back and pulling it off. (It will be a little tough. Try using kitchen shears to cut it off if you don’t have a very sharp knife.) Use a knife to scrape off any skin left on the bone. (Photos 7-10)
- Final Touch – Turn the chicken leg around and cut off a little bit of the cartilage on the meaty end of the leg to ensure that it can stand upright.
Marianate & Bake
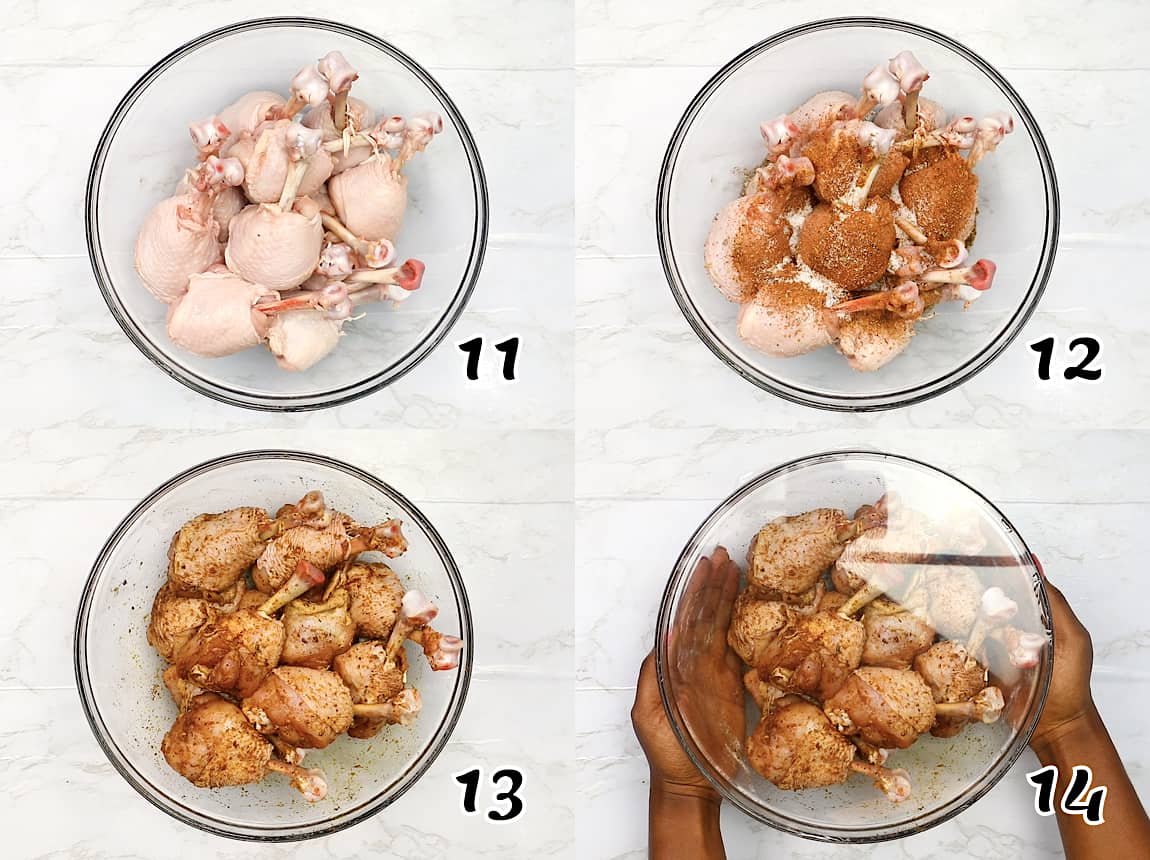
- Season the Chicken – Put the chicken legs in a large bowl and add oil, Creole seasoning, and salt. Mix until the legs are well coated. (Photos 11-13)
- Marinate – Let the lollipopped chicken legs marinate for 30 minutes to 2 hours in the fridge. (Photo 14)
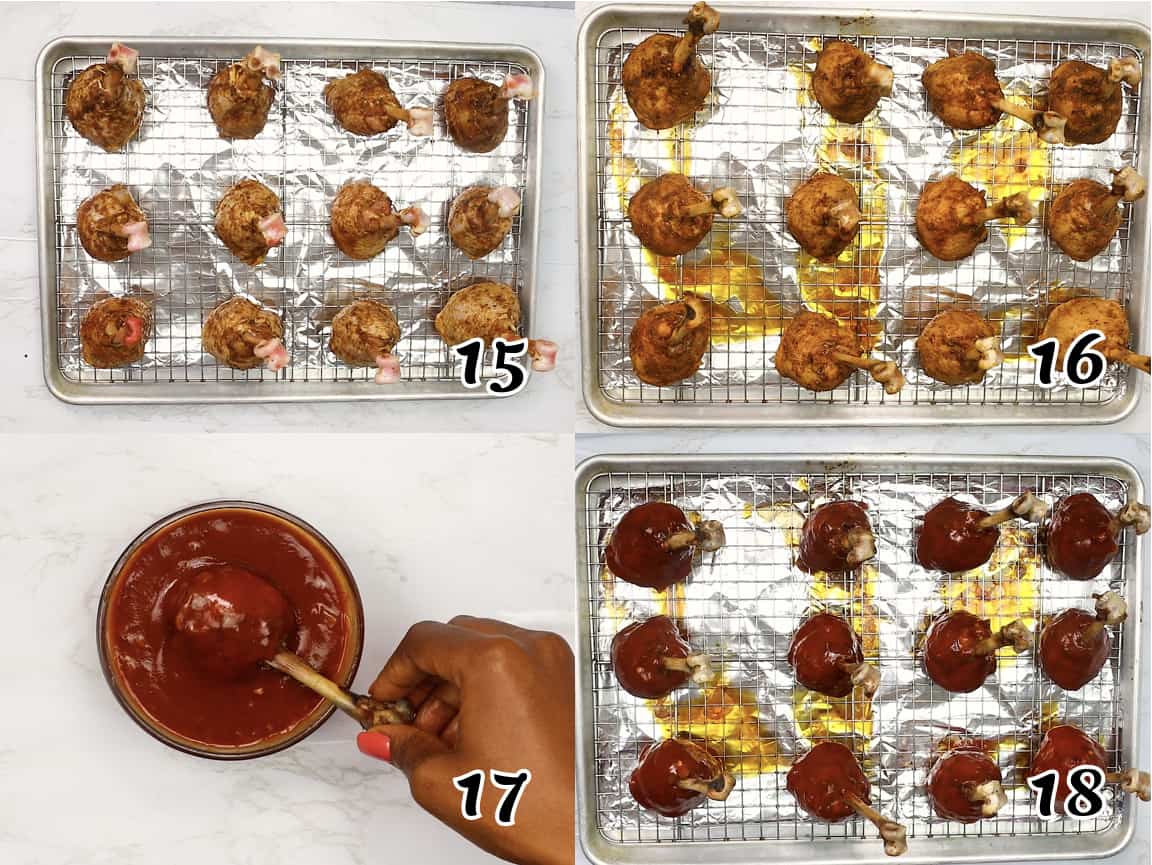
- Prep Pan – Place the chicken legs, meat-side down, on a cookie cooling rack set on top of a baking tray lined with foil paper.
- Bake chicken legs in the preheated oven for 20 minutes (until the skin crisps and the fat renders). (Photos 15-16)
- Baste – Remove them from the oven and baste them generously with half of the barbecue sauce. (Photo 17)
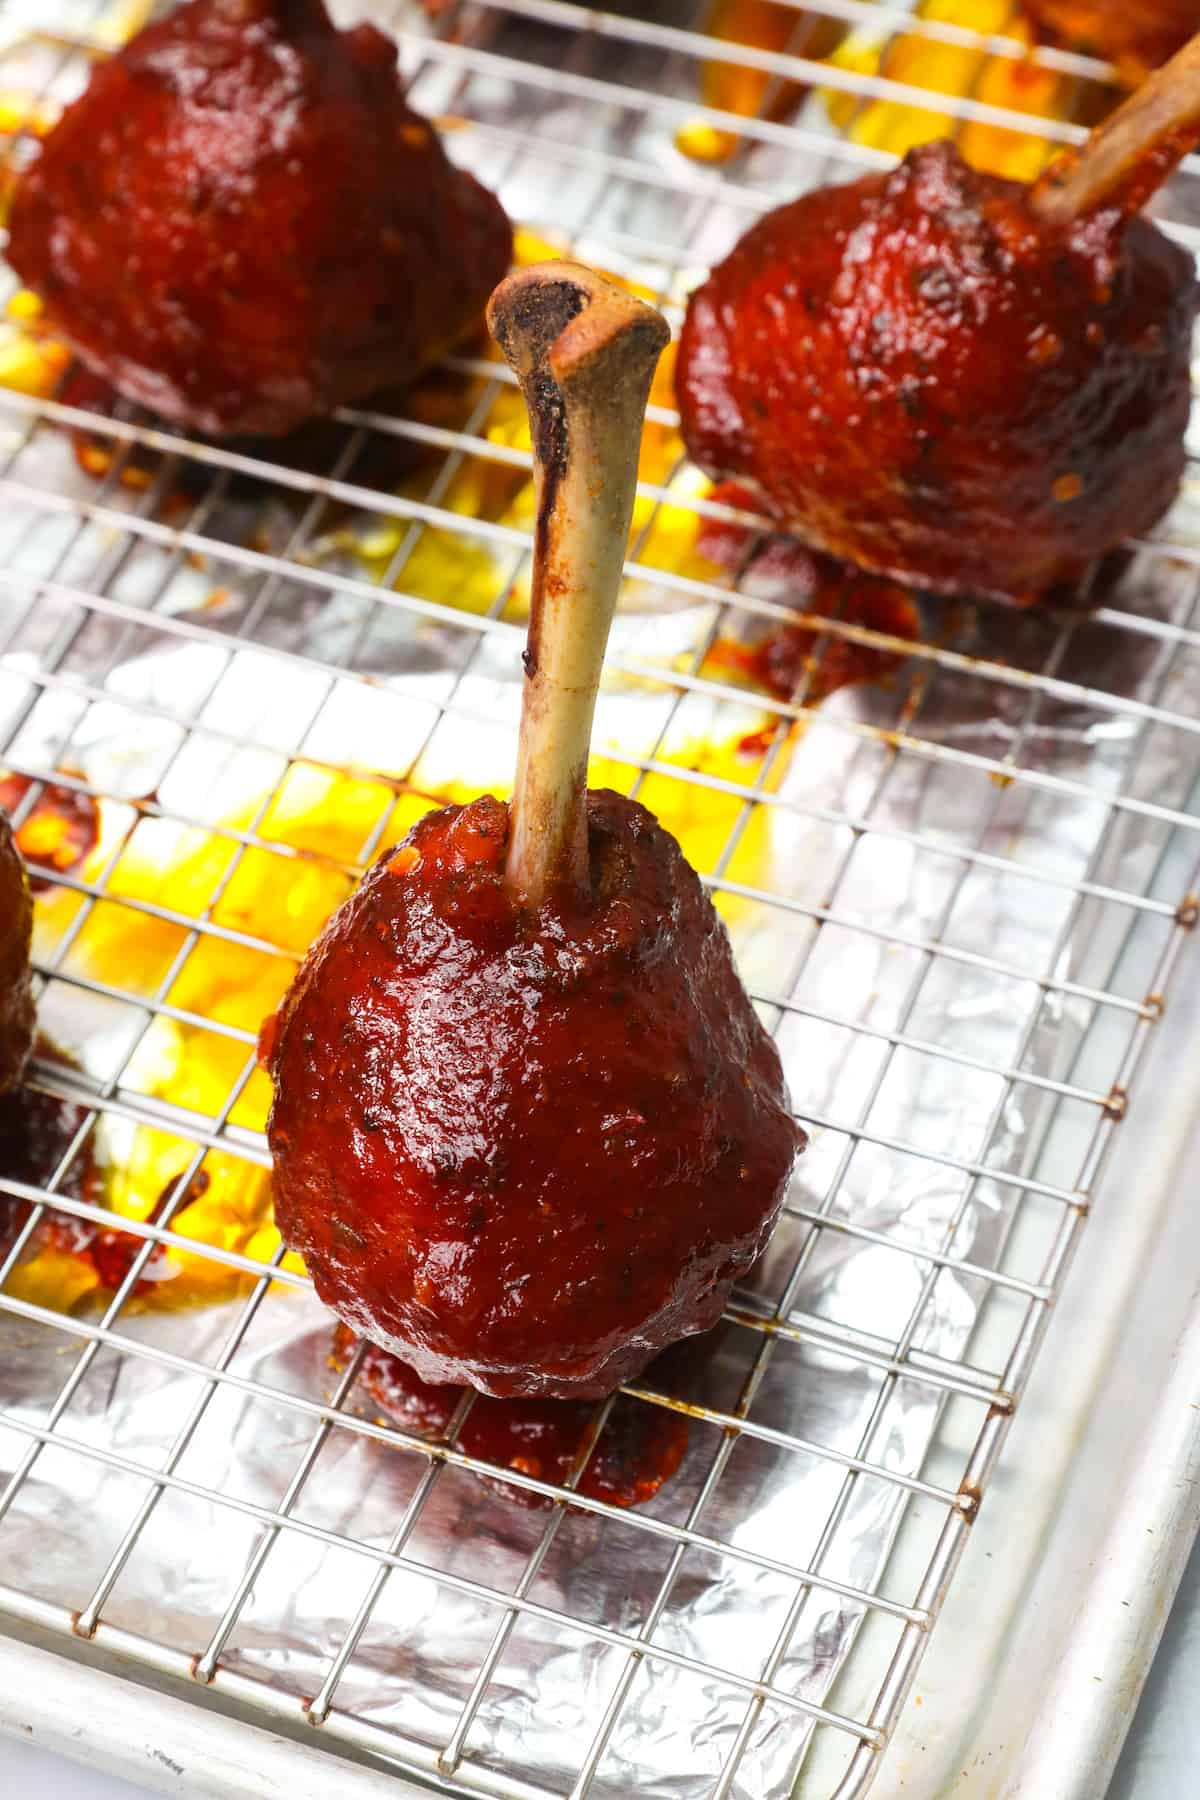
- Finish Baking – Then return the chicken legs to the oven and bake for another 10 minutes, turning the pan midway to ensure they brown evenly. (Photo 18)
- Serve – Take chicken legs out of the oven and serve with fresh BBQ sauce for dipping.
Recipe Variations
- Change up the sauce! I’m a big fan of good old barbeque sauce, but any sauce will work wonderfully. Korean barbeque sauce, Buffalo sauce, mustard, jerk sauce – the sky’s the limit, so get creative.
- Try it out with turkey drumettes for a holiday treat at Thanksgiving.
Tips and Tricks
- Pressed for time? You can go ahead and use your favorite store-bought BBQ sauce. 😉
- Cover the bony part of the chicken leg with aluminum foil for easy handling. 👌
- Hate wasting those extra chicken leg bits you cut off? Then don’t! Use the scraps from the chicken legs to make homemade chicken broth. 😋
Make-Ahead Instructions
You can easily make these lollipop chicken legs a day or two ahead. To reheat them, you can use the oven set at 350℉/177℃. Just keep them in there until they’re heated through (for about 10 minutes). You could also use an air fryer or microwave. The air fryer set to 400℉/205℃ will heat them up in 7-10 minutes.
Even better, though, is to french the chicken legs the night before and marinate them overnight in the fridge. Then all you need to do is pop them in the oven the next day. 🙌
Serving and Storage Instructions
Serve lollipop chicken legs as an appetizer or a full-on meal with homemade BBQ sauce for dipping.
Store leftover chicken in the fridge in an airtight container for 3-5 days or in the freezer for up to 4 months.
FAQs
The best way to be sure is when an instant-read meat thermometer in the thickest part reads at least 165℉/75℃. If you don’t have one, you may want to cut one open and make sure there are no signs of pinkness and the juice runs clear.
Getting your lollipops to stand up can be challenging, but it definitely makes them look more impressive when cooked and plated. To get the lollipop chicken legs to stand up, check them for balance after you give the meaty end a trim. If they can’t stand upright, trim a little more until they are level enough to stand.
I always serve them with BBQ sauce, but there are a lot of other fantastic options for these lil’ beauties. Try serving them with jerk sauce, chimichurri sauce, mustard BBQ sauce, African pepper sauce, or any other dipping sauce you think works with chicken. 😄
What Goes With Lollipop Chicken Legs
If you serve it as an appetizer, pair it with other crowd-pleasers like deviled eggs and beer-battered onion rings. These also work well as a main course, though, so feel free to pair them with your favorite chicken-loving side dishes. I like to serve them with avocado corn salad and Hasselback potatoes.
More Fun Chicken Recipes to Try
Conclusion
Are these barbecue-sauce-covered lollipop chicken legs just a little fancy? Yep! And totally fun and family-friendly, so go ahead and try these pretty little legs! Let me know how they turned out! Can’t wait to hear from you. 🫶
Watch How to Make It
[adthrive-in-post-video-player video-id=”NKGhMQWO” upload-date=”2023-03-26T18:57:44.000Z” name=”LOLLIPOP CHICKEN LEGS.mp4″ description=”null” player-type=”collapse” override-embed=”false”]
Lollipop Chicken Legs
Ingredients
Chicken Legs
- 2 pounds chicken legs (8-10 chicken legs)
- 2 tablespoons oil, or melted butter
- 2 tablespoons salt
- 4 tablespoons Creole seasoning (or your preferred poultry seasoning)
- 2 cups BBQ sauce (recipe follows)
BBQ Sauce
- 2 tablespoons onion, minced
- ½ teaspoon garlic, minced
- 1 cup ketchup
- ¼ cup apple cider vinegar
- ½ tablespoon lemon juice
- ¼ tablespoon chili powder
- 2 tablespoon brown sugar, packed
- 1 tablespoon honey
- ½ tablespoon Worcestershire sauce
- ½ tablespoon Dijon mustard
- 1 teaspoon smoked paprika
- ½ tablespoon molasses
- ¼ teaspoon dry crushed pepper flakes
- ¼ teaspoon celery seeds
Instructions
BBQ Sauce
- In a small microwave-safe bowl, combine onions and garlic and microwave for about a minute or two until the onions are soft and translucent.
- Then add ketchup, vinegar, lemon juice, chili, brown sugar, honey, Worcestershire, mustard, paprika, molasses, pepper flakes, and celery seeds. Mix together until thoroughly combined. Divide the barbecue sauce into halves—one for basting and the other for serving.
The Chicken Legs
- Wash and pat the drumsticks dry with paper towels.
- Place each chicken drumstick on a cutting board. Using a sharp knife or a pair of kitchen shears, cut right through the tendons around the bottom end of the bone. Push down the meat towards the top end of the drumstick and then remove the joint by bending it back and pulling it out. It will be a little tough. You could use kitchen shears to cut it off. Then use a knife to scrape off any skin left on the bone.
- Turn the chicken leg around and cut off a little bit of the cartilage on the meaty side of the leg to ensure that it can stand upright.
- Place the chicken in a large bowl and add oil, Creole seasoning, and salt.
- Mix well until well coated and let it marinate in the fridge for 30 minutes to 2 hours.
- Preheat the oven to 350℉/177℃.
- Place chicken leg meat-side down on a cookie rack over a tray lined with foil paper.
- Bake chicken legs for 20 minutes (until the skin starts to crisp and the fat renders).
- Take the chicken legs out of the oven and baste generously with one part of the barbecue sauce.
- Return chicken legs to the oven and bake for another 10 minutes turning the pan midway to ensure it browns evenly.
- Make sure the internal temperature of the meat is at least 165℉/75℃.
- Take chicken legs out of the oven and serve with fresh BBQ sauce.
Tips & Notes:
- Pressed for time? You can go ahead and use your favorite store-bought BBQ sauce.
- Cover the bony part of the chicken leg with aluminum foil for easy handling.
- Hate wasting those extra chicken leg bits you cut off? Then don’t! Use the scraps from the chicken legs to make homemade chicken broth.
- Please remember that the nutritional information is a rough estimate and can vary significantly based on the products used in the recipe.

Suh says
This recipe was so delicious! I could have eaten the entire tray of chicken. Thanks for another great recipe, Imma!
Imma says
Thank you:) There’s more to come, so stay tuned